
Think JavaScript is only for pros? It isn’t.
You’ll build a working, interactive quiz that runs in your browser with just three files: index.html, styles.css, and script.js.
This guide walks you step by step: set up files, write the HTML skeleton, style it, then add JavaScript to render questions, check answers, and keep score.
You’ll learn arrays, DOM updates, and click handlers while finishing a real project you can show off.
Follow along and you can finish a basic version in under two hours.
Step‑By‑Step Beginner Guidance to Build Your First Interactive JavaScript Quiz
You’re going to build a working quiz app that runs right in your browser. No frameworks, no complicated setup. Just three files: index.html for your content, styles.css to make it look decent, and script.js to handle all the interactive stuff like showing questions, checking answers, keeping score, and displaying results. The path is straightforward. Set up your files, write the HTML skeleton, add CSS so it doesn’t look terrible, then add JavaScript to make everything work. Most beginners knock out a basic version in 45 to 120 minutes, depending on whether you add extras like a countdown timer or high score tracking.
Your JavaScript manages an array of question objects. Each object holds three things: the question text (something like “What is 2 + 2?”), an array of four possible answers, and the index number of the correct one (0, 1, 2, or 3). When the page loads, script.js renders the first question by injecting text into the DOM, creates four clickable buttons for the choices, and waits. Someone clicks an answer. The code compares their choice to the correct index, updates the score if they got it right, locks the buttons so they can’t click again, and shows feedback. Green for correct, red for wrong. A Next button appears and moves you to the next question. At the end, you see “You scored 3 of 5” and get a restart option.
The build follows five phases:
- Setup and folder creation – create a project folder and three empty files named index.html, styles.css, and script.js
- HTML structure – add the skeleton divs, text containers, button placeholders, and end screen in index.html
- CSS styling – style container width, button appearance, mobile breakpoints, and feedback colors in styles.css
- JavaScript logic – write functions to render questions, handle clicks, update score, and move through the array in script.js
- Testing and polish – run the quiz in your browser, fix bugs, check keyboard navigation, verify mobile layout
Core Structure for the JavaScript Quiz Beginner Project
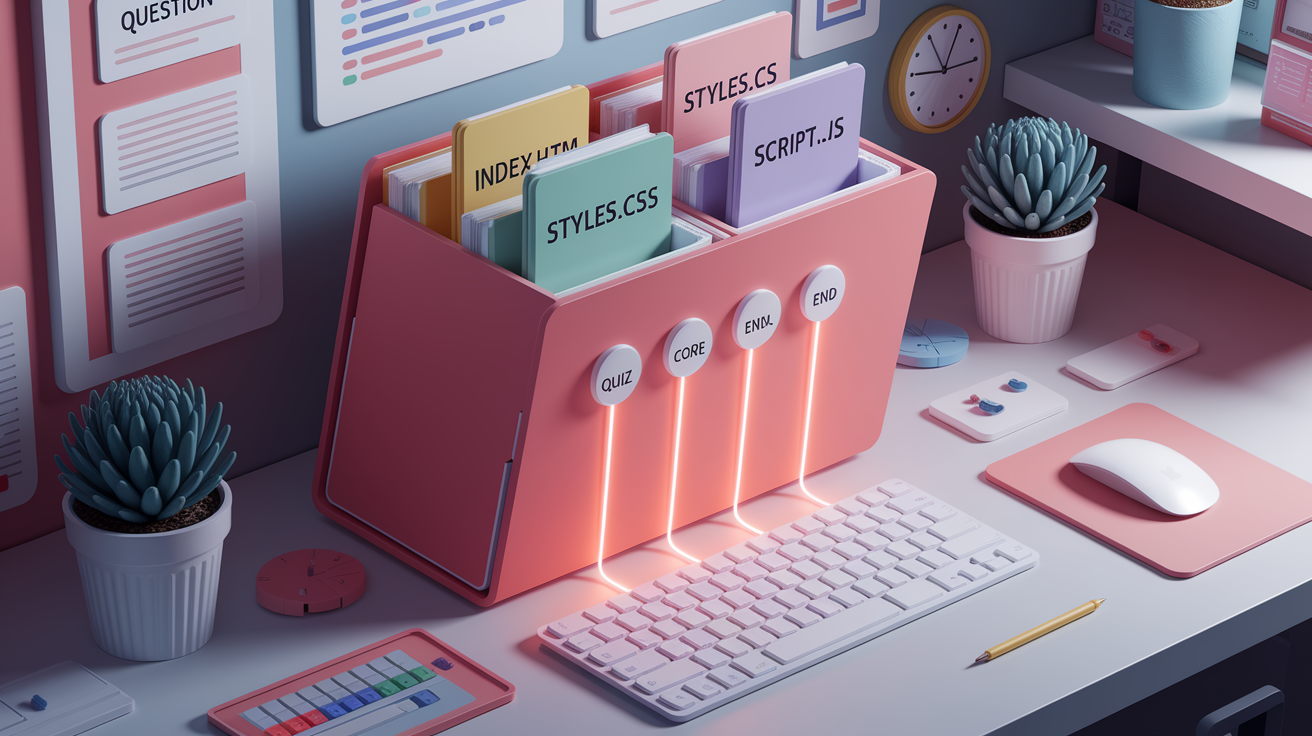
Your project lives in a folder. Call it QuizTutorial or InteractiveQuiz or whatever makes sense. That folder contains three files: index.html, styles.css, and script.js. You can add an assets folder for images if you want, but it’s not required. The three file approach keeps things simple and forces you to learn how HTML, CSS, and JavaScript connect without getting buried in extra setup.
Inside index.html you’ll define all the containers JavaScript needs to fill with content. A div to hold the question text. A div to hold the four choice buttons. A Next button that stays hidden until someone picks an answer. A progress indicator showing “Question 2 of 5.” A score display that updates live. An optional timer display if you add countdown logic. An end screen showing the final score plus a restart button. Each container gets a class name so both CSS and JavaScript can find it easily. Classes like .quiz-container, .question, .choices, .choice-btn, .next-btn, .progress, and .end-screen.
Six steps to set up your structure:
- Create a new folder on your desktop or in your projects directory and name it Quiz_Tutorial
- Inside that folder, create a new file and name it index.html
- Create a second file in the same folder and name it styles.css
- Create a third file in the same folder and name it script.js
- Open index.html in your code editor (VS Code, Sublime, or even a plain text editor)
- Link styles.css in the
<head>section with<link rel="stylesheet" href="styles.css">and link script.js at the bottom of the<body>with<script src="script.js"></script>
Your quiz container wraps everything else. Inside that wrapper you’ll place the question div, the choices div that holds the four buttons, the Next button, the progress paragraph, and the hidden end screen. Load the page in a browser before writing any JavaScript and you’ll see an empty shell. Add CSS and the shell looks styled but still empty. Add JavaScript and questions and buttons appear inside those divs. Clicking triggers real behavior.
Building the HTML Foundation for Your Interactive JavaScript Quiz

Start with basic HTML5 structure. <!DOCTYPE html>, <html lang="en">, a <head> with <meta charset="UTF-8"> and a <title>, and a <body>. Inside the body, create a main wrapper div with class quiz-container so you can center and size the whole thing with CSS. Inside that wrapper, add a heading like <h1>Interactive Quiz</h1> so people know what they’re doing. Then drop in an empty div with class question where your JavaScript will inject each question’s text. Under that, add another empty div with class choices where script.js will insert the four choice buttons.
Below the choices div, add a button element with class next-btn and text “Next”. You’ll hide this button by default in CSS, then show it only after someone picks an answer. Next to the Next button, add a small paragraph with class progress that will display “Question 1 of 5” and update every time you advance. Add another paragraph with class score to show the live running score. Start it at “Score: 0”. If you’re adding a timer, drop in one more paragraph with class timer and initial text “Time: 0s”. Finally, create a div with class end-screen and style it hidden in CSS. Inside the end screen, add a heading for the final message, a paragraph to show “You scored X of Y,” and a button with class restart-btn and text “Restart Quiz”.
Your container width should be around 600px so it’s readable on a laptop but still fits on a tablet. The layout gets centered on the page using margin auto in CSS. On small screens below 480px the container shrinks to 90% width so it doesn’t overflow. You’ll use simple semantic divs rather than a form element because you’re not submitting to a server. You’re handling everything client side in JavaScript. No form action and no submit event. Just click listeners on each button.
Required Markup for Questions and Choices
Each question lives inside the .question div as plain text injected by JavaScript using element.textContent. The four choice buttons will be real <button> elements created dynamically in script.js and appended to the .choices div. Don’t hard code them in the HTML because the content changes every question. Each button gets a data-index attribute set to 0, 1, 2, or 3 so you know which choice someone clicked. The Next button sits outside the .choices div and starts hidden with display: none in CSS, then switches to display: inline-block when a choice is selected.
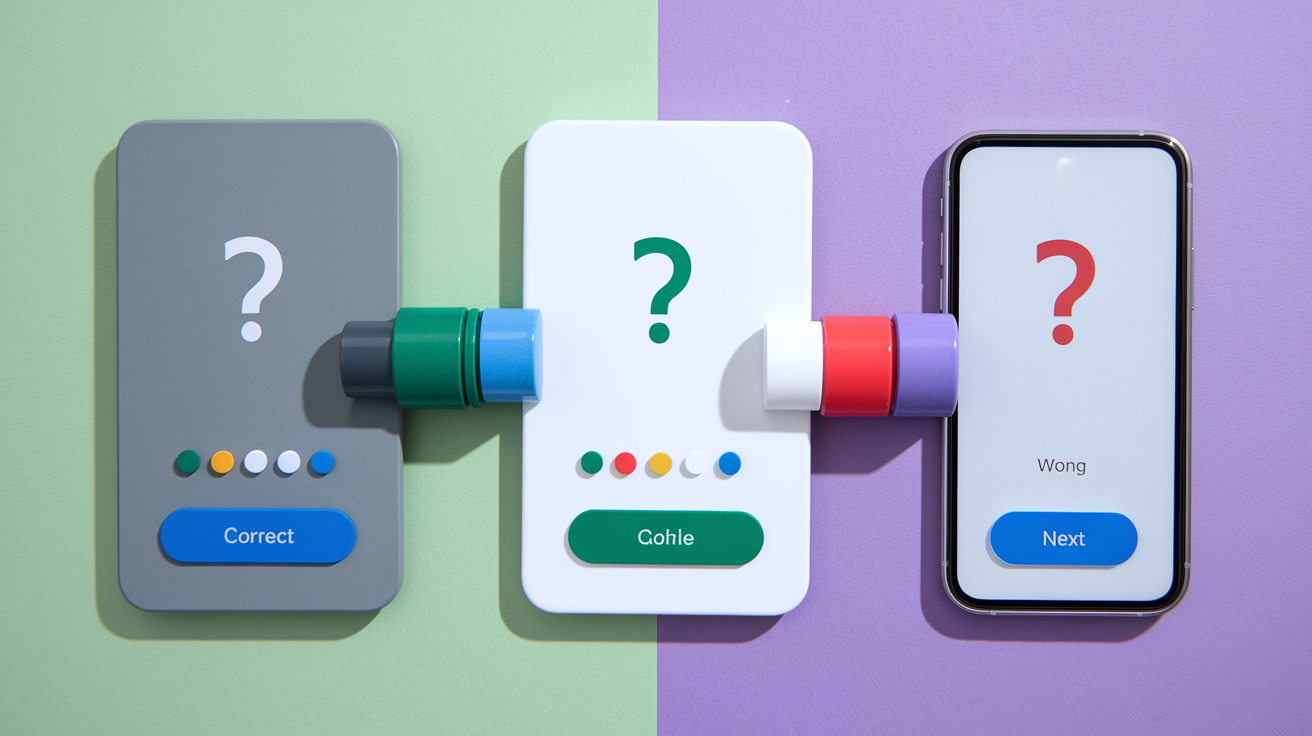
When someone picks a choice, JavaScript adds either a .correct or .wrong class to the clicked button, which triggers a background color change. Green for right, red for wrong. After feedback shows for half a second, the Next button appears and you click it to move forward. At the end of the quiz, all the question and choice divs get hidden and the .end-screen div becomes visible to show the final score and restart option.
Styling Your Beginner JavaScript Quiz with CSS
Open styles.css and center the .quiz-container on the page with max-width: 600px and margin: 2rem auto. Add padding: 2rem inside the container so text doesn’t touch the edges. Set a light background color like #f9f9f9 for the body and a white background for the container with a subtle box-shadow: 0 2px 8px rgba(0,0,0,0.1) to lift it off the page. Style the .choice-btn class with padding: 10px, margin: 8px 0, border-radius: 6px, a border of 1px solid #ccc, and a pointer cursor so it feels clickable.
For the feedback colors, write two classes: .correct with background-color: #4caf50 and white text, and .wrong with background-color: #f44336 and white text. Hide the Next button and end screen by default with display: none, then use JavaScript to toggle visibility. Add a mobile breakpoint at 480px using @media (max-width: 480px) and set the container to width: 90% with smaller padding like 1rem.
Quick styling checklist to keep your interface clean:
- Use
font-family: Arial, sans-seriffor the whole body so text is readable everywhere - Set
.choice-btntowidth: 100%so all four choices line up vertically and are easy to tap on mobile - Add a hover state like
.choice-btn:hover { background-color: #e0e0e0; }so buttons feel responsive when you mouse over them - Make the
.next-btnstand out with a bold background color like#2196f3and white text, pluspadding: 12px 24pxandborder-radius: 6px
Adding JavaScript Logic to Render Questions and Choices Step by Step
Open script.js and start by defining your question data at the top of the file. Create an array called questions and fill it with at least five question objects. Each object needs three properties: question as a string, choices as an array of four strings, and correct as an integer from 0 to 3 pointing to the right answer. Example: { question: "What is 2 + 2?", choices: ["1", "2", "4", "8"], correct: 2 }. After the array, declare three variables: let currentIndex = 0, let score = 0, and const totalQuestions = questions.length. These track where you are in the quiz, how many points you’ve earned, and how many questions exist.
Write a function called initQuiz() that resets everything to the starting state. Inside this function, set currentIndex and score back to zero, hide the end screen, show the quiz container, and call another function named renderQuestion(currentIndex) to display the first question. At the very bottom of your script, add document.addEventListener('DOMContentLoaded', initQuiz); so the quiz starts as soon as the page loads. This listener waits for the HTML to fully parse before running your code, which prevents errors from trying to select DOM elements that don’t exist yet.
Now write the renderQuestion(index) function. Use document.querySelector('.question') to grab the question div, then set its textContent to questions[index].question. Clear out any old choice buttons by setting document.querySelector('.choices').innerHTML = ''. Then loop through the four choices in questions[index].choices using a for loop or forEach. Inside the loop, create a new button element with document.createElement('button'), set its textContent to the current choice string, add the class choice-btn with classList.add('choice-btn'), and attach a data-index attribute using setAttribute('data-index', i) where i is the loop counter. Append each button to the .choices div with appendChild. Update the progress text to show “Question (index + 1) of totalQuestions” and hide the Next button again.
The sequence JavaScript follows every time you load or advance to a question:
- Grab the question text from
questions[currentIndex].questionand inject it into the.questiondiv usingtextContent - Clear the
.choicesdiv so old buttons disappear, then loop through the four strings inquestions[currentIndex].choices - For each choice string, create a new
<button>element, assign thechoice-btnclass, set the button text, and store the choice index in adata-indexattribute - Append all four buttons to the
.choicesdiv, attach click listeners to each one by selecting all.choice-btnelements and looping through them withaddEventListener('click', handleChoiceClick) - Update the progress indicator text to show which question number you’re on and hide the Next button until someone picks an answer
How the Question Rendering Function Works
Start the function by selecting the .question div and storing it in a variable like const questionEl = document.querySelector('.question'). Then set questionEl.textContent = questions[index].question to inject the question string. Select the .choices div the same way and clear it with choicesEl.innerHTML = '' so you don’t stack old buttons on top of new ones. Create a variable const choicesArray = questions[index].choices to make the loop cleaner, then use choicesArray.forEach((choice, i) => { ... }) to build each button.
Inside the loop, write const btn = document.createElement('button'), then btn.textContent = choice to put the answer text inside. Add the class with btn.classList.add('choice-btn') and the data attribute with btn.setAttribute('data-index', i). Append the button to the choices container with choicesEl.appendChild(btn). After the loop finishes, select the .progress paragraph and update it to show the current question number and total, like progressEl.textContent = 'Question ' + (index + 1) + ' of ' + totalQuestions. Hide the Next button by setting nextBtn.style.display = 'none' so you can’t skip ahead without answering.
You attach the click listeners after rendering. Select all the .choice-btn elements with document.querySelectorAll('.choice-btn') and loop through them using forEach. For each button, call btn.addEventListener('click', handleChoiceClick) where handleChoiceClick is the function you’ll write next to validate the answer. This pattern keeps your code clean. One function renders, another handles interaction.
Handling User Answers and Score Calculation in the Quiz
When someone clicks a choice button, the handleChoiceClick function fires. Inside that function, grab the clicked button from the event object using const selectedBtn = e.target. Pull out the choice index from the data attribute with const selectedIndex = parseInt(selectedBtn.getAttribute('data-index')). Compare that number to questions[currentIndex].correct. If they match, increment the score with score += 1, add the class correct to the button with selectedBtn.classList.add('correct'), and update the score display paragraph to show the new total. If they don’t match, add the class wrong to the button and leave the score alone.
After marking the button, disable all the choice buttons so you can’t click again. Loop through all .choice-btn elements using querySelectorAll and set each one’s disabled property to true. Disabling prevents double clicks and accidental score inflation. Then show the Next button by setting nextBtn.style.display = 'inline-block'. Attach a click listener to the Next button that calls a function named showNextQuestion. This function increments currentIndex by one, checks if you’ve run out of questions, and either calls renderQuestion(currentIndex) again or calls showEndScreen() to finish.
The flow from answer selection to the next question:
- Someone clicks a choice button and
handleChoiceClickreads thedata-indexattribute to know which answer they picked - The function compares the picked index to
questions[currentIndex].correctand adds either.corrector.wrongclass to the button, triggering a color change in CSS - If the answer’s right,
scoreincrements by one and the.scoreparagraph updates to show “Score: X” - All choice buttons get disabled by setting
btn.disabled = truein a loop so you can’t change your answer or click multiple times - The Next button becomes visible, and clicking it calls
showNextQuestion(), which bumpscurrentIndexup by one, checks ifcurrentIndex < totalQuestions, and either renders the next question or shows the end screen
When currentIndex equals totalQuestions, you’re done. The showEndScreen function hides the quiz container and shows the .end-screen div. Inside the end screen, display text like “You scored ” + score + ” of ” + totalQuestions. Calculate the percentage with Math.round((score / totalQuestions) * 100) and append “%” to show how well they did. Add a restart button inside the end screen with class .restart-btn and attach a click listener that calls initQuiz() to reset everything and start over.
Optional Enhancements to Upgrade Your Beginner JavaScript Quiz Project

If you want to make the quiz feel more polished, add a countdown timer that gives someone 60 seconds to finish all questions. Declare a variable let secondsLeft = 60 at the top of your script, then write a function called startTimer() that runs setInterval(tick, 1000) where tick decrements secondsLeft by one every second and updates a .timer paragraph. When secondsLeft hits zero, call clearInterval to stop the timer and immediately trigger showEndScreen() to end the quiz even if they haven’t answered all questions. This adds about 15 lines of code. Define the interval ID as a variable so you can clear it later, and reset secondsLeft back to 60 inside initQuiz() so restarting the quiz also resets the timer.
Another upgrade is saving high scores to localStorage so people can track their best attempts. After calculating the final score in showEndScreen(), create an object with properties like { name: "Player", score: score, date: new Date().toISOString() }. Retrieve the current high score array from localStorage using JSON.parse(localStorage.getItem('quizHighscores')) || [], push the new score object into that array, sort the array by score descending, slice to keep only the top five, and save it back with localStorage.setItem('quizHighscores', JSON.stringify(highscores)). Display the top scores in a small table on the end screen by looping through the array and creating table rows dynamically. This enhancement adds around 20 to 30 lines including the display logic.
For better accessibility, add keyboard navigation so people can press 1, 2, 3, or 4 to select answers instead of clicking. Attach a keydown event listener to the document, check e.key, and if it matches ‘1’ through ‘4’, programmatically click the corresponding button using document.querySelectorAll('.choice-btn')[parseInt(e.key) - 1].click(). Add an aria-live="polite" attribute to the score paragraph so screen readers announce score changes, and make sure all buttons are real <button> elements instead of divs so they receive keyboard focus automatically. You can also shuffle the question array at the start of initQuiz() using a Fisher Yates shuffle algorithm. Copy the questions array, loop backwards, and swap each element with a random earlier element to randomize question order every playthrough. Each of these features typically adds 10 to 30 lines depending on complexity, and together they transform a basic quiz into a reusable, engaging web app.
Testing, Debugging, and Polishing the JavaScript Quiz Project
Open your quiz in at least three browsers. Chrome, Firefox, and Edge work fine. Make sure the layout doesn’t break and all click events fire. Open the browser console with F12 and watch for red error messages while you interact with the quiz. Common bugs include trying to access a DOM element before it’s created, which throws “Cannot read property of null,” or comparing the wrong data types, like a string index against a number. If a button click does nothing, check that your event listener is attached after the button exists in the DOM. Move the listener code inside renderQuestion or reattach listeners after every render.
Test the mobile layout by resizing your browser window below 480px or using the device toolbar in Chrome DevTools. Verify that the container shrinks to 90% width, buttons stay readable, and text doesn’t overflow. Check keyboard navigation by tabbing through the page. Each button should get a visible focus outline, and pressing Enter on a focused button should trigger the click. Verify that the score updates immediately when you pick a correct answer, the Next button only appears after selection, and the end screen shows the right total. If your JavaScript file is around 40 to 90 lines, you’re in the normal range for a basic working quiz. Anything much longer means you might be repeating code that could be a reusable function.
Frequent Beginner Issues and How to Fix Them
One common mistake is selecting a DOM element before the page loads, which gives null and crashes when you try to set properties. Always wrap your code in addEventListener('DOMContentLoaded', ...) or put your <script> tag at the bottom of the body. Another issue is forgetting to parse the data-index attribute as an integer. getAttribute returns a string, so “2” won’t match the number 2 in strict comparison. Use parseInt() every time you read that attribute.
If choice buttons stay clickable after you pick one, you forgot to loop through all buttons and set disabled = true. If the Next button never shows up, check that you’re toggling style.display from 'none' to 'inline-block' inside handleChoiceClick. If questions repeat or skip, verify that currentIndex increments exactly once per Next click and resets to zero in initQuiz. If the end screen appears too early or not at all, confirm your condition is currentIndex >= totalQuestions and that showEndScreen hides the main container while showing the .end-screen div.
Final Words
You jumped into building a working quiz. We set up three files—index.html, styles.css, script.js—wrote the HTML with a question, four choices, and a correct-index field, styled the UI, and added JS to render questions and track score.
This linear flow—HTML → CSS → JavaScript—should take about 45–120 minutes. If something breaks, check querySelector names, dataset-index comparisons, and the browser console.
The beginner project: make an interactive quiz with JavaScript step by step gives you a complete, runnable path from empty folder to finished app. Nice work—now tweak the UI, add a timer, and show off what you built.
FAQ
Q: How to make a quiz using JavaScript and build an interactive quiz?
A: To make a quiz using JavaScript and build an interactive quiz, create a 3-file project (index.html, styles.css, script.js), define question objects with four choices and a correct index, render via DOM, validate answers, and track score.
Q: How to create a simple JavaScript project?
A: To create a simple JavaScript project, pick one clear feature, use the 3-file structure (index.html, styles.css, script.js), write small functions, test in the browser, and keep commits small.
Q: How to create a simple game using JavaScript?
A: To create a simple game using JavaScript, choose a tiny mechanic (quiz, clicker, guesser), build the 3-file project, handle input events and a basic game loop, then test and iterate until it feels fun.

