

Think you need a server to get live weather data?
You don’t. In this guide you’ll build a weather app using a public API and JavaScript that fetches real-time conditions, shows the city name, temperature in °C, and a short description.
We’ll walk step-by-step: create index.html, styles.css, and script.js, wire up fetch requests to OpenWeatherMap, update the DOM, and add simple error handling so the app works in your browser.
Overview of Creating a Weather App with JavaScript and a Public API

A weather app built with JavaScript and a public API grabs real-time weather data from something like OpenWeatherMap, then shows city name, temperature, and conditions right in your browser. You’ll create three files (index.html, styles.css, script.js) and write fetch requests that pull JSON responses, parse values like data.name and Math.round(data.main.temp), and update DOM elements with IDs such as locationInput, searchButton, location, temperature, and description. The workflow? Send a request to a URL that looks like weather?q={city}&appid={apiKey}&units=metric, read the JSON that comes back, handle errors with .catch(error => console.error(...)), and maybe layer in geolocation to detect where the user actually is.
The full process covers setting up a local folder, linking your stylesheet and script, building a simple search form, styling it with a container that’s got a max-width of 400px and padding of 20px, then writing JavaScript that listens for clicks or Enter-key presses, constructs the API endpoint, waits for the response, and drops rounded temperature values (in °C) plus weather descriptions into the page. You’ll build:
- An input field where people type a city name
- A search button that fires the API request
- A display area showing location, temperature in degrees Celsius, and a short weather description
- Basic CSS layout with sample rules for body background, container margin-top of 105px, and button color (#007BFF)
- Error handling that logs fetch failures to the console
- Optional geolocation using
navigator.geolocation.getCurrentPosition
Pros & Cons of Building a Weather App Using JavaScript and a Public API

Building a weather app this way offers fast learning and clear structure. But it also brings a few typical web API challenges. The core pattern (fetch(url).then(response => response.json()).then(data => { /* update DOM */ }).catch(error => { /* handle error */ })) is simple enough for beginners but powerful enough to show off asynchronous JavaScript, JSON parsing, and real HTTP requests. You’ll need to register for a free API key from OpenWeatherMap (or another provider), paste it into your code, and keep it secure since exposing it in public repositories can lead to quota abuse.
Pros:
- Free tier access to live weather data, no payment setup required
- Fast development cycle. Most working prototypes can be built in under an hour.
- Clear JSON response structure with predictable field names like
main.temp,weather[0].description, andwind.speed - Simple DOM updates using
document.getElementById()orquerySelector()to drop values directly in - Easy to extend with icons, geolocation, forecast endpoints, or localStorage caching once the base works
Cons:
- Rate limits on free API tiers (often 60 calls per minute or 1,000 per day) can block rapid testing
- API downtime or network failures will break your app if you don’t handle
.catchproperly - API key security becomes a concern when deploying to GitHub Pages or static hosts
- CORS issues may pop up if you try to call the API from certain local setups without HTTPS
- Limited accuracy for hyperlocal conditions. OpenWeatherMap relies on weather station density and forecast models.
Understanding Public Weather APIs for App Building

A public weather API is an HTTP service that returns current conditions, forecasts, or historical data in JSON (or XML) format when you send a properly formatted GET request. OpenWeatherMap, WeatherAPI, and Visual Crossing are popular free tier providers. Each requires you to create a developer account, generate an API key, and include that key as a query parameter in every request so the service can track usage and enforce rate limits. The JSON response typically contains nested objects with fields like main (temperature, pressure, humidity), weather (condition codes and descriptions), wind (speed, direction), and dt (timestamp).
To get started, sign up for OpenWeatherMap, log in, click your username in the top right corner, select “My API Keys,” then copy the generated key into a text editor. You’ll insert this key into your JavaScript file as a variable. Never commit it directly to public repositories without environment variable protection. The standard request pattern for current weather looks like this: https://api.openweathermap.org/data/2.5/weather?q={city}&appid={API_KEY}&units=metric. The q parameter accepts a city name, appid holds your key, and units=metric returns Celsius temperatures instead of Kelvin.
- Create an account on OpenWeatherMap or your chosen provider and verify your email if required.
- Navigate to API Keys (usually under account settings or a top right menu labeled with your username).
- Copy the generated key and store it in a safe, local text file or password manager.
- Paste the key into your script.js file as
const apiKey = 'YOUR_KEY_HERE';and build the full endpoint URL by combining the base, city parameter, key, and units flag.
What JavaScript Does in a Step-by-Step Weather App
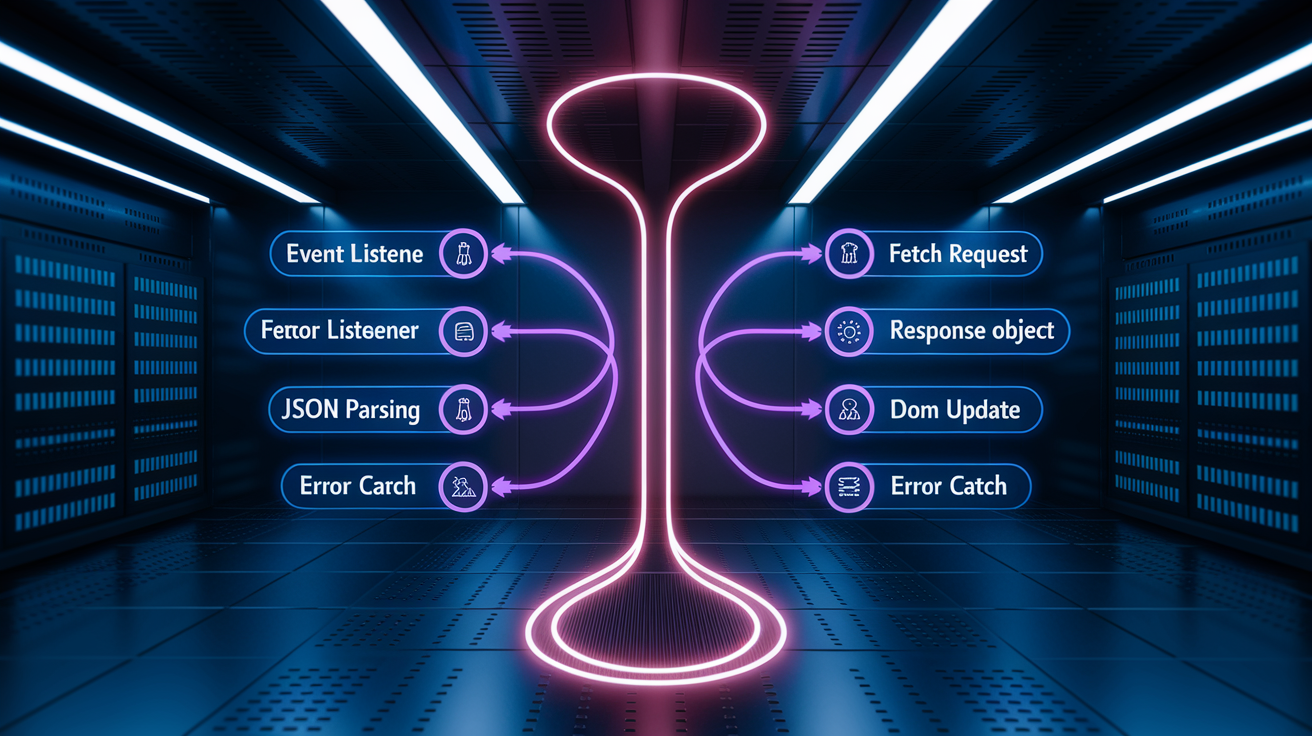
JavaScript handles every dynamic behavior: capturing user input, building the API request URL, sending the fetch, waiting for the JSON response, parsing that response into usable values, updating the DOM elements with city name and temperature, and catching errors when the network fails or the city isn’t found. The asynchronous flow begins when the user clicks the search button or presses Enter in the input field. Your event listener grabs the typed city string, inserts it into the query parameter, calls fetch(apiUrl), and chains .then(response => response.json()) to decode the JSON body. You then check response.ok to confirm a 2xx status code before extracting fields like data.name, Math.round(data.main.temp), and data.weather[0].description, assigning each to the corresponding DOM element’s textContent or innerHTML.
Error handling wraps the entire flow in a .catch(error => console.error('Error fetching weather data:', error)) block so network timeouts, invalid API keys (401), or missing cities (404) log readable messages instead of crashing silently. If you want to display user facing error text, you can set a <p> element’s text to “City not found” or “Network error, please try again” inside the catch block, giving immediate feedback instead of leaving the page frozen.
- Capture city name from an
<input id="locationInput">field - Build the full URL string by combining base endpoint, query parameters, API key, and units flag
- Call
fetch(url)and wait for the promise to resolve into a Response object - Parse the Response body with
.json()to convert the stream into a JavaScript object - Check
response.okorresponse.statusto detect HTTP errors before reading data - Extract nested values like
data.main.tempanddata.weather[0].descriptionfrom the parsed object - Update DOM elements by ID (for example,
document.getElementById('temperature').textContent = Math.round(data.main.temp) + '°C';) and handle failures in.catchto prevent silent breaks
What HTML & CSS Provide When Building a JavaScript Weather App

HTML defines the structure: a wrapper <div> that holds a search section (input field and button) and a display section (city name, temperature, description placeholders). Each element carries an ID so JavaScript can select and update it. CSS applies layout, typography, spacing, and optional background images to make the interface readable and visually appealing. The container might get max-width: 400px; padding: 20px; margin-top: 105px; to center it on the page with breathing room at the top, while the button gets color: #007BFF; to match a clean blue brand.
You’ll link styles.css in the <head> and script.js just before the closing </body> tag so the DOM is fully parsed before JavaScript runs. The HTML also includes a CDN link for icon sets (like Box Icons) if you plan to show weather symbols, though icons require an active internet connection to render.
| Element | Purpose | Example ID |
|---|---|---|
| <input> | User types city name | locationInput |
| <button> | Triggers API fetch on click | searchButton |
| <div> or <p> | Displays city, temp, description | location, temperature, description |
How to Build a Weather App Using a Public API and JavaScript Step by Step

This is where you create the folder, write the three core files, connect the API, and wire up event listeners so typing a city name and clicking Search (or pressing Enter) fetches data and updates the page. Each substep below corresponds to a distinct development phase, from scaffolding your project to adding real weather data, handling edge cases, and polishing the user experience. The overall flow moves from static structure to styled layout to live, interactive functionality.
Set Up Project Files
- Create a project folder on your desktop or anywhere you keep code projects. Call it “weather-app” or any name you prefer.
- Inside that folder, create three files:
index.html,styles.css, andscript.js. - Open index.html in your code editor (VS Code, Sublime, or any plain text editor) and add the basic HTML5 boilerplate:
<!DOCTYPE html>,<html lang="en">,<head>with a<meta charset="UTF-8">tag, and<body>. - Link your stylesheet in the
<head>with<link rel="stylesheet" href="styles.css">and link your script at the bottom of<body>with<script src="script.js"></script>. - Save all three files and open index.html in a browser to confirm the blank page loads without console errors. You’re ready to build.
Build the HTML Structure
- Add a container
<div>with a class or ID (for example,<div class="container">) to wrap all weather app content. - Inside the container, create a search section: an
<input type="text" id="locationInput" placeholder="Enter city name">and a<button id="searchButton">Search</button>. - Below the search section, add a display section: a
<div>or series of<p>tags with IDs likelocation,temperature, anddescriptionwhere JavaScript will insert the fetched data. - Optionally add a header with a back arrow icon or app title, and a second container for extended data (humidity, wind speed) if you plan to expand later.
- Save and refresh the browser. You should see a plain input box, a button, and empty placeholders for weather info.
Style the App with CSS
- Open styles.css and apply a global reset using the
*selector to zero out margins, padding, and setbox-sizing: border-box;so padding doesn’t expand element widths unexpectedly. - Style the body with a background color or background image (for example,
background-image: url('53mweather.avif'); background-size: cover;) and set a default font family. - Target
.containerand give itmax-width: 400px; padding: 20px; margin-top: 105px; border-radius: 10px;to create a centered card with rounded corners. - Style the input and button: set
input { padding: 10px; }for comfortable click targets andbutton { color: #007BFF; }(orbackground-color: #007BFF; color: #fff;) to make the button visually distinct. - Check responsiveness by resizing your browser window or testing on a mobile device. Adjust font sizes or container widths if text overflows or buttons become too small.
Fetch Data with JavaScript
- Open script.js and declare two variables at the top:
const apiKey = 'YOUR_API_KEY_HERE';andconst apiUrl = 'https://api.openweathermap.org/data/2.5/weather';to store your credentials and endpoint base. - Select the DOM elements you need:
const locationInput = document.getElementById('locationInput');,const searchButton = document.getElementById('searchButton');, and the display elements likedocument.getElementById('location'). - Add a click event listener to searchButton:
searchButton.addEventListener('click', () => { /* fetch logic here */ });to run your fetch function whenever the user clicks. - Inside the listener, build the full URL: grab
locationInput.value, construct${apiUrl}?q=${locationInput.value}&appid=${apiKey}&units=metric, then callfetch(url). - Chain
.then(response => response.json())and.then(data => { /* parse and update DOM */ }), and add.catch(error => console.error('Error fetching weather data:', error));at the end to log failures.
Add Weather Features & Error Handling
- Inside the second
.then(data => { ... })block, extract the fields you want:const cityName = data.name;,const temp = Math.round(data.main.temp);,const desc = data.weather[0].description;. - Update the DOM elements with those values:
document.getElementById('location').textContent = cityName;,document.getElementById('temperature').textContent = temp + '°C';,document.getElementById('description').textContent = desc;. - Add Enter key support by listening for
keydownorkeypresson the input field:locationInput.addEventListener('keypress', (e) => { if (e.key === 'Enter') searchButton.click(); });so users can search without clicking. - Display a loading message by setting a
<p id="status">element’s text to “Fetching weather…” right before calling fetch, then clear it or replace it with the data once the response arrives. - Handle invalid cities or network errors by checking
response.okbefore calling.json()and showing a user facing error message like “City not found. Please try again.” in the status<p>when the catch block fires or the status code is 404.
Comparison Between Key Weather App Implementation Approaches

Different developers structure the fetch logic, styling strategy, and DOM update pattern in slightly different ways. Choosing between plain .then chains versus async/await, a minimal layout versus a detailed CSS card, or manual DOM manipulation versus a lightweight framework affects code readability, error handling clarity, and long term maintainability. The table below highlights common trade-offs you’ll encounter when deciding how to implement each piece.
| Approach | Benefits | Drawbacks |
|---|---|---|
| Plain fetch with .then chains | Works in all modern browsers; no async/await syntax to learn; clear promise flow | Nested .then callbacks can become hard to read; error handling splits between .catch and response.ok checks |
| Async/await with try/catch | Cleaner, top to bottom code flow; single try/catch block for all errors; easier debugging | Requires understanding of async functions; slightly more boilerplate (async keyword, await keyword) |
| Simple layout (minimal CSS) | Fast to build; fewer style conflicts; works on any screen size without media queries | Limited visual appeal; harder to brand or differentiate from other beginner projects |
| Manual DOM updates (getElementById) | No dependencies; full control over timing and element attributes; beginner friendly | Verbose when updating many fields; prone to typos in ID strings; no automatic reactivity |
How to Use and Benefit From a JavaScript Weather App You Build

Once your weather app runs locally, you can deploy it to GitHub Pages, Netlify, or Vercel to share a live URL with friends or add it to your portfolio. GitHub Pages is the simplest route: create a repository, push your index.html, styles.css, and script.js, enable Pages in the repo settings, and your app goes live at https://yourusername.github.io/weather-app. Remember to keep your API key secure. Consider using environment variables or a serverless function to proxy requests in production so the key never appears in client side code.
Beyond deployment, you can extend functionality by caching the last searched city in localStorage so the app remembers the user’s location on reload, adding a toggle to switch between Celsius and Fahrenheit, or integrating icons from the OpenWeatherMap response field weather[0].icon to show sun, cloud, or rain symbols. Each enhancement teaches a new JavaScript concept (local storage APIs, conditional rendering, dynamic image sources) while keeping the core fetch and display loop intact.
- Deploy to GitHub Pages by enabling the feature in your repository settings and visiting the generated URL
- Save the last search in localStorage with
localStorage.setItem('lastCity', cityName);and retrieve it on page load to pre-fill the input - Add geolocation support using
navigator.geolocation.getCurrentPositionto fetch weather for the user’s current coordinates instead of a typed city - Display weather icons by setting an
<img>element’ssrctohttps://openweathermap.org/img/wn/${data.weather[0].icon}@2x.png - Implement unit conversion with a button that toggles between
units=metricandunits=imperial, refetching data and updating the display - Expand to a five day forecast by calling the
/data/2.5/forecastendpoint and looping through the returned array to show daily high/low temperatures and conditions
Final Words
You’ve wired up index.html, styles.css, and script.js, then fetched live data from OpenWeatherMap using your API key.
You parsed the JSON, updated DOM elements like location, temperature, and description, used Math.round for clean temps with units=metric, and added basic error handling plus Enter-key support.
If you want a clear next step, try to build a weather app using a public API and JavaScript step by step and deploy it to GitHub Pages. Nice work—this is a solid, reusable project you can improve on.
FAQ
Q: How to build a weather API?
A: To build a weather API you fetch data from a provider (like OpenWeatherMap), normalize it into JSON endpoints, add caching and rate‑limit handling, secure an API key, and serve requests over HTTPS.
Q: Is there a public weather API?
A: A public weather API exists; OpenWeatherMap, Weatherbit, and MetaWeather offer public data. Most need free registration for an API key and have usage limits and clear JSON responses.
Q: How to make a weather app in JS?
A: To make a weather app in JS create index.html, styles.css, and script.js; fetch OpenWeatherMap with your API key using units=metric, parse JSON, update location, temperature (Math.round), and description in the DOM.
Q: How to call weather API in JavaScript?
A: To call a weather API in JavaScript build a URL like weather?q={city}&appid={API_KEY}&units=metric, then use fetch(url).then(res => res.json()) or async/await, check response.ok and handle errors with .catch.

