

Think CSS can’t make smooth, production-grade animations without tons of JavaScript?
What if you could start with a five-minute CSS hover, then add keyframes, and later wire up precise motion with requestAnimationFrame?
This guide, “How to Create Animations with CSS and JavaScript Through Simple Sequential Instructions,” walks you through that path with tiny, testable steps, clear code snippets, and quick wins.
By the end you’ll know when to use transitions, when keyframes are better, and when JavaScript or a library actually saves time—so your UI feels alive and stays easy to maintain.
Create Your First CSS Animation in 5 Minutes
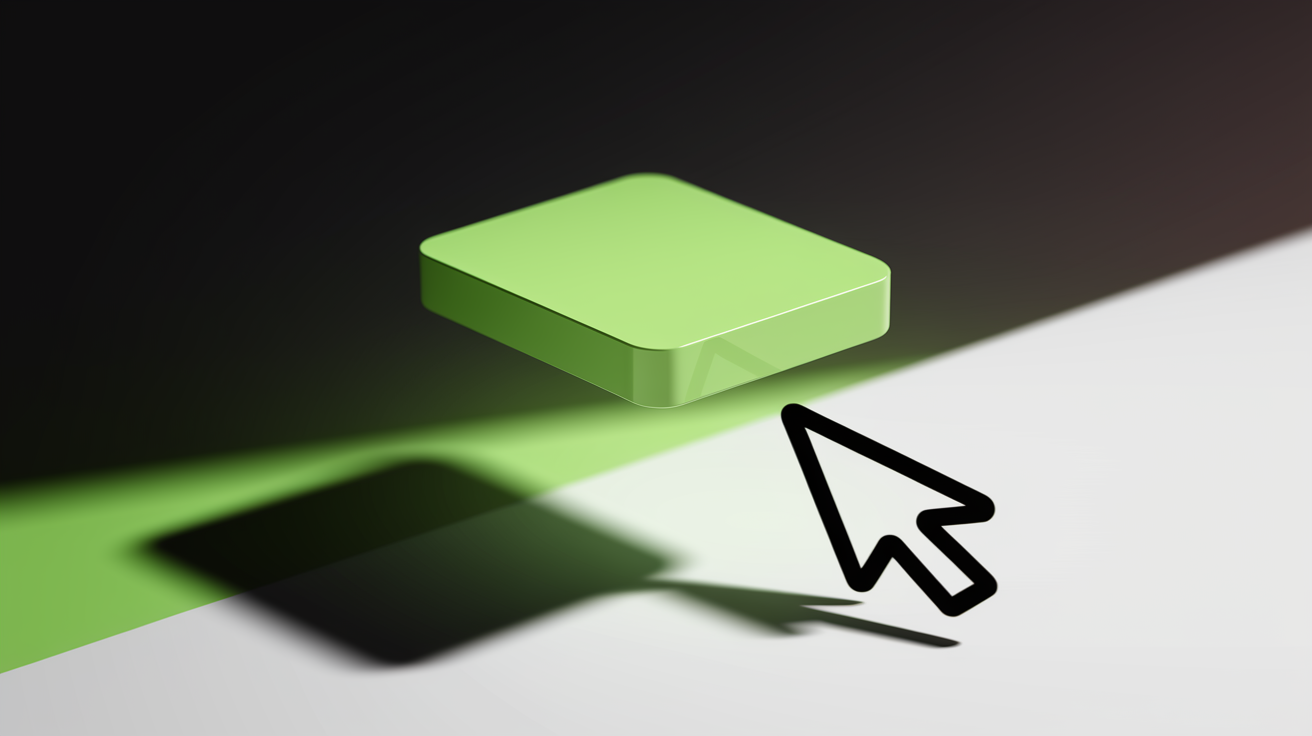
CSS animations turn static layouts into dynamic experiences by changing property values over time. Most designers write their first animation in a few lines by pairing a trigger with a transition.
Start with a button that grows when you hover over it. Define a .btn class with display: inline-block, padding: 12px 24px, and background-color: #4CAF50. Add transition: transform 0.3s ease-out; to tell the browser “whenever the transform property changes, spend 0.3 seconds moving smoothly.” Write .btn:hover { transform: scale(1.1); } so hovering scales the button to 110% of its size.
Here’s what’s happening: the transition property watches the transform value and smoothly animates between the default scale(1) and the hover state scale(1.1). When your mouse enters the button area, the browser calculates the intermediate frames automatically over the 0.3 second duration. Move the mouse away and the animation reverses back to scale(1) along the same timing curve. Replace 0.3s with 0.6s and the animation feels slower. Change ease-out to linear and it loses the deceleration at the end.
Understanding CSS Transitions
Transitions animate changes between two property values whenever a CSS state updates, like during a hover, focus, or JavaScript class toggle. They’re the fastest way to add polish to interactive elements without writing keyframes or JavaScript logic.
Five core transition properties control how the browser interpolates between values:
transition-property specifies which properties will animate (for example, transform, opacity, or background-color). Use all to animate every animatable property on the element.
transition-duration sets the time for the animation, written in seconds (s) or milliseconds (ms). A value of 0.3s is common for hover effects. Buttons often use 0.2s for snappiness.
transition-timing-function defines acceleration curves. ease starts slowly and ends slowly. ease-out decelerates near the end. linear maintains constant speed. cubic-bezier(0.68, -0.55, 0.27, 1.55) creates a bounce overshoot.
transition-delay postpones the animation start. A delay of 0.1s adds a brief pause before the animation begins, useful for staggered effects when multiple elements animate together.
Shorthand syntax combines all four in order: transition: opacity 0.4s ease-in 0.1s; sets property, duration, timing function, and delay in a single line.
Typical interactive use cases include color changes on link hover, opacity fades when modal windows appear, and box-shadow expansions when cards gain focus. Transitions require a defined start and end state. Without an explicit end value the browser has no target to interpolate toward, so the property will snap instantly instead of animating.
Creating CSS Keyframe Animations
Keyframe animations let you define multiple intermediate states beyond a simple start and end. Perfect for looping effects, multi-stage sequences, or patterns that need precise control at specific moments. You write a named @keyframes rule that lists property changes at percentage points, then apply that animation to any element using the animation-name property.
Keyframe Structure Explained
Define the animation by writing @keyframes slideIn { ... } and choosing a descriptive name like slideIn, pulse, or bounceEffect. The name is case sensitive and can contain letters, numbers, underscores, and hyphens.
Inside the curly braces, list keyframe selectors using percentages or the aliases from (equivalent to 0%) and to (equivalent to 100%). For a three-stage pulse, you might write 0% { transform: scale(1); }, 50% { transform: scale(1.2); }, and 100% { transform: scale(1); }.
Assign property changes inside each keyframe block. Only animatable properties like transform, opacity, color, width, and background-position will interpolate smoothly. Layout properties such as display or position will snap at the keyframe boundary.
Apply the animation to an element using animation-name: slideIn;, animation-duration: 1.5s;, animation-timing-function: ease-in-out;, and optional properties like animation-iteration-count: infinite; or animation-direction: alternate; to reverse the sequence on every second iteration.
Keyframes give you more control than transitions because you define the exact property values at every percentage mark. Transitions only interpolate between the current state and a new state. Use transitions for simple two-state interactions like hover effects. Use keyframes for complex patterns like a loading spinner that rotates continuously, a banner that slides in from off-screen then pauses, or a notification badge that pulses three times then stops. Keyframes also let you group multiple properties together at the same percentage point so color, position, and scale change in sync.
JavaScript Animations Using requestAnimationFrame

JavaScript animations manipulate CSS properties or canvas drawings on each frame by calling a function repeatedly until the animation completes. Instead of defining start and end states in CSS, you calculate the next position or style value in code, then write it to the DOM or canvas.
The requestAnimationFrame method schedules your animation function to run before the next browser repaint, typically 60 times per second on a 60 Hz display. It passes a high-resolution timestamp to your callback so you can compute how much time has elapsed since the previous frame, allowing smooth animations that adapt to variable frame rates. To slide an element across the screen you read the current left pixel value, add an increment based on elapsed time, and set the new left value in a loop that calls requestAnimationFrame(slideFunction) at the end of each iteration. The browser automatically pauses the loop when the tab is hidden, saving battery and CPU cycles.
JavaScript animation is preferable over pure CSS in four scenarios:
You need dynamic targets that can’t be predefined in CSS, such as animating an element to follow the mouse cursor or tracking a user’s scroll position in real time.
The animation logic depends on complex calculations, physics simulations, or easing curves that are cumbersome to express with cubic-bezier values.
You must coordinate multiple elements with interdependent timing, such as a particle system where each particle’s trajectory depends on collision detection or neighboring particles.
The animation responds to external data like API responses, user input events, or sensor readings that arrive asynchronously and can’t be encoded into static keyframes.
JavaScript animations require manual cleanup. Always store the return value of requestAnimationFrame and call cancelAnimationFrame(requestID) when the animation completes or the component unmounts. Otherwise the loop will continue consuming resources in the background.
Using Animation Libraries for Faster Development
Animation libraries bundle pre-built functions for common tasks like easing, timeline orchestration, and property tweening so you avoid writing low-level requestAnimationFrame loops. They also normalize browser inconsistencies and provide chainable APIs that reduce boilerplate code.
| Library | Strength |
|---|---|
| GSAP (GreenSock) | High-performance timeline control, stagger support, and premium plugins for advanced physics and scroll-triggered animations |
| anime.js | Lightweight footprint, chainable syntax, and built-in SVG morphing plus randomized timing for creative effects |
| Framer Motion | React-focused declarative animations with gesture recognition and layout transition helpers |
Choose a library when you need to coordinate complex sequences that would require dozens of lines of vanilla JavaScript, or when you want production-ready easing functions and timeline features without testing cross-browser quirks. GSAP excels in advertising and marketing sites where timing precision and staggered effects matter most. anime.js fits smaller projects that prioritize file size and simplicity. For single-page applications built with React, Framer Motion integrates animations into the component lifecycle so you can animate routes, modals, and list items with declarative props instead of imperative requestAnimationFrame calls. Avoid adding a library if your animation needs are limited to hover effects or basic fades. Native CSS transitions and keyframes are faster to write and ship zero additional JavaScript.
Practical Examples You Can Build Today

Each of these projects combines CSS fundamentals with optional JavaScript enhancements, giving you hands-on practice with the techniques covered earlier. Start with the simplest example and add complexity as you gain confidence.
Button hover glow: Apply transition: box-shadow 0.3s ease-out; to a button, then add box-shadow: 0 0 20px rgba(76, 175, 80, 0.8); on :hover. The shadow animates smoothly, creating a glowing effect without keyframes or JavaScript.
Loading spinner: Define @keyframes spin { from { transform: rotate(0deg); } to { transform: rotate(360deg); } } and apply animation: spin 1s linear infinite; to a circular <div> with a border on one side. The element rotates continuously until removed from the DOM.
Fade-in section on scroll: Use an Intersection Observer in JavaScript to detect when a section enters the viewport, then add a class that triggers opacity: 0; transform: translateY(20px); animating to opacity: 1; transform: translateY(0); via a 0.6s transition. This creates a staggered reveal effect for landing-page content.
Progress bar animation: Start a <div> with width: 0%; and transition: width 2s ease-out;. Use JavaScript to set element.style.width = '75%'; when a task completes or a page loads, and the bar fills smoothly to the target percentage.
Card flip on click: Nest front and back faces inside a container with transform-style: preserve-3d;. Apply transition: transform 0.8s; to the inner element and toggle a class that sets transform: rotateY(180deg); on click. The card rotates in 3D space, revealing the back face with backface-visibility: hidden; ensuring only one side is visible at a time.
Each example teaches a reusable pattern. The hover glow demonstrates property interpolation. The spinner shows infinite keyframes. The scroll fade introduces JavaScript event listeners. The progress bar illustrates dynamic inline styles. The card flip combines 3D transforms with state management. Build one per day and you’ll internalize the syntax, timing functions, and integration points between CSS and JavaScript.
Performance and Optimization Tips

Smooth animations rely on the browser’s ability to repaint frames at 60 frames per second, which means each frame must complete in under 16 milliseconds. Heavy layout calculations or repaints during an animation can drop the frame rate, causing stutters or janky motion that breaks the illusion of continuous movement.
Stick to GPU-accelerated properties whenever possible so the browser offloads rendering to the graphics card instead of recalculating layout on the CPU. These techniques keep animations fluid across devices:
Animate transform and opacity instead of top, left, width, or height. Changing transform: translateX(100px); moves an element without triggering layout reflow. Modifying left: 100px; forces the browser to recalculate the position of every nearby element.
Use will-change: transform; on elements you know will animate soon, such as a hero banner or modal overlay. This property hints to the browser to allocate a separate compositing layer, reducing paint time when the animation starts. Remove will-change after the animation finishes to free memory.
Batch DOM updates when animating multiple elements. Read all measurements first (for example, element.offsetWidth), then apply all writes (for example, element.style.transform) in a second loop. Interleaving reads and writes forces synchronous layout recalculations on every iteration.
Test animations on mid-range mobile devices, not just desktop browsers. Use the browser’s performance profiler to identify frames that exceed 16 ms and look for long-running JavaScript tasks, forced reflows, or excessive paint regions during the animation timeline.
Avoid animating properties that affect layout, such as margin, padding, or border-width, unless you absolutely need to. If you must change these values, consider using transform: scale() to simulate size changes or clip-path to create masking effects that bypass layout calculations.
Build a Mini Project: Animated Landing Section
Landing pages often blend keyframe animations for hero elements like logos or headlines with JavaScript-driven effects that respond to scroll position or user interaction. This project combines both techniques into a single section that fades in, scales up, and reveals additional content as the user scrolls.
Step-by-Step Project Outline
Set up the HTML structure: Create a <section> with a class of .hero containing an <h1>, a <p>, and a call-to-action button. Below it, add a second <section> with class .features that holds three <div> cards representing product features.
Define initial CSS states: Set .hero { opacity: 0; transform: translateY(-30px); transition: opacity 0.8s ease-out, transform 0.8s ease-out; } so the hero section starts invisible and slightly above its final position. Give .features .card { opacity: 0; transform: translateY(20px); transition: opacity 0.6s ease-out, transform 0.6s ease-out; } so each card begins hidden below its resting point.
Trigger hero animation on page load: Use JavaScript to add a .visible class to .hero after a 100 ms delay with setTimeout(() => heroSection.classList.add('visible'), 100);. In CSS, write .hero.visible { opacity: 1; transform: translateY(0); } so the transition properties animate the hero into view.
Implement scroll-based card reveals: Create an Intersection Observer that watches .features .card elements. When entry.isIntersecting becomes true, add the .visible class to the card so it fades in and slides up. Stagger the reveals by adding a small delay to each card’s transition using inline styles or CSS custom properties like transition-delay: calc(var(--index) * 0.1s);.
Add a pulsing animation to the button: Define @keyframes pulse { 0%, 100% { transform: scale(1); box-shadow: 0 0 0 0 rgba(76, 175, 80, 0.7); } 50% { transform: scale(1.05); box-shadow: 0 0 0 10px rgba(76, 175, 80, 0); } } and apply animation: pulse 2s ease-out infinite; to the call-to-action button. The button grows slightly and emits a shadow wave that fades outward.
Test responsiveness and performance: Open the page on a mobile device or use the browser’s device emulation. Confirm that the hero section animates within the first second of page load and that feature cards reveal smoothly as you scroll. Use the browser’s performance profiler to verify frame times stay under 16 ms during the scroll animations, adjusting transition durations if needed.
The completed project shows how CSS transitions handle state changes triggered by JavaScript classes, while keyframes provide looping effects that run independently of user interaction. You should see the hero section fade and slide into place immediately after the page renders, the button pulsing continuously in the center, and the three feature cards appearing one by one as they enter the viewport during scroll. Adjust the timing functions from ease-out to cubic-bezier(0.68, -0.55, 0.27, 1.55) for an overshoot effect, or replace the Intersection Observer with a scroll event listener that calculates exact scroll percentages for more granular control over animation timing.
Final Words
You just built a quick hover animation, stepped through transitions, wrote multi-stage keyframes, and tried requestAnimationFrame and libraries to speed things up. Those are the core tools you’ll reuse.
You practiced small projects and learned performance tips so your animations stay smooth in the browser.
When you repeat the mini project and the exercises, you lock in how to create animations with CSS and JavaScript step by step. Keep going—small experiments lead to big progress.
FAQ
Q: How do I create my first CSS animation in 5 minutes?
A: To create your first CSS animation in five minutes, write a @keyframes rule, add animation-name and animation-duration to an element, or use transition plus transform for a quick hover effect.
Q: What does transition-duration and transform: scale() do in simple hover animations?
A: Transition-duration sets how long the change takes, and transform: scale() resizes the element; together they produce a smooth, visible hover growth or shrink effect.
Q: When should I use CSS transitions versus keyframes?
A: Use transitions for simple state-to-state changes like hover; use keyframes for multi-step, looping, or precisely timed animations that need more control over stages.
Q: How do @keyframes work and which properties control playback?
A: @keyframes defines animation stages, and you control playback with animation-name, animation-duration, animation-timing-function, and animation-iteration-count to set speed, easing, and repetition for playback.
Q: When should I use JavaScript animations with requestAnimationFrame instead of CSS?
A: Use requestAnimationFrame when you need frame-perfect timing, sync to the browser refresh, complex physics, or dynamic per-frame values that CSS can’t calculate.
Q: Which animation libraries should I consider and why (GSAP vs anime.js)?
A: Consider GSAP for heavy-duty performance and timeline control; choose anime.js for lightweight, chainable effects and quick prototypes with an easy API.
Q: What beginner projects can I try to practice animations?
A: Try button hover effects, loading spinners, fade-in sections on scroll, simple JS-moving elements, and a small animated hero to combine CSS and JS.
Q: How do I keep animations smooth and perform well?
A: Keep animations smooth by animating transform and opacity, use will-change sparingly, avoid layout-triggering properties, and batch DOM updates or use requestAnimationFrame.
Q: How do I build an animated landing section combining CSS and JS?
A: Build an animated landing section by animating hero elements with keyframes, adding JS for scroll-triggered changes, sequencing with delays or a JS timeline, and testing performance.

