
You don’t need to know code to build a real game—Scratch proves that in minutes.
This step-by-step guide walks you through creating a simple baseball clicker game so you see results fast.
You’ll add a backdrop, pick and animate sprites, make a sprite move and bounce, track score, detect clicks and collisions, and stop the game with a timer.
Follow along and in 20 to 60 minutes you’ll have a working game and the few core blocks that power most Scratch projects.
Quick Overview of the Steps to Build Your First Scratch Game
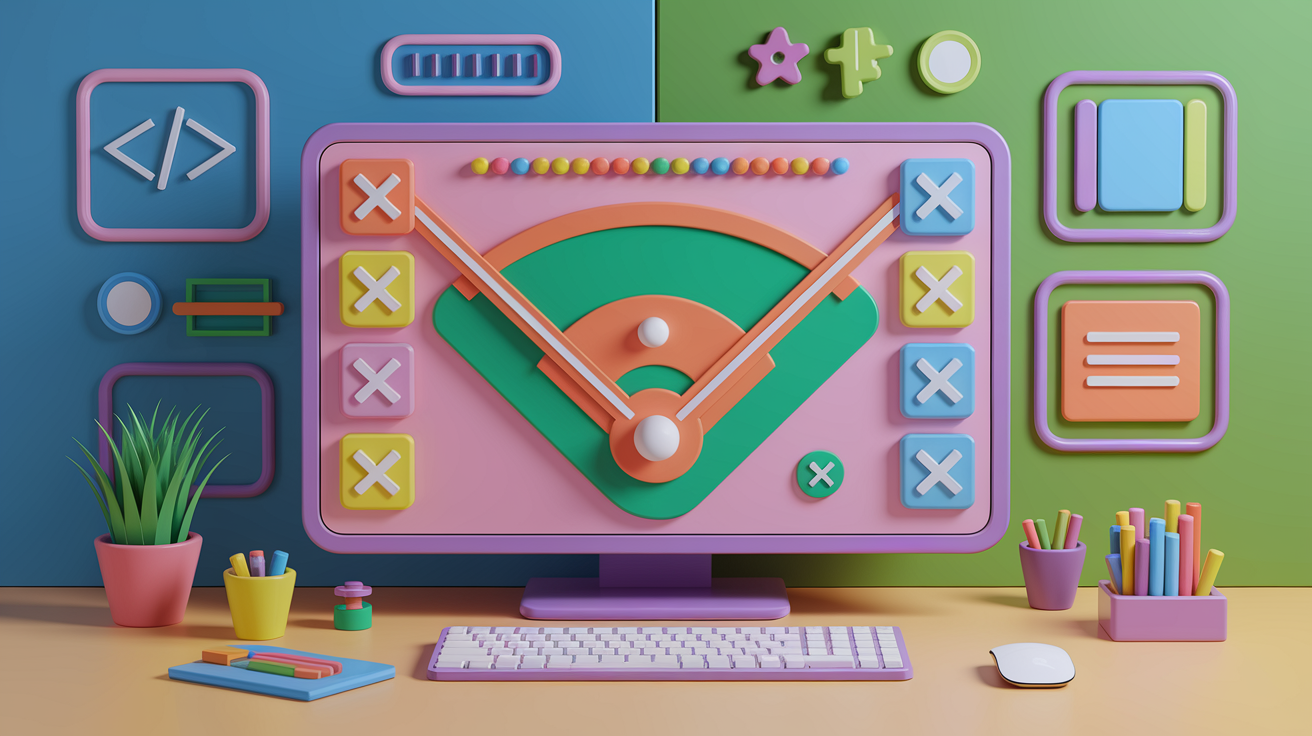
You’re about to build your very first Scratch game using a simple, project first workflow. Scratch is a block based coding platform made for kids and beginners who want to see their ideas move and respond on screen without typing a single line of code. You’ll drag and snap together colored blocks to create movement, scoring, sounds, and game rules. The whole thing takes anywhere from 20 minutes to an hour depending on how many features you add.
This tutorial walks you through the complete build using a beginner friendly example: a baseball clicker game where players tap a moving sprite to earn points. By the end, you’ll know how to add backdrops, animate sprites, track scores, detect collisions, and stop the game with a timer. You’ll also learn the few code blocks that power almost every Scratch game.
Here’s the step by step sequence you’ll follow:
- Create a free Scratch account and start a new project
- Add a backdrop (like a baseball field) to set the scene
- Add and rename your main sprite (the clickable object)
- Code the sprite to move randomly and bounce at the edges
- Add scoring and click events to make the game interactive
- Test everything using the green flag and fix bugs as you go
Why Creating a Scratch Game Feels Difficult for New Learners
Even though Scratch uses pictures instead of typed commands, new learners still get stuck. The main reason? Confusion about where logic lives. Scratch lets you attach code to different sprites, so if you put movement blocks on the backdrop or scoring blocks on the wrong character, nothing happens. You click the green flag and wonder why your game just sits there.
Another challenge is knowing which blocks to pick. The blocks palette has hundreds of options organized by color, and it’s not always obvious which one controls movement versus appearance. Beginners also forget that most game mechanics need a “forever” loop to keep running. Without it, your sprite moves once and stops.
Here are the five most common mistakes beginners make when building their first Scratch game:
- Forgetting to wrap movement or game logic inside a “forever” loop so actions only happen once
- Attaching click events or collision checks to the backdrop instead of the sprite
- Creating a variable like “Score” but never using “change Score by 1” when something happens
- Using “move” instead of “glide” and watching the sprite teleport instead of animate smoothly
- Not testing after each new block, so when something breaks you don’t know which step caused it
Planning Your Scratch Game Before Coding
Before you open Scratch, spend five minutes planning what your game will do. Write down the main objective in one sentence. “The player clicks a moving baseball to earn points before time runs out.” That’s enough. You don’t need some detailed design doc, but knowing the goal keeps you from adding random features that don’t fit together.
Next, sketch out the pieces you’ll need. What’s the player sprite? What moves? What stays still? What counts as a win or a loss? For a clicker game, you need a moving target sprite, a score counter, and maybe a timer. For a chase game, you need a player sprite, an enemy sprite, arrow key controls, and collision detection. Writing these down takes two minutes and saves you from rebuilding half the project later.
Follow these planning steps before you start coding:
- Define the game’s main goal in one sentence
- Choose a simple genre (clicker, chase, catch, platformer, story)
- List the sprites you’ll need (player, enemies, items)
- Decide how the player controls the game (mouse clicks, arrow keys, automatic)
- Write down what makes the player win or lose
- Pick one difficulty mechanic (shrinking sprite, faster enemies, timer countdown)
- Estimate how long you want one round to last (20 seconds, 1 minute, endless)
Setting Up Scratch for Your First Game Project
Go to scratch.mit.edu and click “Join Scratch” in the top right. Fill in a username, password, and optional email. You need an account to save your project and share it later. Once you’re logged in, click “Create” to open a new blank project. You’ll see a white stage with a cat sprite already sitting in the middle.
The Scratch editor has four main areas you’ll use constantly. Understanding where everything lives makes building way faster.
| Area | What It Does |
|---|---|
| Stage | The white screen where your game plays. Sprites move around here and backgrounds appear behind them. |
| Sprite List | Bottom right corner. Shows all sprites in your project. Click a sprite to edit its code or costumes. |
| Blocks Palette | Middle column. Contains all code blocks organized by color (Motion, Looks, Sound, Events, Control, Sensing, Variables). |
| Coding Area | Right side. Drag blocks here and snap them together to build scripts for the selected sprite. |
Scratch works online and also as a free download if you want to code without internet. For this tutorial, the online version is easiest. Just bookmark your project page so you can return to it anytime.
Adding Backdrops and Sprites to Start Your Scratch Game Build
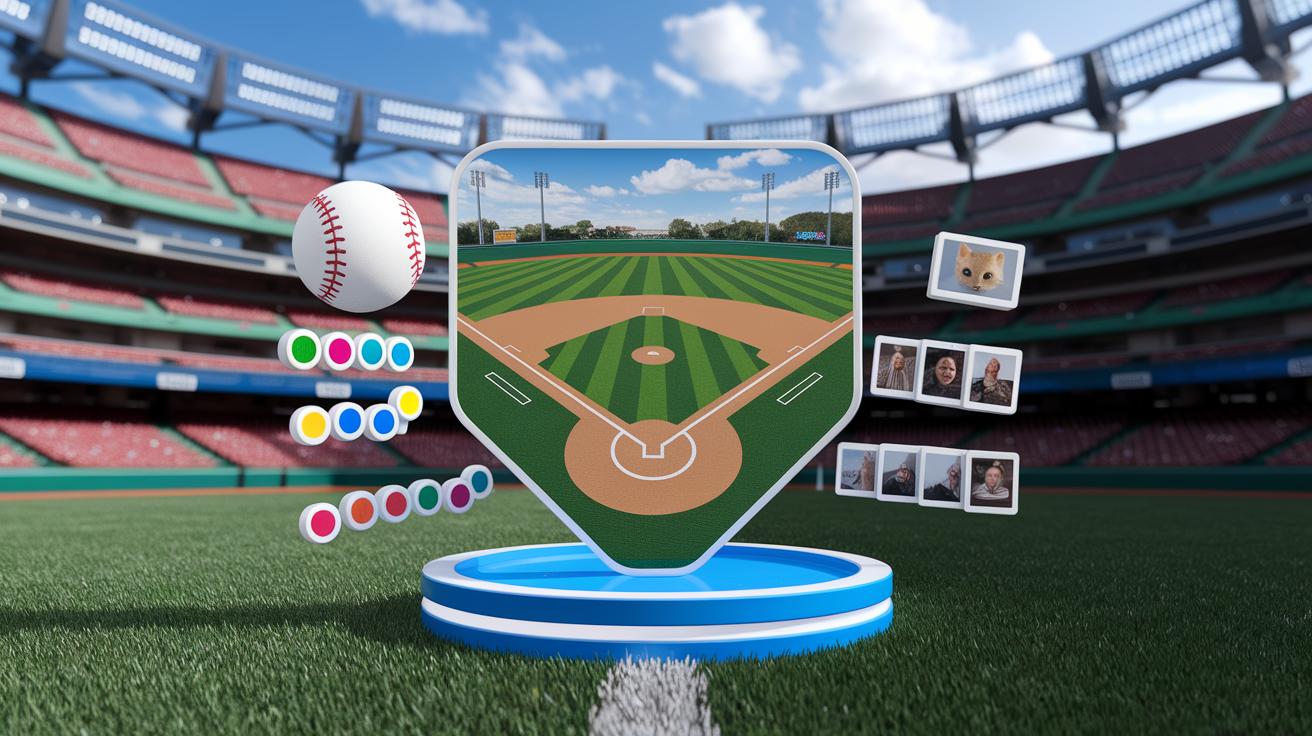
Click the blue icon in the bottom right corner that says “Choose a Backdrop.” You’ll see four options: upload your own image, surprise me (random pick), paint a new backdrop, or choose from the library. Click the library option and scroll until you find a backdrop that fits your game theme. For the baseball clicker example, search “baseball” and select the field backdrop. The backdrop appears instantly behind your sprite.
Now add your main sprite. The default cat is fine for testing, but you’ll want something that matches your game. Click the sprite icon (also bottom right, next to the backdrop button). Choose “Library,” then search for “baseball” and pick the baseball sprite. It loads onto the stage. You can rename it by clicking the text field above the sprite in the Sprite List and typing “Baseball.” To add more sprites later (like a red “bad” sprite) just duplicate this one by right clicking it in the Sprite List and selecting “duplicate.”
Here are six common sprite and backdrop actions you’ll use all the time:
- Click “Choose a Backdrop” to set the scene (library, upload, or paint your own)
- Click the Sprite icon to add characters or objects from the library
- Click the “Costumes” tab at the top to edit how a sprite looks or change its color
- Right click a sprite in the Sprite List and choose “duplicate” to make a copy with the same code
- Click the trash icon on a sprite to delete it from the project
- Use the “Upload” option to bring in custom images you drew or downloaded
Using Core Scratch Blocks to Start Coding Your First Game
Scratch code blocks live in the Blocks Palette on the left, organized by category. Each category has a different color. Events (yellow) start your code when something happens, like clicking the green flag. Motion (blue) moves sprites around. Looks (purple) changes size, color, or visibility. Sound (pink) plays audio. Control (orange) includes loops and conditions. Sensing (light blue) detects clicks and collisions. Variables (orange red) store numbers like score or time.
Every Scratch game starts with at least one “when green flag clicked” block. This yellow block is your start button. Drag it from Events into the coding area. Anything you snap underneath it will run when you press the green flag above the stage. Most games also need a “forever” loop from the Control section. Drop a “forever” loop under the green flag block, and anything inside that loop repeats nonstop until you stop the game.
Movement in Scratch usually combines motion blocks with loops. For a moving target, drag “glide 1 secs to random position” from Motion and put it inside the forever loop. Now add “turn 90 degrees” and “if on edge, bounce” so the sprite rotates and doesn’t get stuck at the screen edge. When you click the green flag, the sprite will glide smoothly to a new random spot every second, turn slightly, and bounce back if it hits the wall.
Here are six core blocks that power almost every beginner Scratch game:
- “when green flag clicked” (Events) — starts your game code
- “forever” (Control) — repeats actions nonstop inside a loop
- “glide 1 secs to random position” (Motion) — moves sprite smoothly to a new random spot
- “if on edge, bounce” (Motion) — keeps sprites from disappearing off screen
- “change size by 10” (Looks) — makes sprites grow or shrink
- “start sound (pop)” (Sound) — plays a sound effect when something happens
Creating Player Movement and Interaction in Scratch
For games where the player controls a sprite with the keyboard, you’ll use the “if key pressed” block from Sensing. Drag a “forever” loop under your “when green flag clicked” starter. Inside the loop, add four separate “if” blocks from Control. For each “if,” drop in a “key [space] pressed?” sensing block and change the dropdown to Up, Down, Left, or Right. Inside each “if,” add a motion block like “change y by 10” for Up or “change x by -10” for Left. Now when you press an arrow key, the sprite moves in that direction.
Click based interactions are simpler. Add a new event block called “when this sprite is clicked” from the Events section. Attach actions directly underneath. For example, snap “change size by -10” so the sprite shrinks every time you click it. Or add “change Score by 1” (after you create a Score variable) to make clicking give points. You can also attach a sound block so every click plays a pop sound.
Here are five common interaction techniques in Scratch:
- Use “if key [arrow] pressed?” inside a forever loop to let players move a sprite with the keyboard
- Use “when this sprite is clicked” to trigger actions when the player taps or clicks a sprite
- Use “point towards [Sprite]” and “move 4 steps” inside a forever loop to make an enemy chase the player
- Use “touching [Sprite]?” inside an “if” block to detect when two sprites collide
- Use “set x to (pick random -200 to 200)” to teleport a sprite to a random horizontal position instantly
Adding Game Logic: Scoring, Difficulty, Enemies, and Collision Detection

To track score, you need to create a variable. Click the Variables category (orange red), then click “Make a Variable.” Name it “Score” and make sure “For all sprites” is selected. A new block called “set Score to 0” appears in the palette. Drag it under your “when green flag clicked” block to reset the score at the start of every game. Now add “change Score by 1” inside the “when this sprite is clicked” event so the score goes up every time the player clicks the sprite.
Collision detection uses sensing blocks combined with control blocks. Inside a forever loop on your enemy sprite, add an “if” block. Drag “touching [Player]?” from Sensing and drop it into the diamond slot. Inside the “if,” add action blocks like “say Gotcha! for 2 seconds” or “change Lives by -1.” You can also broadcast a message to other sprites. Click “broadcast [message1]” from Events, create a new message called “GameOver,” and have another sprite listen for that broadcast to show a Game Over screen.
For difficulty, duplicate your main sprite to create a “bad” version. Right click the sprite in the Sprite List and choose “duplicate.” Click the Costumes tab and change the duplicate’s color to red using the fill tool. Now open the code for the red sprite. Change “change Score by 1” to “change Score by -1” so clicking it removes a point. Change “change size by -10” to “change size by +10” so it grows instead of shrinks. Now you’ve got two sprites with opposite behaviors running at the same time.
| Logic Feature | Block Used |
|---|---|
| Reset score at game start | set Score to 0 |
| Increase score on click | change Score by 1 |
| Detect collision between sprites | if touching [Sprite]? (Sensing) |
| Send signal to other sprites | broadcast [message] |
| Clone sprite for multiple enemies | create clone of [myself] |
Building Optional Features: Timer, Game Over Screen, and Level Progression

A countdown timer adds urgency to your game. Create a new variable called “Time” and set it to 30 at the start of the game using “set Time to 30” under the green flag block. Then build a separate forever loop that waits 1 second, changes Time by -1, and checks if Time equals 0. Use “wait 1 seconds” from Control, then “change Time by -1,” then an “if Time = 0” block with “stop all” inside it. Now the game runs for exactly 30 seconds and stops automatically.
For a Game Over screen, create a new sprite using the Paint option. Write “GAME OVER” in big letters. In the code for that sprite, add “when green flag clicked” and immediately attach “hide” so it’s invisible at the start. Then add a separate script with “when I receive [GameOver]” (create a broadcast message called “GameOver”). Under that, snap “show” and “say join Final Score: ” to display the final score. Make sure your timer or collision code broadcasts “GameOver” when the game ends.
Here are five optional features you can add once your basic game works:
- Add a countdown timer that stops the game after 30 seconds using a “Time” variable and a loop
- Create a Game Over sprite that hides at the start and shows when the timer hits zero
- Increase difficulty over time by changing “glide 1 secs” to “glide 0.8 secs” inside a timer check
- Build multiple levels by broadcasting “NextLevel” and changing backdrop or sprite speed
- Save a high score using a second variable and an “if Score > HighScore then set HighScore to Score” check
Testing and Debugging Your Scratch Game
Click the green flag above the stage to start your game. Play it like a normal player would. Move the sprite, click it, check if the score updates, watch the timer count down, and see if the Game Over screen appears. If something doesn’t work, stop the game with the red stop button and check your code block by block.
Most bugs come from blocks being attached to the wrong sprite. Click each sprite in the Sprite List and look at its code. Make sure the player movement code is on the player sprite, the enemy chasing code is on the enemy sprite, and the timer code is on the backdrop or a dedicated controller sprite. If your score isn’t updating, confirm you created the Score variable and added “change Score by 1” in the right event.
Run through this debugging checklist every time you test:
- Does the sprite move smoothly to random positions when the game starts?
- Does the sprite shrink (or grow) when you click it?
- Does the score variable appear on the stage and update correctly?
- If you added a timer, does it count down by 1 every second?
- Does the game stop or show Game Over when the timer reaches 0?
- If you added a “bad” sprite, does it behave differently (grow instead of shrink, subtract score)?
- Do sprites bounce at the edges instead of getting stuck?
If any test fails, isolate the problem. Remove blocks one at a time or test each sprite separately. Scratch lets you click individual blocks to run them without starting the whole game. Click “glide 1 secs to random position” by itself and watch the sprite move. If it works alone but not in your game, the issue is probably a missing loop or wrong event block.
Preventing Future Scratch Game Problems Through Better Workflow
Build your game in tiny steps and test after every change. Add one block, click the green flag, see what happens. If it works, add the next block. If it breaks, you know exactly which block caused the problem. Don’t write ten blocks in a row and then test. You’ll spend ten minutes hunting for the bug.
Keep your code organized by sprite. Give each sprite a clear job. The player sprite handles movement. The enemy sprite handles chasing. The backdrop or a separate sprite handles the timer and Game Over logic. If you pile everything onto one sprite, the code gets messy and harder to debug.
Follow these six workflow best practices to avoid repeating beginner mistakes:
- Test after adding each new block instead of building the whole game first
- Name your sprites clearly (Player, Enemy, Timer) so you always know which code belongs where
- Use “duplicate” instead of rebuilding similar sprites from scratch
- Create variables before you start coding so you don’t forget them later
- Check that every action you want to repeat lives inside a “forever” loop
- Remix other people’s projects to see how they solved the same problem, then rebuild it yourself from memory
When to Seek Extra Help and What to Learn After Your First Scratch Game
Once you’ve built your first working game, you’re ready to explore more complex mechanics. Try adding cloud variables to save high scores across sessions, or use cloning to spawn unlimited enemies. Experiment with custom blocks (also called “My Blocks”) to organize repeated code into reusable chunks. Join the Scratch community to share your project, get feedback, and remix games from other learners.
When Scratch starts to feel easy, consider transitioning to a text based language like JavaScript or Python. Many coding programs designed for ages 13 to 17 teach Python or AI agents after students master Scratch fundamentals. You’ll recognize the same logic patterns (loops, conditions, variables) but you’ll type commands instead of dragging blocks. That step usually happens after you’ve built five to ten Scratch projects and want more control over your code.
Final Words
You’ve jumped into Scratch, picked sprites and backdrops, wired core blocks, added movement, scoring, and collision, and tested your catch-or-click game step by step.
Keep iterating: plan small changes, test often, fix the sprite or variable that misbehaves, and try cloning or timers to level up. If something breaks, simplify the script and add one block at a time.
Follow this step by step guide to create a game in Scratch for beginners and you’ll have a playable project and something to show. Nice work—keep building.
FAQ
Q: How to start making a game from Scratch?
A: To start making a game from Scratch, create or open a project, add a player sprite and backdrop, use “when green flag clicked,” build movement and scoring, then test and iterate.
Q: What is the easiest game to create on Scratch?
A: The easiest game to create on Scratch is a catch or clicker game because they use simple movement, a score variable, and basic collision with “if touching” blocks.
Q: Can a 12 year old use Scratch?
A: A 12 year old can use Scratch; it’s built for kids and beginners, runs in a browser or offline editor, and an account is optional but needed to save and share projects.
Q: What are the basic requirements to create a game in Scratch?
A: The basic requirements to create a game in Scratch are a computer or tablet with a browser (or offline editor), mouse or keyboard, a free Scratch account to save, and a simple plan.

