

Think Rust is overkill for small command-line tools?
But it’s actually a great fit: fast, safe, and easy to package.
In this tutorial you’ll build a command line tool in Rust from scratch using Cargo.
We’ll set up a project, read input, add argument parsing, handle errors, and polish the output.
Each step includes copy-ready code you can run in minutes.
By the end you’ll have a real tool and the patterns to build more.
Ready? Let’s get your first Rust CLI running.
Step‑By‑Step Foundation for Building Your First Rust CLI

You’ll build a working command-line tool today. Rust and Cargo are the only things you need, and Cargo installs automatically when you install Rust. The setup’s the same on Windows, macOS, and Linux. Once Rust is installed, you can verify it, create a new project, and run it in under two minutes.
To get started, you’ll use Cargo to generate a new binary crate. Cargo handles the folder structure, compiles your code, and runs the executable. You don’t write makefiles or mess with build scripts. You just tell Cargo what to do.
Here’s how to get your first CLI running:
- Download and run rustup from the official site. Press Enter to accept the standard installation.
- Open a terminal and run
rustc --versionandcargo --versionto confirm both tools are in your PATH. - Run
cargo new reverse_string_cli --binto create a new binary project. - Navigate into the project folder with
cd reverse_string_cli. - Run
cargo runto compile and execute the default “Hello, world!” program.
Later sections will replace the default program with real CLI logic, add argument parsing, and handle errors. For now, you’ve confirmed that Rust and Cargo work, and you know how to start a new project.
Rust Project Initialization and Cargo Workflow for CLI Development
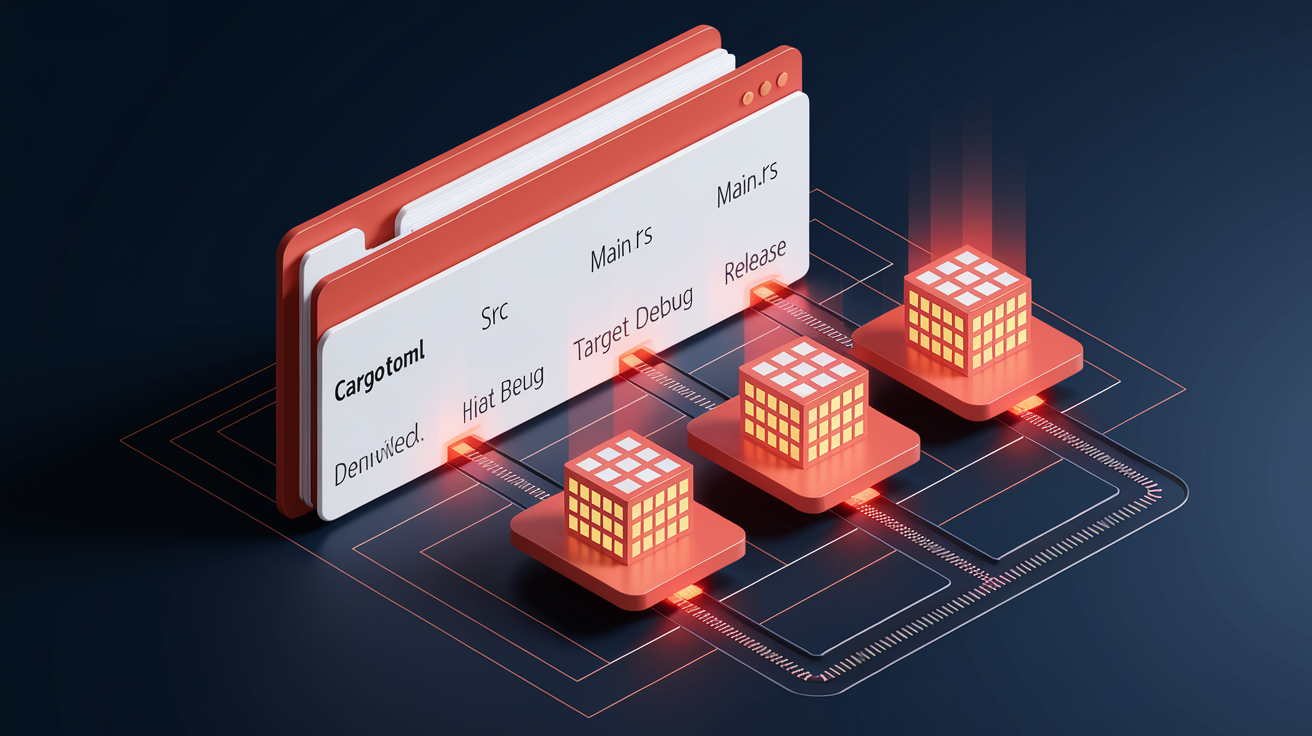
When you run cargo new reverse_string_cli --bin, Cargo creates a folder named reversestringcli. Inside, you’ll find Cargo.toml and a src directory. Cargo.toml holds metadata like the project name, version, and edition. It also has a [dependencies] section where you declare external crates. When you add a dependency, Cargo fetches it from crates.io the next time you build.
The src directory contains main.rs, which is your entry point. The default code prints “Hello, world!” when you run cargo run.
Running cargo build compiles your project and places the binary in target/debug. Running cargo run does the same thing but also executes the binary right away. When you’re ready to ship, you can run cargo build --release to compile with optimizations. The binary goes into target/release.
You don’t need to remember compiler flags or linker settings. Cargo handles the entire build pipeline. Every time you edit code and run cargo run, Cargo recompiles only the files that changed. Incremental compilation keeps feedback loops short, so you can iterate quickly without waiting for a full rebuild.
Implementing Core CLI Logic in Rust

Your CLI needs to prompt the user, read input, process it, and print a result. Rust’s standard library provides std::io for input and output. You’ll use print! to display a prompt, std::io::stdout().flush() to make sure the prompt appears before the program waits for input, and std::io::stdin().read_line() to capture what the user types.
After reading, you’ll call trim() to strip the trailing newline character. Without trim(), your string ends with \n and processing logic breaks.
Processing happens in a separate function. Keeping logic outside of main makes your code easier to test and reuse. In this example, you’ll reverse a string by calling .chars() to get an iterator of characters, .rev() to reverse the order, and .collect::<String>() to build a new String from the reversed characters. Once you have the result, you print it with println!.
Input and Processing Flow
Start by importing the necessary modules at the top of main.rs: use std::io::{self, Write};. Inside main, call print!("Enter a string: "); and then immediately call io::stdout().flush().unwrap(); to force the prompt to display.
Create a mutable String with let mut input = String::new(); and read from stdin with io::stdin().read_line(&mut input).unwrap();. After reading, call let trimmed = input.trim(); to remove the newline.
Now write a function fn reverse_string(s: &str) -> String that returns s.chars().rev().collect::<String>(). Back in main, call let result = reverse_string(trimmed); and print with println!("Reversed: {}", result);.
This flow is the core pattern for interactive CLIs. Prompt, flush, read, trim, process, print.
Adding Argument Parsing Using Popular Rust Crates

Most real CLIs accept arguments when you run them, like my_tool add "Buy milk" or my_tool --verbose list. Parsing arguments manually with std::env::args() works, but it’s tedious and error-prone. The Rust ecosystem has crates that handle parsing, validation, help generation, and subcommands for you.
You have several options. Clap is the most popular and supports derive macros, which let you define your CLI interface using structs and attributes. Clap generates help text, parses positional arguments, handles flags, and supports nested subcommands.
Pico-args is a lightweight alternative when you want minimal dependencies and are willing to write more parsing logic yourself. Structopt was widely used but has been merged into Clap 3.0 and later. If you see old tutorials mentioning structopt, use Clap with derive macros instead.
For full manual control, you can iterate over std::env::args() and match patterns yourself, but this approach is only practical for very simple CLIs.
Here’s a quick comparison:
| Approach | What It Does |
|---|---|
| Clap with derive macros | Define a struct, annotate it, and Clap handles parsing, validation, and help generation automatically. |
| Pico-args | Minimal and fast, but you write more parsing code and validation yourself. |
| Structopt migration | If you find old code using structopt, switch to Clap 3+ and use `#[derive(Parser)]` instead. |
| Manual env::args() | Iterate over arguments yourself, match strings, and handle errors manually. Only suitable for trivial CLIs. |
Error Handling Patterns for Rust Command‑Line Applications
Your CLI will hit errors. Missing files, invalid input, network timeouts, or permission issues. Rust requires you to handle errors explicitly. The simplest approach is to use Result<(), Box<dyn std::error::Error>> as the return type for main. This lets you propagate any error with the ? operator. When an error occurs, the program prints the error message and exits. For quick prototypes, this approach works fine.
When you need more control, define custom error types with the thiserror crate. Thiserror lets you write an enum with variants for each error case, and it generates the boilerplate std::error::Error implementation for you.
If you just need to wrap multiple error types without writing your own enum, use anyhow. Anyhow provides a single anyhow::Result<T> type that can hold any error and includes automatic context and backtrace support.
In practice, use anyhow for applications where you want fast iteration and readable error messages. Use thiserror when you’re building a library or need structured error types that callers can match on.
Formatting Output and Enhancing CLI UX
A CLI that prints raw text works, but color, progress bars, and interactive prompts make it easier to use. Rust has crates that handle terminal formatting safely across Windows, macOS, and Linux.
The termcolor crate provides ANSI color output and automatically disables colors when output is redirected to a file or pipe. Indicatif adds progress bars and spinners, useful when your CLI processes large files or waits for network requests. Dialoguer creates interactive prompts, confirmations, and multi-select lists. Console provides higher-level terminal control and works well with indicatif and dialoguer.
Here are four common UX improvements:
Colored output: Highlight errors in red, success messages in green, and warnings in yellow using termcolor.
Progress bars: Show a visual indicator with indicatif when processing multiple items or waiting for a long operation.
Interactive prompts: Use dialoguer to ask the user for input, confirmations, or selections from a list.
Styled help text: Let Clap generate colorized help automatically, or customize it with console for more control.
Working With Files, Configurations, and JSON/TOML Data

CLIs often read configuration files, parse JSON data, or write output to disk. Rust’s standard library provides std::fs::read_to_string to read a file into a String in one call. If the file is large or binary, use std::fs::File and std::io::BufReader for more control.
To parse JSON, add serde and serde_json to your Cargo.toml dependencies. Read the file with fs::read_to_string, then call serde_json::from_str to deserialize into a serde_json::Value or a custom struct. For pretty-printed output, use serde_json::to_string_pretty.
TOML is a common format for configuration files because it’s human-readable and less verbose than JSON. Add the toml crate and use toml::from_str to parse a TOML file into a Rust struct. Define your config struct, derive serde::Deserialize, and Serde handles the mapping automatically.
If you need to write configuration back to disk, derive serde::Serialize and call toml::to_string or toml::to_string_pretty. This same pattern works for YAML (use serde_yaml) and other formats. Serde is the standard serialization framework in Rust, and almost every data format has a Serde-compatible crate.
Building, Testing, and Running Your Rust CLI Tool

Once you’ve written code, you need to compile, run, and test it. Cargo handles all three. Running cargo run compiles your project and executes the binary in one command. If you want to see the compiled binary without running it, use cargo build. The binary appears in target/debug.
When you’re ready to test performance or ship a release, run cargo build --release to compile with optimizations. This takes longer but produces a faster, smaller binary in target/release.
Testing happens with cargo test. Rust supports unit tests inside the same file as your code and integration tests in a separate tests directory. For a CLI, integration tests are more useful because they exercise the full program. You can spawn your binary as a subprocess, pass arguments, capture stdout and stderr, and check the exit code. The assert_cmd crate simplifies this pattern. It lets you write tests that run your CLI and assert on output in a clean, readable way.
Here’s a typical build and test workflow:
- Write code in src/main.rs and run
cargo runto see if it compiles and behaves correctly. - Add unit tests for individual functions and run
cargo testto verify logic. - Create integration tests in tests/ that run the full binary with different arguments and inputs.
- Use
cargo build --releaseto compile an optimized binary for distribution. - Set up a CI pipeline with GitHub Actions to run
cargo testandcargo buildautomatically on every commit.
Packaging, Releasing, and Distributing Rust CLI Applications

When your CLI is ready to share, you need to package it for other people to install and use. Rust compiles to a single static binary by default, which makes distribution simple. Users don’t need to install a runtime or manage dependencies.
On Linux, you can link against musl instead of glibc to create a fully static binary that runs on any distribution. On Windows, the binary is an .exe. On macOS, it’s a Mach-O executable.
For wider distribution, you can publish to package managers. Homebrew is common for macOS. You write a formula that downloads your binary and installs it. On Linux, you can create a Debian package (.deb), a snap, or an AppImage. For Windows, you can build an installer with tools like WiX or Inno Setup.
If your CLI is open source, you can also publish it to crates.io, and users can install it globally with cargo install your_cli_name. Many Rust CLIs generate shell completions for bash, zsh, and fish using Clap’s built-in completion generation. This lets users type your command and hit Tab to autocomplete subcommands and arguments.
Cross‑Platform Build Notes
Cross-compilation in Rust is straightforward. Install the target triple with rustup target add x86_64-unknown-linux-musl or x86_64-pc-windows-gnu, then run cargo build --target <target-triple>.
For musl builds on Linux, you may need to install the musl-gcc toolchain. This produces a static binary with no external dependencies, which is ideal for distributing Linux CLI tools.
For Windows builds from Linux or macOS, install the mingw-w64 toolchain and use the x86_64-pc-windows-gnu target. Cross-compilation works best when your dependencies are pure Rust. Native C libraries require extra setup and may not cross-compile cleanly.
Final Words
You’re holding a working CLI: rustup installed, rustc and cargo verified, cargo new used, input read and processed, and cargo run produced output.
We walked through Cargo basics, core I/O (print! + flush, read_line, trim, chars().rev().collect()), argument parsing with clap, error handling patterns, file and JSON I/O, UX crates, testing with cargo test, and packaging tips for distribution.
If you followed along, you just learned how to build a command line tool in Rust step by step — keep iterating, add features, and share what you build.
FAQ
Q: How do I install Rust and verify the installation?
A: Installing Rust is done with rustup, the recommended cross-platform installer. After installing, verify with rustc --version and cargo --version to confirm Rust and Cargo are available.
Q: How do I create and run a new Rust CLI project?
A: Creating and running a new CLI uses cargo new --bin <name>, change into the project folder, then use cargo run to build and execute the binary during development.
Q: What is the basic input/output flow for a Rust CLI?
A: The basic I/O flow prompts with print! then flushes stdout, reads input with read_line into a mutable String, trim()s the newline, processes it (e.g., chars().rev().collect()), and prints with println!.
Q: How do I add argument parsing and which crates should I consider?
A: Adding argument parsing usually means using clap with derive macros for robust flags and subcommands; pico-args for tiny tools; note structopt merged into clap; use env::args() only for very simple cases.
Q: What does Cargo do and what belongs in Cargo.toml?
A: Cargo creates Cargo.toml and src automatically; Cargo.toml stores package metadata and dependencies. Use cargo build to compile and cargo run to compile+execute; Cargo fetches crates from crates.io when declared.
Q: How should I handle errors in a Rust CLI app?
A: Error handling in CLIs uses anyhow for quick propagation and thiserror to define custom error types. Return Result<(), Box<dyn std::error::Error>> from main and validate inputs before parsing.
Q: How do I test a Rust CLI and set up CI?
A: Testing and CI use cargo test for unit and integration tests, plus GitHub Actions to run builds and tests on push. Include example files for integration tests and fail fast on regressions.
Q: How do I read files and parse JSON or TOML in Rust?
A: Working with files uses fs::read_to_string to load data, then parse JSON with serde_json::from_str or TOML with the toml crate. Add serde and the parser crates under [dependencies] in Cargo.toml.
Q: How can I improve CLI UX with nicer output and prompts?
A: Improving CLI UX uses termcolor for ANSI-safe coloring, indicatif for progress bars, and dialoguer for interactive prompts. These crates make output clearer and user interaction friendlier.
Q: How do I package and distribute a Rust CLI across platforms?
A: Packaging and distribution include building static binaries (use musl for Linux), producing shell completions and man pages, and publishing via Homebrew, snaps, or installers. Use semantic versioning and cross-compile as needed.

