

Think you need a library to make a shopping cart?
You don’t.
This step-by-step guide shows how to build a simple e-commerce product page with Add to Cart using vanilla JavaScript, HTML, and CSS.
You’ll wire up a cart array, addToCart and removeFromCart functions, and an updateCart UI that refreshes live in the browser.
No frameworks, no magic. Just clear files and code you can paste, run, and understand.
Ready to click Add to Cart and see it work?
Step‑By‑Step Build Of A Simple E‑Commerce Product Page With JavaScript Add‑To‑Cart

You’re going to build a working product page that adds items to a cart, stores them in memory, shows what’s inside, and calculates totals. Just HTML, CSS, and vanilla JavaScript. No frameworks. This tutorial walks through every file and every function, so you’ll see exactly where each piece goes and what it does. By the end, you’ll have a single-page shop you can open in any browser, click “Add to Cart,” and watch everything update live.
You need three files: index.html for structure, style.css for design, and script.js for the cart logic. Link script.js at the bottom of your HTML body so the DOM loads first. Inside script.js, you’ll start with an empty cart array (cart = []), then write an addToCart(name, price) function that either bumps up the quantity on an existing item or pushes a new product object with quantity: 1. The removeFromCart(name) function filters the cart to drop an item. Your updateCart() function clears the cart display (innerHTML = ''), loops through the cart array to rebuild the list, creates a Remove button for each product, and adds up the total by multiplying price times quantity. Your HTML needs two elements with specific IDs: cart-items for the list and cart-total for the number, so updateCart() can find them and refresh what you see.
Want to go further? Add payment processing with the Payment Request API. You’ll create a PaymentRequest object with supportedMethods: 'basic-card', call paymentRequest.show(), and handle the promise with .then(paymentResponse => { ... }) to inspect payment details and .catch(error => { ... }) to catch failures. For now, logging paymentResponse to the console proves the integration works.
Here’s the workflow:
- Create three files in a new folder:
index.html,style.css, andscript.js. - Add HTML for your product with an image, title, price, and button that calls
addToCart(). - Write CSS to style the product card, cart list, and buttons.
- Build the cart array and functions starting with
cart = [], thenaddToCart(name, price),removeFromCart(name), andupdateCart(). - Drop in DOM elements with IDs
cart-itemsandcart-totalin your HTML. - Test in browser dev tools by opening the HTML, clicking “Add to Cart,” and checking the console and Elements panel to confirm the cart updates and the DOM rebuilds.
You don’t need JavaScript experience to follow this. Each step explains what the code does and why. If you can copy and paste, you can ship a working cart.
HTML Structure For A Simple JavaScript E‑Commerce Product Page
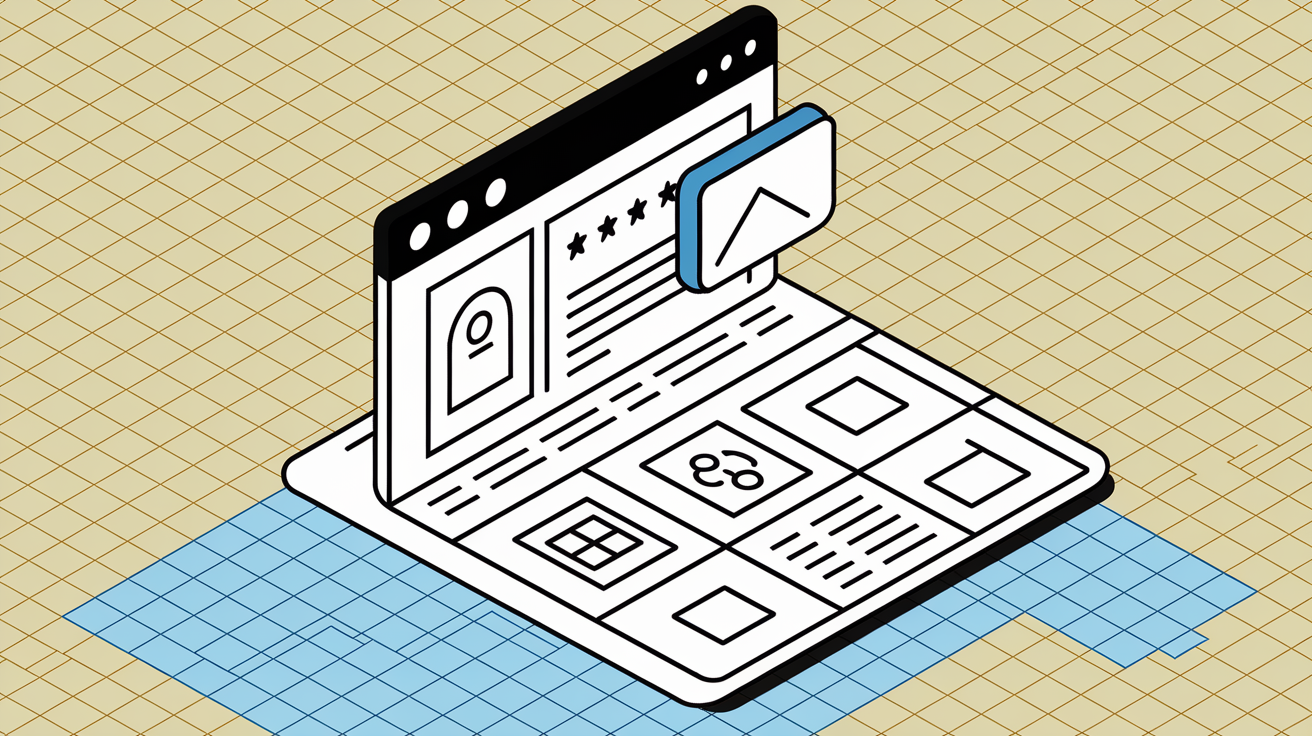
Your HTML needs four things: a product card showing what’s for sale, an “Add to Cart” button, a cart list area for selected products, and a total display. Start with standard HTML5 boilerplate. <!DOCTYPE html>, <html lang="en">, a <head> with charset and viewport meta tags, and a <body>. Link style.css in the <head>. At the bottom of <body>, right before the closing tag, add <script src="script.js"></script> so JavaScript loads after the DOM is ready.
The product card can be a <div class="product-card"> containing an <img> tag for the product photo, an <h2> for the name, a <p> for price, and a <button onclick="addToCart('Product Name', 29.99)">Add to Cart</button>. Below that, add an empty <ul id="cart-items"></ul> where the script inserts list items for each cart entry, and a <p>Cart Total: $<span id="cart-total">0</span></p> to show the running total. That’s all you need to make the cart work.
Required elements:
- Product card with image, title, price, and description inside a
<div class="product-card">. - Add to cart button with
<button onclick="addToCart('...')">calling your JavaScript function with product name and price. - Cart list area using
<ul id="cart-items">to hold dynamic cart entries. - Total display using
<span id="cart-total">inside a paragraph or heading to show the sum.
If you want to level up the layout, add breadcrumb navigation above the product card like “Home > Products > Wireless Headphones” or a small image gallery with thumbnails below the main photo. Neither is required for the cart to function, but they make the page feel more like a real shop.
Styling The Product Page With Beginner‑Friendly CSS

Create style.css in the same folder as your HTML. Write simple rules to center the product card, add spacing, and style the buttons. Start by resetting defaults with * { margin: 0; padding: 0; box-sizing: border-box; }, then set a clean font on body. Many tutorials load Google Fonts in the <head> with a <link> tag, then reference the font family in CSS. Use max-width and margin: 0 auto; on a container div to keep content readable on wide screens. Add responsive rules with a media query like @media (max-width: 600px) { .product-card { width: 100%; } } so the card stacks vertically on phones.
Style the “Add to Cart” button with a background color, white text, padding, and a hover state that changes the background. Give the cart list (#cart-items) a border or background to separate it from the product area, and add padding around list items. Use a larger font size or bold weight for the total so it stands out. Keep every rule simple. Don’t worry about complex positioning or flexbox tricks if you’re new. Basic block layout and padding gets the job done.
Core JavaScript To Implement Add‑To‑Cart Functionality

Open script.js and start by initializing an empty cart array at the top: let cart = [];. This array holds objects representing each product in the cart. Every product object has a name, a price, and a quantity. When the user clicks “Add to Cart,” your script checks if that product name already exists. If it does, increment the quantity. If it doesn’t, push a new object with quantity: 1. After every cart change, call updateCart() to refresh the display and recalculate the total.
To confirm your script loaded, add a quick console.log("this is working"); at the top and open your browser’s developer tools (right click the page and choose Inspect, or press cmd+opt+j on Mac). If you see the message in the Console tab, your script is connected. Now write the functions that make the cart interactive.
Add‑To‑Cart Function Logic
The addToCart(name, price) function receives a product name and price as arguments. Inside, use cart.find(product => product.name === name) to search the array for an existing entry. If find returns a product object, that means the item’s already in the cart, so increment existingProduct.quantity += 1. If find returns undefined, the item is new. Push { name: name, price: price, quantity: 1 } onto the cart array. After either action, call updateCart() to rebuild the UI. This increment or push pattern keeps your cart logic simple and prevents duplicate entries with different quantities.
Updating And Rendering The Cart UI
The updateCart() function grabs two DOM elements by ID: const cartItems = document.getElementById('cart-items'); and const cartTotal = document.getElementById('cart-total');. Start by clearing the old list with cartItems.innerHTML = ''; and resetting the total with let total = 0;. Loop through the cart array with cart.forEach(product => { ... }). Inside the loop, create a new list item: const li = document.createElement('li');. Set its text content to a template string: li.textContent = `${product.name} - $${product.price} x ${product.quantity}`;. Create a Remove button with const removeButton = document.createElement('button');, set its text to “Remove,” and assign an onclick handler: removeButton.onclick = () => removeFromCart(product.name);. Append the button to the list item, then append the list item to cartItems. Add the product’s total to the running sum with total += product.price * product.quantity;. After the loop, set cartTotal.textContent = total; to display the final number. That’s the entire cart update cycle. Clear, rebuild, compute, display.
Optional: Loading Product Data Dynamically With Fetch And Rendering It

If you want to practice working with real product data, you can fetch a list from a public API instead of hardcoding one product card in HTML. The Fake Store API returns an array of 20 products when you call https://fakestoreapi.com/products. Declare a global variable at the top of your script, let allProducts = [];, to store the fetched data. Write a fetchProducts() function that uses the Fetch API: fetch('https://fakestoreapi.com/products').then(response => response.json()).then(data => { allProducts = data; displayProducts(allProducts); });. Inside the .then block, save the returned array to allProducts and call displayProducts(allProducts) to render the product list.
The displayProducts(productsArray) function maps over the array and builds HTML for each product. Grab the container element, const productList = document.getElementById('product-list');. You’ll add <ul id="product-list"></ul> in your HTML under the navbar or header. Use productsArray.map(product => { ... }).join('') to create a string of list items, each containing the product’s image, title, price, and an “Add to Cart” button with an onclick handler that calls addToCart(product.title, product.price). Set productList.innerHTML equal to that joined string, and the browser renders all 20 products instantly. To kick off the fetch when the page loads, wrap your call in a DOMContentLoaded event listener: document.addEventListener('DOMContentLoaded', () => { fetchProducts(); });. This ensures the DOM is ready before your script tries to find elements by ID.
Here’s the basic workflow:
- Fetch data from the API endpoint.
- Store the response array in a global variable.
- Map over the array to generate HTML strings.
- Insert the HTML into a container element via
innerHTML. - Add event listeners or inline onclick handlers to each product button.
If the fetch fails or the API is down, add a .catch(error => console.error('Fetch error:', error)); to log the problem. Open DevTools and check the Network tab to confirm the request succeeded and the Console tab to see any errors.
Saving Cart Data In localStorage For Persistence
Right now, if you refresh the page, your cart resets to an empty array. To keep the cart across page reloads, save it to localStorage every time you modify it. HTML5 web storage gives you at least 5 MB per domain, way more than the 4 KB limit of cookies, and the data never gets sent with HTTP requests, so it’s faster and cleaner for client-side storage. Use localStorage.setItem('cart', JSON.stringify(cart)); after every add or remove action to write the current cart array to storage. Because localStorage only accepts strings, wrap the array with JSON.stringify(cart) to convert it to a JSON string.
When the page loads, check if a saved cart exists. At the top of your script, after let cart = [];, add a line: const savedCart = localStorage.getItem('cart'); if (savedCart) { cart = JSON.parse(savedCart); updateCart(); }. The JSON.parse(savedCart) call converts the stored JSON string back into a JavaScript array, and updateCart() renders it on the page immediately. Now your cart persists between browser sessions. If the user closes the tab and reopens it later, their items are still there.
| Method | Purpose |
|---|---|
| setItem(key, value) | Saves a key-value pair to localStorage; value must be a string |
| getItem(key) | Retrieves the value for a given key; returns null if key does not exist |
| removeItem(key) | Deletes the key-value pair from localStorage |
| clear() | Erases all key-value pairs in localStorage for the current domain |
If you want the cart to expire when the user closes the browser, use sessionStorage instead. It has the same API, sessionStorage.setItem, sessionStorage.getItem, sessionStorage.removeItem, sessionStorage.clear, but the data disappears when the tab or window closes. That’s useful for temporary shopping sessions or demo pages where you don’t want old cart data hanging around. Some users browse in incognito mode or have privacy settings that block all web storage, so your cart will still reset for those visitors. For most use cases, localStorage is the right choice.
Optional Payment And Checkout Flow Using JavaScript
Once the user’s ready to buy, you can integrate a simple checkout flow using the Payment Request API. This browser feature lets you collect payment details without building a custom payment form or redirecting to a third-party page. Start by creating a PaymentRequest object. Define the payment methods you accept, const methodData = [{ supportedMethods: 'basic-card' }];, and the transaction details like total amount. Call const paymentRequest = new PaymentRequest(methodData, details);, then invoke paymentRequest.show() when the user clicks a Checkout button. The .show() method returns a promise. Handle success with .then(paymentResponse => { console.log(paymentResponse); }) to inspect the payment data, and handle failures with .catch(error => { console.error('Payment failed:', error); }) to catch user cancellations or errors.
For a minimal checkout without real payment processing, you can skip the Payment Request API and just clear the cart, display a “Thank you for your purchase” message, and reset the total. Write a checkout() function: calculate the total one more time, show an alert or modal with the message, set cart = [], call localStorage.removeItem('cart'); to clear saved data, and call updateCart() to empty the display. Attach the function to a Checkout button with <button onclick="checkout()">Checkout</button>. The user clicks, sees the thank you message, and the cart empties. That’s enough to complete the tutorial flow and give learners a sense of how checkout works in a real app.
Enhancing User Experience With Microinteractions And Accessibility
Small touches make the cart feel polished. When the user clicks “Add to Cart,” change the button text to “Added!” for one second, then revert it back. Use setTimeout to reset the text after a delay. Add a CSS transition on the button’s background color so the hover state fades in smoothly instead of snapping. If you want to get fancy, animate the cart icon with a quick bounce using a keyframe animation whenever cart.length increases. These microinteractions give instant feedback and make the page feel responsive.
Make your cart accessible by adding ARIA attributes to interactive controls. Set aria-label="Add to cart" on the Add to Cart button and aria-label="Remove item" on each Remove button so screen readers announce what each button does. Ensure all buttons and links are keyboard navigable. Test by tabbing through the page without a mouse. If you’re loading product images, add descriptive alt text so users relying on assistive technology know what each product looks like.
Quick UX improvements to try:
- Add a small number badge on a cart icon in the navbar showing
cart.length. - Use lazy loading on product images (
loading="lazy") to speed up initial page load. - Show a toast notification at the top of the screen when an item is added or removed, then fade it out after three seconds.
Final Words
You set up index.html, style.css, and script.js, placed the script at the end of the body, and added a product card with image, title, price, and button.
The cart starts as cart = []. addToCart(name, price) increments quantity or pushes a new item; removeFromCart uses filter; updateCart() clears innerHTML, rebuilds list items, and computes totals into cart-items and cart-total. We also showed PaymentRequest basics (supportedMethods: ‘basic-card’).
Now you can build a simple e-commerce product page with add to cart using javascript step by step. Test in browser dev tools, tweak styles, and ship the feature—you’re ready.
FAQ
Q: How to create a simple shopping cart in JavaScript?
A: A simple shopping cart in JavaScript is created with index.html, style.css, and script.js; initialize cart = [], implement addToCart(name, price) to increment or push, removeFromCart with filter, and updateCart() to rebuild cart-items and cart-total.
Q: How to build an e-commerce website step by step?
A: Building an e-commerce site step by step starts with the three files, product HTML (image/title/price/button), CSS, JavaScript cart logic (cart array, add/remove/update), DOM IDs for cart-items and cart-total, then test and add fetch or PaymentRequest later.
Q: Is HTML still used in 2026?
A: HTML is still used in 2026 as the foundational page structure; it provides accessible markup, works with CSS and JavaScript, and modern frameworks still output HTML for browsers and search engines.
Q: How to create a webpage with JavaScript?
A: You create a webpage with JavaScript by writing the HTML, placing your script at the end of the body, then using DOM methods and event listeners to render content, handle interactions, or fetch product data dynamically.

