

Think you need React or Vue to make a real app? Think again.
This step-by-step tutorial shows how to build a Todo List app with plain HTML, CSS, and vanilla JavaScript, no libraries, no magic.
You’ll wire up a form, render tasks using DOM methods, use event delegation to handle clicks, and save data with localStorage so tasks stick between visits.
Follow small, testable steps and you’ll finish with a working, persistent todo app and the practical skills to build more interactive pages.
Ready to start?
Step‑By‑Step Setup to Start Building Your Vanilla JavaScript Todo List App
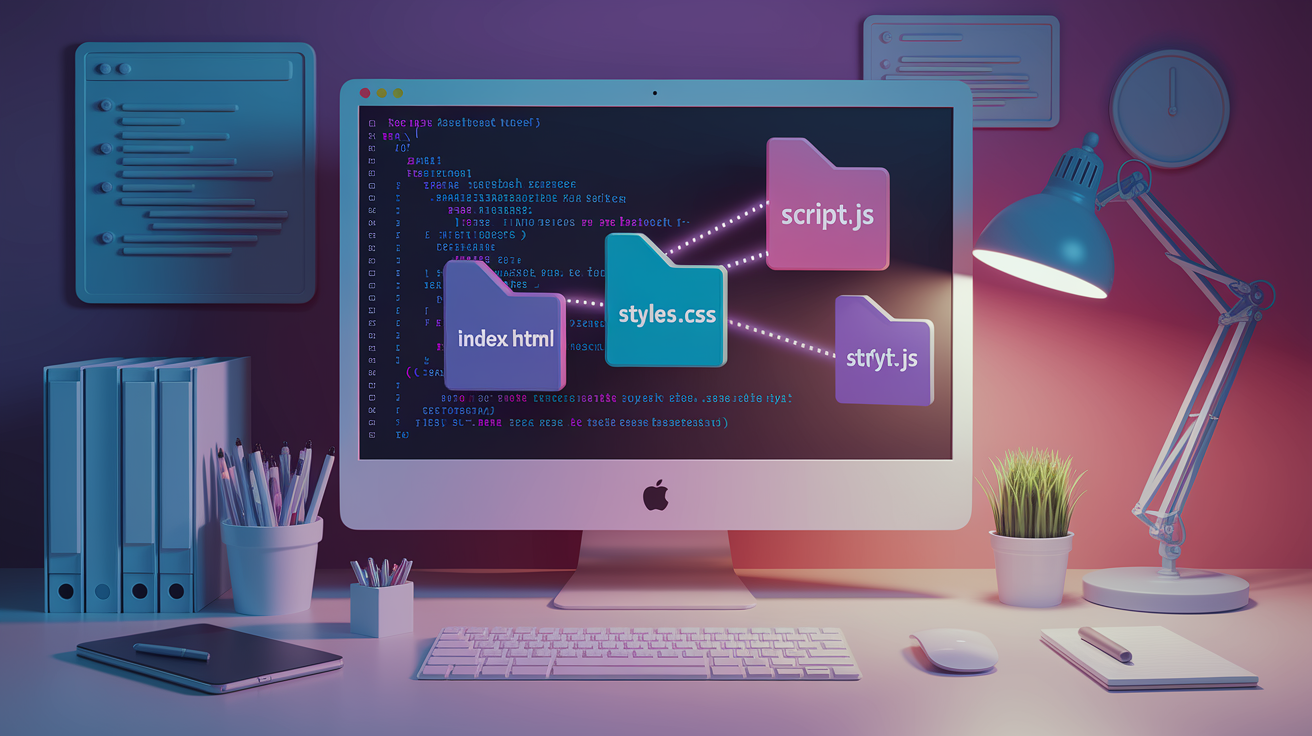
You’ll need three files in the same folder: index.html, styles.css, and script.js. Pop open your index.html and drop a <link> tag in the <head> to pull in your CSS. Then add a <script> tag at the bottom of the <body> to load your JavaScript. This setup keeps everything separated so you’re not hunting through one giant file when something breaks.
If you’re using VS Code or another editor, just create a new project folder and open all three files side by side. You’ll be switching between them constantly.
The HTML file is your structure. Input field, list container, buttons. CSS handles the visual stuff, spacing, colors, all that. JavaScript runs the show: adding tasks, marking them done, deleting them, and saving everything so your list doesn’t disappear when you refresh. Keeping these three concerns separate makes your life easier when you want to change something later.
Get this structure in place before you write any real code. When you know where everything lives, you won’t waste time digging around or accidentally dumping logic into your stylesheet. Start small, test the browser connection right away.
What you need to do:
- Make
index.html,styles.css, andscript.jsin one folder - Link CSS in the
<head>, JS at the end of<body> - Add basic HTML with a heading and empty container
- Set up a few starter variables in
script.js(like an empty tasks array) - Open
index.htmlin your browser, check the console for errors
Building the HTML Structure for a Vanilla JavaScript Todo App

Your HTML needs four pieces: a form with an input and submit button, a container for your tasks (a <ul> works great), optional filter buttons to show all tasks or just completed or pending ones, and maybe a small counter area. Start with a <form> that’s got a text <input type="text"> and a <button type="submit">. Wrap it in a <div> or <section> to keep things tidy. Below that, drop in an empty <ul id="task-list"></ul>. That’s where JavaScript will dump your task items.
If you care about accessibility, add a <label> for your input. Even if you hide it visually with CSS, screen readers need it. Use button text like “Add Task” instead of just a “+” with no label. Make sure your input has a name attribute. Don’t rely on placeholder-only forms because assistive tech often skips those.
What your HTML needs:
- A
<form>with<input type="text">and<button type="submit"> - A
<label>for the input (accessibility) - An empty
<ul id="task-list">for all task items - Optional filter buttons (
<button>All</button>,<button>Completed</button>,<button>Pending</button>)
Styling the Todo List App with Pure CSS
Go with a simple responsive container, max width around 600px, centered with margin: 0 auto. Add padding inside so your text doesn’t slam against the edges on mobile. Style your input and button with enough padding and font size that they’re easy to tap on a phone. Throw in some border-radius and subtle shadows to make it feel modern without going overboard.
Create a .completed class that does text-decoration: line-through and knocks opacity down to 0.6. When JavaScript marks a task done, it’ll slap this class on the task’s <li>. Keep colors simple. Maybe one accent color for the add button, muted gray for completed tasks. If you want dark mode later, use CSS custom properties like --bg-color and --text-color so you can swap the whole palette with one class change on the <body>.
Adding Core JavaScript Logic to Power the Todo App

Grab your DOM elements at the top of your script with document.querySelector. Get the form, the input, the task list container. Attach an event listener to the form’s submit event. Inside that listener, call event.preventDefault() so the page doesn’t refresh, check the input isn’t empty, then fire your addTask() function with the input’s value. After adding the task, clear the input field.
Your tasks live in an array of objects. Each task object needs an id (you can use Date.now() for a quick unique ID), a text field for the task name, and a completed boolean that starts at false. When you add a task, push a new object into the array, save it to localStorage, and call renderTasks() to update the screen. If you don’t validate input first, people can add blank tasks by accident. Check input.value.trim() and only proceed if it’s not empty.
Event delegation saves you a ton of work. Instead of sticking a click listener on every delete button and complete button, attach one listener to the whole task list container. When a click happens, check event.target to see if it’s a delete button or complete checkbox. Read a data-id attribute you set on each button to figure out which task got clicked. Then call deleteTask(id) or toggleComplete(id), update your array, save to localStorage, rerender.
Six functions you need:
addTask(text)– push new task object into arraydeleteTask(id)– filter array to remove matching tasktoggleComplete(id)– find task by id, flip itscompletedbooleanrenderTasks()– clear list container, loop array, create<li>for each tasksaveTasks()– calllocalStorage.setItemwith stringified arrayloadTasks()– calllocalStorage.getItem, parse JSON, return empty array if null
Rendering Task Items Using DOM Manipulation in Vanilla JavaScript

Inside renderTasks(), start by wiping the task list container with taskList.innerHTML = ''. Then loop through your tasks array. For each task, create a new <li> with document.createElement('li'). Set its text content to the task’s text. If the task is completed, add the completed class. Stick in a checkbox or button for marking it done, and a delete button. Append the <li> to the container.
Use data- attributes to store the task’s ID on the buttons. Like deleteBtn.dataset.id = task.id. When you use event delegation on the list container, you can read event.target.dataset.id to know which task was clicked. This keeps things clean and you don’t create a hundred separate listeners. If the task is already completed, set the checkbox to checked or add an active class to the complete button so users see the current state right away.
| Element | Purpose |
|---|---|
| Task text span | Display task name; apply strikethrough if completed |
| Complete button or checkbox | Toggle completed status; shows current state |
| Delete button | Remove task from array and rerender list |
<li> wrapper |
Container for all controls; holds data-id for event delegation |
Saving Tasks Between Sessions with localStorage

Your browser’s localStorage only takes strings, so you’ll use JSON.stringify(tasks) to convert your array before saving. Call localStorage.setItem('tasks', JSON.stringify(tasks)) every time you add, delete, or toggle a task. When the page loads, call localStorage.getItem('tasks') and use JSON.parse() to turn the string back into an array. If getItem returns null (first visit), initialize your tasks array to an empty array.
Put your load logic at the top of your script so tasks get restored before you render anything. Simple pattern: const tasks = JSON.parse(localStorage.getItem('tasks')) || []. If getItem returns null, the || gives you an empty array. After loading, call renderTasks() once to show any saved tasks immediately.
If you forget to stringify before saving, or forget to parse when loading, your app breaks. localStorage will store [object Object] as a string and parsing will fail. You can wrap JSON.parse in a try/catch if you want to handle corrupted data, but for a beginner project the simple || [] fallback works fine.
Four persistence steps:
- Load tasks from
localStorageon page load withJSON.parse - Modify the tasks array in memory when user adds, deletes, or toggles
- Save updated array to
localStoragewithJSON.stringify - Rerender the list to show the new state
Optional Enhancements for Your Vanilla JavaScript Todo App

Add filter buttons so users can view all tasks, only completed, or only pending. Store the current filter in a variable, then tweak your renderTasks() function to loop through a filtered copy of the tasks array. If the filter is “completed,” use tasks.filter(task => task.completed) before creating the <li> elements. Switching filters just updates the filter variable and calls renderTasks() again.
Inline editing is pretty common. Listen for a double-click on the task text. When it fires, replace the text with an <input> field pre-filled with the current task name. When the user presses Enter or clicks outside, save the new text back to the task object, update localStorage, rerender. If you want drag and drop reordering, you can use the HTML5 drag and drop API or a small library. Core idea is listening for dragstart and drop events, then rearranging your tasks array based on where the user dropped the item.
Eight feature ideas:
- Filter tasks by status (All, Completed, Pending)
- Double-click task text to edit inline
- Add a due date field, sort by date
- Drag and drop to reorder
- Task counter showing total and completed count
- Tags or categories for each task
- Search box to filter by keyword
- Keyboard shortcuts (Enter in input to add, Delete key to remove selected task)
Testing, Debugging, and Improving Performance in a Vanilla JavaScript Todo App

Open your browser’s DevTools console and watch for errors while you add, complete, and delete tasks. If a function isn’t firing, throw in console.log('addTask called') at the top to confirm it’s running. If tasks aren’t persisting, log the result of localStorage.getItem('tasks') to see what’s actually saved. If it says [object Object], you forgot to stringify.
Check your event delegation by logging event.target inside your click handler. Make sure each button has the right data-id attribute. If IDs are missing or wrong, your delete and toggle functions won’t know which task to hit. If the page feels sluggish with lots of tasks, confirm you’re using event delegation instead of creating a new listener for every button. Clearing and rebuilding the whole list on every change is fine for a few dozen tasks. But if you’re planning to handle hundreds, consider updating only the changed <li> instead of rerendering everything.
Test edge cases. Add a task with only spaces. Delete the last task. Toggle a task multiple times fast. Refresh the page to check persistence. If your app breaks when localStorage is disabled (some browsers or private modes block it), wrap your setItem call in a try/catch and show a warning to the user.
Five debugging checks:
- Confirm event listeners are attached by logging inside the callback
- Verify
data-idattributes exist on all task buttons - Check
localStoragein DevTools Application tab to see saved JSON - Test with an empty list and a list with 20+ tasks
- Disable localStorage in browser settings, confirm graceful fallback
Final Words
Jump into your editor and set up index.html, styles.css, and script.js. Link the files, add the form and task list, and style the layout so completed tasks look different.
Wire up JavaScript: query the DOM, add event listeners, make add/complete/delete functions, render list items, and save to localStorage. Test in the browser and fix obvious bugs.
If you follow these steps to build a todo list app with vanilla javascript step by step, you’ll have a small, reliable project to improve and show off. Keep going—you’ll learn more with every tweak.
FAQ
Q: What files do I need to start a vanilla JavaScript todo app?
A: The files you need are index.html, styles.css, and script.js. Link styles.css in the HTML head and load script.js with a script tag before the body end so everything connects.
Q: What should HTML, CSS, and JS each be responsible for?
A: The responsibilities are: HTML builds the form and list structure, CSS styles layout and completed-task visuals, and JS handles DOM selection, event listeners, task state, and persistence.
Q: How do I build the basic HTML structure and keep it accessible?
A: The basic HTML structure should use a form with a labeled text input and submit button, plus a ul list container for tasks. Include proper labels and keyboard-friendly controls for accessibility.
Q: How should I style completed tasks and make the layout responsive?
A: Completed-task styling should use a toggled CSS class to add strikethrough or reduced opacity. Use flexible widths and simple breakpoints so the layout adapts to phones and desktop.
Q: What core JavaScript logic do I need to implement?
A: The core JavaScript logic requires querySelector for DOM access, submit and click event listeners, functions like addTask, toggleComplete, deleteTask, and a tasks array that you rerender after changes.
Q: How do I render tasks and keep DOM updates efficient?
A: To render tasks, clear the list container, loop tasks to create li elements with text and buttons, and use event delegation on the list container to handle clicks for better performance.
Q: How do I save tasks between browser sessions?
A: To persist tasks, save the tasks array with JSON.stringify to localStorage after every change, then use JSON.parse on page load to restore the array and rerender the list.
Q: What optional features can I add after the basic app works?
A: Useful optional features include filters (All/Completed/Pending), inline edit mode, due dates, drag-and-drop reorder, search, sort, clear completed, and an undo action for better UX.
Q: How should I test, debug, and improve performance for the todo app?
A: For testing and debugging, check console errors, verify event targets and element IDs, confirm localStorage parse results, and improve performance with event delegation and fewer direct DOM writes.
Q: Why start with a simple project structure before adding features?
A: You should start with a simple structure—three files, a minimal form, and clear JS state—so you can build features one at a time and quickly test in the browser after each step.

