

Want a simple expense tracker that survives page refreshes?
This guide shows you how to build an expense tracker app that saves data in localStorage, step by step.
You’ll make the HTML form, wire up JavaScript to add, edit, and delete entries, and have the browser remember everything.
Along the way you’ll validate amounts, render transactions, and calculate totals so you always see your spending.
By the end you’ll have a compact, testable app that survives refreshes and teaches the core localStorage patterns.
Understanding the Goal of Building an Expense Tracker with localStorage

You’re going to build a small expense tracker web app using HTML, CSS, and JavaScript. All spending data stores in browser localStorage. The finished app lets you add expenses, display them in a table, show running totals, and keep everything saved when you refresh the page.
An expense tracker solves a real problem. Most people lose track of casual spending because there’s no easy place to log it. Your app gives you a simple form where you type what you bought, how much it cost, pick a category, and hit Add. Each expense shows up instantly in a list below. The app sums everything so you always know your total outflow.
localStorage plays the role of your personal database. Every time you add or delete an entry, JavaScript updates the stored JSON. When you reload the page or come back tomorrow, the same data appears because localStorage lives in your browser until you manually clear it. Without this step, all your entries would vanish on refresh.
A step by step guide solves the immediate challenge by breaking the build into small, testable pieces. You’ll create three files, wire them together, write one function at a time, and watch data survive page refreshes before you ever touch advanced features like filters or charts.
Here are the five core tasks your app must perform:
- Accept description, amount, category, and date from an input form
- Validate that amount is positive and description isn’t empty
- Store the new expense in a JavaScript array and save that array to localStorage
- Render the expense list to the DOM and recalculate totals whenever data changes
- Clear all expenses from both the screen and localStorage when the user clicks a reset button
Why Expense Tracker Data Needs Reliable localStorage Handling

Client side apps depend on careful data handling because localStorage is synchronous, string only, and prone to user error. If you forget to wrap your save in JSON.stringify, you’ll write [object Object] instead of real data. If you skip JSON.parse when loading, your array becomes a string and .push() throws an error.
localStorage doesn’t validate data types or schema, so bad input can corrupt your store. A single stray comma, a missing bracket in the JSON, or a manual edit in DevTools Application tab can break JSON.parse. Without a try/catch fallback, your app will crash on page load. Proper handling wraps every localStorage.getItem call in a try block and defaults to an empty array when parsing fails. Proper saving always checks that the array exists before stringifying. This prevents null writes or overwriting valid data with undefined.
Step by Step Project Setup for an Expense Tracker Using localStorage

Start by creating a new project folder on your desktop or preferred workspace. Inside that folder, make three files: index.html, styles.css, and script.js. These three files are all you need for a complete, working expense tracker.
Open index.html and add the standard HTML5 doctype, <html>, <head>, and <body> tags. Inside the <head>, link your stylesheet with <link rel="stylesheet" href="styles.css">. At the end of the <body> tag, just before the closing </body>, include your script with <script src="script.js"></script>. This placement ensures the DOM is fully loaded before JavaScript runs.
Inside the <body>, create a main container <div class="container"> that will hold everything. A title <h1>Expense Tracker</h1>, two sections for adding expenses and showing totals, a table to render transactions, and a footer with a Clear All button. Use semantic tags like <section> for clarity. Give each input and button an id so JavaScript can find it quickly.
Your folder structure and file creation checklist:
- Create a project folder named
expense-tracker - Add three empty files:
index.html,styles.css,script.js - Link the CSS in the
<head>with<link rel="stylesheet" href="styles.css"> - Include JavaScript at the end of
<body>with<script src="script.js"></script> - Add a
.containerdiv, an<h1>, two<section>blocks, a<table>, and action buttons - Assign IDs to all input fields, buttons, and the table body so DOM manipulation is straightforward
Building the App UI Elements Before Adding localStorage Logic
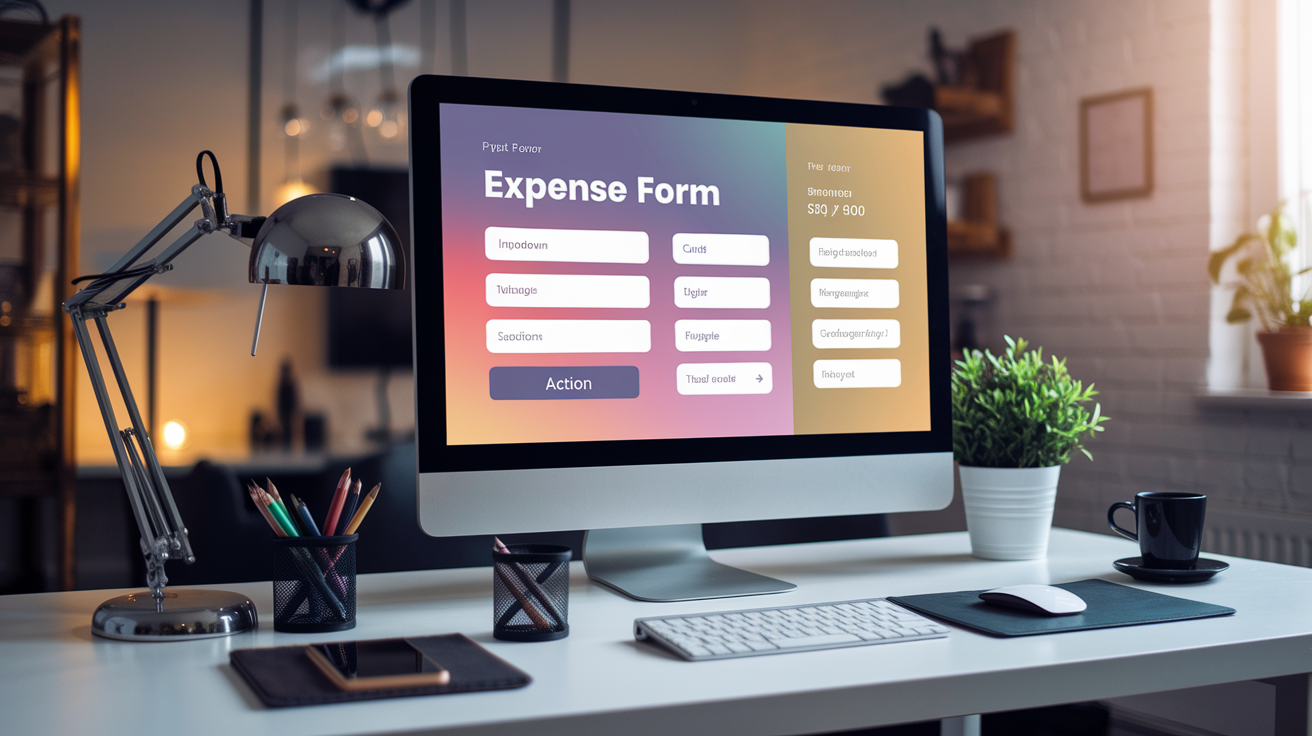
Before you write any JavaScript, finish the HTML form and display structure. Your expense form needs four inputs: description (type=”text”), amount (type=”number”), category (a <select> dropdown), and date (type=”date”). Wrap these in a <form id="expenseForm"> so you can handle submission with one event listener. Add a submit button with text like “Add Expense” and make sure the amount input includes min="0" and required to block negative or empty submissions.
Below the form, create a <table id="transactionList"> with column headers for Description, Amount, Category, Date, and Action. Inside the table, add a <tbody> where JavaScript will insert rows. Under the table, add a summary block showing three values: total income (if you track that), total expenses, and balance. Use <span id="totalIncome">, <span id="totalExpense">, and <span id="balance"> so you can update each number independently.
Finally, add a <button id="clearAll"> for clearing all data.
Here are the essential UI elements to build before coding logic:
- Input field for description with
id="expenseInput"andtype="text" - Input field for amount with
id="amountInput",type="number",min="0", andrequired - Dropdown menu for category with
id="categoryInput"and<option>values like Food, Transport, Bills, Entertainment - Date picker with
id="dateInput"andtype="date" - Submit button inside the form to trigger the add function
- A
<table>with<thead>for labels and<tbody id="transactionList">for rows - Summary display with
totalIncome,totalExpense, andbalancespans
This structure separates input from output, making it easier to test each piece. You’ll add styles next to make inputs larger, center the container, and color the balance based on whether it’s positive or negative.
Implementing CRUD Operations With JavaScript and localStorage

Open script.js and start by selecting all the DOM elements you just created. Declare variables at the top for expenseForm, expenseInput, amountInput, categoryInput, dateInput, transactionList, and the summary spans. Use document.getElementById() or document.querySelector() to grab each element once and store the reference.
Next, define a global array called transactions and load any saved data when the page loads. Write a function getExpenses() that returns JSON.parse(localStorage.getItem('expenses') || '[]'). Wrap that parse call in a try/catch block and return an empty array if parsing fails. In your init() function, call transactions = getExpenses(), then call renderExpenses() to populate the table, and attach a submit event listener to the form.
Your addExpense() function runs when the user submits the form. Inside it, call event.preventDefault() to stop the page from refreshing. Read the values from the inputs. Validate that description isn’t empty and amount is greater than zero. Create a new expense object with five properties: id (use Date.now() for a simple unique timestamp), description, amount (parse as a float), category, and date. Push that object into the transactions array using the spread operator. transactions = [...transactions, newExpense], then call saveExpenses(transactions), renderExpenses(), and clearInputs().
Your saveExpenses(expenses) function is one line: localStorage.setItem('expenses', JSON.stringify(expenses)). This writes the entire array as a JSON string. When you edit or delete, you’ll modify the array and call this same function again. Your deleteExpense(id) function filters the array to remove the matching object. transactions = transactions.filter(t => t.id !== id), then saves and re-renders.
| Function Name | Purpose |
|---|---|
| init() | Load saved expenses, render them, and attach event listeners on page load |
| getExpenses() | Parse and return the expenses array from localStorage, defaulting to [] on error |
| saveExpenses(expenses) | Stringify the array and write it to localStorage under the key ‘expenses’ |
| addExpense(event) | Prevent default, validate inputs, create new object, push to array, save, render |
| deleteExpense(id) | Filter out the matching transaction, save the updated array, re-render |
| renderExpenses() | Clear the table body, loop through transactions, create rows, and update totals |
Enhancing App Functionality: Filters, Sorting, Totals, and User Experience

Once your basic CRUD loop works, you can add features that improve usability. Start by implementing a live total calculator. Inside renderExpenses(), use transactions.reduce((sum, t) => sum + t.amount, 0) to compute the total expenses. Format that number with two decimal places using toFixed(2) or a currency formatter like new Intl.NumberFormat('en-US', { style: 'currency', currency: 'USD' }).format(total).
Add a category filter by creating a second dropdown above the table. When the user selects a category, filter the transactions array and render only matching entries. You can add a date range filter using two date inputs and checking if each transaction’s date falls between the start and end. Sorting can be a button that toggles between ascending and descending order on amount or date. Store the current sort state in a variable and re-render whenever it changes.
Optional improvements to consider:
- Show a brief success notification when an expense is added, fading out after two seconds
- Add a color indicator for balance. Green if positive, red if negative, by toggling CSS classes
- Implement inline editing: click a row to populate the form, update the object on save instead of creating a new one
- Use Font Awesome or emoji icons for delete buttons to replace plain text
- Add a monthly summary section that groups transactions by month and shows totals
- Include an autofocus attribute on the description input so users can start typing immediately
- Debounce filter inputs if you add live search to prevent re-rendering on every keystroke
- Store filter and sort preferences in localStorage so the user’s view persists across sessions
Adding Data Export, Import, and Backup Safely in localStorage Apps

localStorage has a typical per origin limit of around 5MB. If you track hundreds of expenses, you’ll eventually hit quota errors. To prevent data loss, implement a manual export feature. Create a function exportData() that calls JSON.stringify(transactions, null, 2) for readable formatting, then creates a Blob with type application/json. Use a temporary anchor element with a download attribute to trigger a file save: const blob = new Blob([json], { type: 'application/json' }); const url = URL.createObjectURL(blob); const a = document.createElement('a'); a.href = url; a.download = 'expenses.json'; a.click(); URL.revokeObjectURL(url);.
Importing works in reverse. Add a file input with type="file" and accept=".json". Listen for the change event, read the file using FileReader, parse the JSON, validate its structure, then either replace or merge with the existing transactions array. Always wrap the parse in try/catch and show an error message if the file is malformed.
Steps for safe export and import:
- Create an Export button that calls
exportData()and downloads a .json file - Add a hidden file input and a clickable Import button that opens the file picker
- Read the file with
FileReader.readAsText(file)and parse the result - Validate that the parsed data is an array before merging or replacing
- Show confirmation messages for successful import and error alerts for failed parses
Preventing Common Issues When Building localStorage Expense Trackers

Most bugs in localStorage apps come from parsing errors or validation gaps. Always wrap JSON.parse(localStorage.getItem('expenses')) in a try/catch block and provide a fallback array. If you forget, a single corrupt character in localStorage will crash your app on every page load. Another common mistake is calling setItem inside a loop without batching updates, which slows down performance and risks incomplete writes if the loop breaks.
Validation should happen before you create the transaction object. Check that the description isn’t an empty string and that the amount is a number greater than zero. If you skip this, users can submit blank rows that clutter the UI and break totals. Use HTML5 attributes like required and min="0" on inputs for browser level validation, then duplicate those checks in JavaScript for safety.
| Error | Cause | Prevention |
|---|---|---|
| Uncaught SyntaxError: Unexpected token in JSON | Corrupted localStorage string or manual edit in DevTools | Wrap JSON.parse in try/catch and return [] on error |
| Duplicate transactions appear after add | Rendering loop runs twice or old data not cleared | Clear table body innerHTML before looping and rendering |
| QUOTA_EXCEEDED_ERR when calling setItem | Storage limit reached (~5MB per origin) | Implement export/import and warn users to back up data |
| Balance shows NaN after deleting items | Reduce function tries to sum non-numeric amounts | Parse amounts as floats when creating objects and validate type |
When to Look Beyond localStorage and Use Server Sync or IndexedDB

localStorage works well for small datasets and single user apps, but it has hard limits. The synchronous API blocks the main thread during reads and writes, which means large JSON parses can freeze your UI for a few milliseconds. The 5MB per origin cap is usually enough for a few hundred expenses, but power users who track daily spending for years will hit that ceiling and see quota errors.
If you need more space or structure, switch to IndexedDB. IndexedDB is asynchronous, supports indexes and queries, and can store gigabytes of data. It’s more complex to set up, but libraries like Dexie.js make it almost as simple as localStorage. If you want multi device sync or collaboration, you need a server backend. Store expenses in a database like PostgreSQL or MongoDB, authenticate users, and sync changes via a REST or GraphQL API. This adds complexity, but it’s the only way to keep data available across phones, tablets, and desktops.
Final Words
You jumped straight into building a small expense tracker: HTML form, transaction list, totals, and the JavaScript that wires it all up. We implemented add, edit, delete, rendering, and used localStorage to keep data between sessions.
We also covered validation, safe JSON parse/stringify, exports for backups, optional filters and sorting, and when to move to IndexedDB or a server if your needs grow.
Now use the guide to create an expense tracker app with localStorage step by step — you’ll end up with a working browser budget app you can improve and show off. Nice work, keep building.
FAQ
Q: How do I build or create an expense tracker app with HTML, CSS, and JavaScript?
A: To build an expense tracker app with HTML, CSS, and JavaScript, create index.html, styles.css, script.js; add a form, transaction list, totals, validation, and use localStorage (JSON.stringify/parse) to persist expenses.
Q: What is the 50 30 20 budget rule app?
A: The 50/30/20 budget rule app applies 50% to needs, 30% to wants, and 20% to savings/debt, showing allocations and simple tracking so you can see and maintain those spending splits.

