

Ever felt lost when someone says “build a CRUD app” and it sounds like a big, scary project?
This guide cuts that confusion.
You’ll build a simple staff manager using C# and ASP.NET, step by step.
We skip the heavy theory and show how to set up the project, create the database, wire up Entity Framework Core (it maps classes to tables), scaffold controllers and views, and test in your browser.
By the end you’ll have a working Create, Read, Update, Delete app you can extend.
Quick Overview of a Simple CRUD App

CRUD stands for Create, Read, Update, and Delete. These four operations sit at the core of pretty much any database-driven application. You’re about to build a simple web app that lets you manage staff records through a clean interface.
Here’s what each operation does:
Create – Add new records to the database.
Read – Display existing records in a list or detail view.
Update – Edit and save changes to existing records.
Delete – Remove records from the database.
This tutorial skips the theory and jumps straight into building. You’ll create a database, wire up Entity Framework Core, generate controllers and views, and test your app in the browser.
How to Create a Simple CRUD App with C# and ASP.NET Step by Step

How to Set Up the Project Environment
Install Visual Studio and SQL Server Management Studio. Download Visual Studio 2022 Community (it’s free) and Microsoft SQL Server Management Studio from Microsoft’s official site. You’ll need both to build and manage your app.
Open SQL Server Management Studio. Connect to your local server. If you installed SQL Server Express, the server name is usually (localdb)\MSSQLLocalDB or just ..
Create the database. Right-click on “Databases” in the Object Explorer and select “New Database.” Name it personnel and click OK. You should see the new database appear in the list.
Open Visual Studio. Launch it and select “Create a new project.”
Choose the ASP.NET Core Web App (Model-View-Controller) template. Search for “ASP.NET Core” in the template list, select the MVC option, and click Next.
Name the project PersonnelInfo. Pick a location on your machine and click Create. Visual Studio will generate a folder structure with Controllers, Models, Views, and wwwroot folders.
How to Configure the Database and Entity Framework Core
Open appsettings.json. You’ll find this file in the project root. Add a new connection string inside the ConnectionStrings section like this:
"DefaultConnection": "Server=.;Database=personnel;Trusted_Connection=True;MultipleActiveResultSets=true"
If you’re using a remote SQL Server, replace . with your server address and add User Id and Password parameters.
Create a Data folder. Right-click on the project name in Solution Explorer, select Add, then New Folder, and name it Data.
Add AppDbContext class. Inside the Data folder, add a new class named AppDbContext.cs. Make it inherit from DbContext by adding using Microsoft.EntityFrameworkCore; at the top and changing the class signature to public class AppDbContext : DbContext { }.
Install Entity Framework Core packages. Open Tools, then NuGet Package Manager, then Manage NuGet Packages for Solution. Search for and install Microsoft.EntityFrameworkCore (version 5), Microsoft.EntityFrameworkCore.SqlServer (version 5), and Microsoft.EntityFrameworkCore.Tools (version 5).
Register DbContext in Startup.cs. Open Startup.cs and locate the ConfigureServices method. Add this line:
services.AddDbContext<AppDbContext>(options => options.UseSqlServer(Configuration.GetConnectionString("DefaultConnection")));
You’ll also need to add using Microsoft.EntityFrameworkCore; at the top of the file.
How to Build the CRUD Features (Models, Migrations, Controllers, Views)
Create the Staff model. Add a new class in the Models folder named Staff.cs. Add properties for Id, LastName, FirstName, Address, Designation, and StaffNo like this:
public class Staff
{
    public int Id { get; set; }
    public string LastName { get; set; }
    public string FirstName { get; set; }
    public string Address { get; set; }
    public string Designation { get; set; }
    public string StaffNo { get; set; }
}
Add DbSet to AppDbContext. Open AppDbContext.cs and add this line inside the class: public DbSet<Staff> Staff { get; set; }.
Open Package Manager Console. Go to Tools, then NuGet Package Manager, then Package Manager Console.
Run the migration command. Type Add-Migration InitialCreate and press Enter. You should see a new Migrations folder appear with a file that contains code to create your Staff table.
Apply the migration to the database. Type Update-Database and press Enter. This creates the Staff table in your personnel database.
Verify the table in SQL Server Management Studio. Refresh the personnel database in Object Explorer, expand Tables, and confirm that dbo.Staff appears in the list.
Create StaffController. Add a new class in the Controllers folder named StaffController.cs. Inside the controller, inject AppDbContext by adding a private field: private readonly AppDbContext _context; and a constructor that accepts AppDbContext context and assigns it to _context.
Add CRUD action methods. Inside StaffController, add these methods: List (returns all staff), Create (GET form and POST to save), Edit (GET form and POST to update), and Delete (POST to remove).
For example, your List method should look like this:
public IActionResult List() { var staff = _context.Staff.ToList(); return View(staff); }
Your Create POST method should accept a Staff parameter, add it to _context.Staff, call _context.SaveChanges(), and redirect to List.
Create Views folder for Staff. Right-click on the Views folder, add a new folder named Staff.
Add List.cshtml. Inside Views/Staff, create a new Razor View file named List.cshtml. At the top, add @model IEnumerable<PersonnelInfo.Models.Staff> (adjust namespace if needed). Below that, create an HTML table that loops through Model and displays each staff member’s properties. Include an “Edit” and “Delete” link for each row.
Add Create.cshtml. Create another Razor View named Create.cshtml with a form that uses tag helpers like <input asp-for="FirstName" class="form-control" /> for each property. The form’s asp-action should be Create.
Add Edit.cshtml. Copy Create.cshtml and rename it to Edit.cshtml. Adjust the form to include a hidden input for Id and change asp-action to Edit.
Run the app. Press F5 or click the green “Run” button in Visual Studio. Your browser should open to the default home page.
Navigate to /staff/List. Change the URL in your browser to https://localhost:[port]/staff/List (replace [port] with the actual port number shown in your browser). You should see an empty table.
Test Create. Click the “Create New” link, fill out the form, and submit. You should be redirected back to the list, and your new staff record should appear.
Test Edit and Delete. Click “Edit” on a row, change a field, and save. Then click “Delete” and confirm. Refresh SQL Server Management Studio and query the Staff table to verify the changes persisted.
Understanding the ASP.NET Core MVC Pattern

MVC divides your application into three interconnected components: Models (data and business logic), Views (UI templates), and Controllers (request handlers). When a user navigates to /staff/List, the routing system calls the List action in StaffController, which queries the database and passes data to the List.cshtml view.
Models define the structure of your data. The Staff class with properties like FirstName and Designation.
Views render HTML using Razor syntax. You used @model and tag helpers to bind form inputs.
Controllers handle requests, call the DbContext to fetch or modify data, and return views or redirects.
DbContext acts as a bridge between your models and the database, managed by Entity Framework Core.
You just built a working MVC app by creating a model, wiring up a controller with actions, and building views that display and submit data. That separation keeps your code organized and easier to debug.
What Is Entity Framework Core

Entity Framework Core is an ORM (object-relational mapper) that translates C# classes into database tables and SQL queries into C# method calls. You define a DbSet<Staff> in your AppDbContext, and EF Core knows to map that to a Staff table in SQL Server.
EF Core handles these jobs for you:
Schema generation – Your Add-Migration command created a migration file with SQL to build the Staff table.
CRUD operations – Calling _context.Staff.Add(newStaff) and _context.SaveChanges() inserts a new row in SQL Server.
Change tracking – When you modify a Staff object and call SaveChanges(), EF Core detects the changes and runs an UPDATE statement.
Querying – Methods like .ToList() or .FirstOrDefault() generate SELECT queries behind the scenes.
| Component | Role |
|---|---|
| AppDbContext | Coordinates database access and tracks entity changes |
| DbSet<Staff> | Represents the Staff table and enables querying and saving |
You ran Update-Database in the Package Manager Console, and EF Core executed the migration to create the table. From that point on, every time you call SaveChanges(), EF Core writes your changes to SQL Server.
Project Structure in an ASP.NET Core CRUD Application
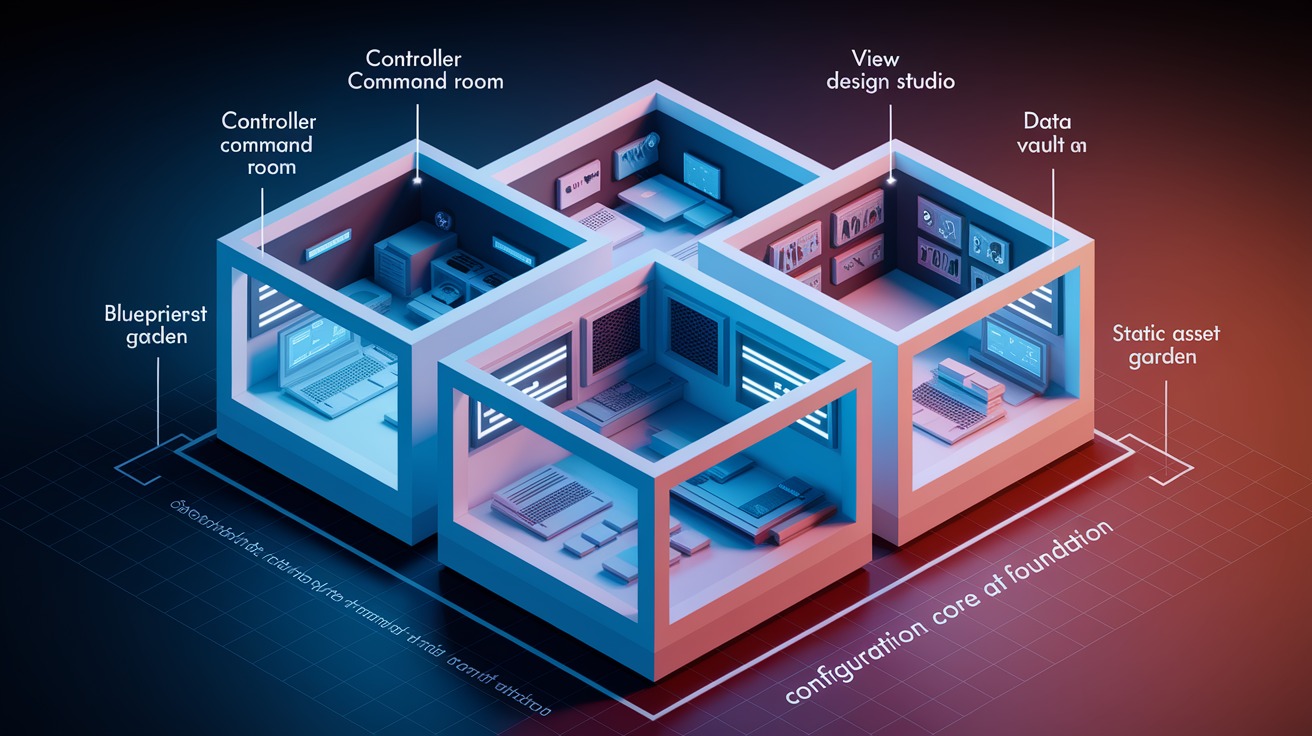
Visual Studio generates a standard folder layout when you create an MVC project. Each folder has a specific job. Knowing where files live makes it easier to add features later.
Controllers – Classes that handle HTTP requests. You added StaffController.cs here.
Models – Data classes that define your entities, like Staff.cs.
Views – Razor templates that render HTML. You created List.cshtml, Create.cshtml, and Edit.cshtml inside Views/Staff.
Data – DbContext and any database-related configuration. You created AppDbContext.cs here.
wwwroot – Static files like CSS, JavaScript, and images. ASP.NET Core serves these automatically.
Your appsettings.json lives in the project root and holds configuration like connection strings. Startup.cs (or Program.cs in newer templates) registers services like AddDbContext so the app knows how to connect to SQL Server.
Pros and Cons of Building CRUD Apps with C# and ASP.NET

ASP.NET Core and Entity Framework Core make it fast to build a working CRUD app. You get built-in routing, model binding, and scaffolding, so you can focus on features instead of wiring up low-level plumbing.
Pros:
Scaffolding can auto-generate controllers and views with one command.
Tag helpers simplify form binding and validation.
EF Core migrations let you version your database schema like code.
Razor syntax keeps your views clean and easy to read.
Cons:
Forgetting to register DbContext in Startup.cs breaks the entire app with a cryptic error.
Connection string mistakes (wrong server name, missing credentials) require trial and error to debug.
Migration commands can fail if your model and database get out of sync.
Beginners often struggle with async/await patterns in controller actions.
If you follow the step-by-step checklist and double-check your connection string and DbContext registration, you’ll avoid most common pitfalls.
Comparing CRUD Implementation Approaches in ASP.NET Core

ASP.NET Core supports multiple ways to build CRUD apps. The code-first approach uses models and migrations, while database-first starts with an existing database and generates models. Scaffolding automates controller and view creation.
| Method | Workflow | Best Use |
|---|---|---|
| Code-First | Write models, run migrations, generate DB schema | New projects where you design the database from scratch |
| Database-First | Connect to existing DB, scaffold models from tables | Legacy databases or when the DB schema is already defined |
| Scaffolding | Use CLI or Visual Studio wizard to auto-generate CRUD code | Rapid prototyping or when you need standard CRUD patterns fast |
You used code-first in this tutorial because it’s the most beginner-friendly. You defined the Staff model, ran Add-Migration, and let EF Core create the table. Database-first works well if your DBA already built the schema and you just need to connect. Scaffolding saves time once you understand the basics, but it’s better to manually write your first controller and views so you know what’s happening under the hood.
How to Use and Benefit from a Simple CRUD App Built with C# and ASP.NET

You now have a working CRUD app that manages staff records. You can add new staff, view the full list, edit details, and delete records. Every action persists to SQL Server, and you can verify changes directly in SQL Server Management Studio.
Add validation. Use data annotations like [Required] and [StringLength(100)] on your Staff model properties to prevent empty or oversized inputs.
Test with Postman. If you add API endpoints (like returning JSON instead of views), you can test them with Postman or curl.
Write unit tests. Install xUnit and Microsoft.EntityFrameworkCore.InMemory, then write tests that seed an in-memory database and verify your controller actions work correctly.
Implement paging. Instead of loading all staff at once, display 10 records per page and add Previous/Next buttons in the view.
Add search and filtering. Let users filter by Designation or search by LastName before displaying the list.
Deploy to Azure. Publish your app to Azure App Service and connect to Azure SQL Database so others can access it online.
If you run into errors, check that your connection string matches your SQL Server setup and that you ran Update-Database successfully. Most issues come from missing package installations, typos in the connection string, or forgetting to register DbContext in Startup.cs.
Final Words
You just wired a working Personnel CRUD app: created the SQL Server database, added the Staff model, configured DbContext and EF Core, ran migrations, and scaffolded controllers and views.
The guide then explained MVC, EF Core roles, project folders, pros and cons, and testing tips so you can run and debug your app. If something breaks, check connection strings or DbContext registration.
This clear how to create a simple CRUD app with C# and ASP.NET step by step gives you a testable starting point. Try the steps now, you’ll have a working app and the confidence to build more.
FAQ
Q: How to build a simple CRUD web app with C# and ASP.NET?
A: To build a simple CRUD web app with C# and ASP.NET, create an MVC project, add a Staff model, configure DbContext and connection string, install EF Core, run migrations, scaffold controllers and views, then test.
Q: What is CRUD in C# and what are basic CRUD apps?
A: CRUD in C# means Create, Read, Update, Delete operations on data. Basic CRUD apps manage records (like personnel), using models, a database, DbContext, and simple controllers or API endpoints to handle those actions.

