

Think adding a Google Map will slow your page to a crawl?
Not if you set it up the right way.
This guide walks you through Google Maps API integration for responsive websites, step by step.
You’ll drop a working map into your page in 60 seconds, lock down an API key, add the HTML and CSS, initialize the JavaScript, and make the map resize cleanly on phones and desktops.
By the end you’ll have a fast, interactive map with markers, custom controls, and simple troubleshooting tips.
Quick Start: Embed a Google Map in 60 Seconds

Need a working map right now? Here’s the fastest way. You’ll drop a map on your page, watch it load, and confirm everything’s working before you tweak anything.
This quick setup uses Google’s Maps JavaScript API to create a basic map centered wherever you want. You need an API key (covered in the next section), a container for the map, and about four lines of JavaScript. Once you paste it in, you should see a gray map pop up with zoom controls.
Five steps to get it done:
-
Create a container div. Add
<div id="map"></div>anywhere in your HTML<body>where you want the map. -
Set a height in CSS. Add
#map { height: 400px; width: 100%; }in a<style>tag or your stylesheet. Without height, the map won’t render. Before you debug anything else, make sure your map container has an explicit height. That one rule fixes about half of all “my map won’t load” problems. -
Load the API script. Paste this before your closing
</body>tag:<script src="https://maps.googleapis.com/maps/api/js?key=YOUR_API_KEY&callback=initMap" async defer></script>. SwapYOUR_API_KEYwith your actual key. -
Initialize the map. Add a
<script>tag with the callback:
   function initMap() {
     var location = {lat: 40.7128, lng: -74.0060};
     var map = new google.maps.Map(document.getElementById('map'), {
       zoom: 12,
       center: location
     });
   }
This centers on New York City at zoom level 12.
- Open it in your browser. You should see an interactive map with zoom and pan controls. If it doesn’t load, pop open your browser console (F12) and look for errors about API keys or billing.
That’s it. Working map. The rest of this guide shows you how to lock down your API key, make the map responsive, add markers, and customize controls.
Getting Your Google Maps API Key

Google requires an API key to serve maps on your site. The key tracks usage, enforces quotas, and lets you restrict which domains can use it. No valid key means you get a gray box or an error asking you to enable billing.
Head to the Google Cloud Console at console.project.google.com. If you’ve never touched Google Cloud before, you’ll create a new project and enable billing. Yeah, billing’s required even though Google offers a generous free tier. At publication, you can make a little over 28,000 API calls per month before charges start. Most small sites never hit that.
Once your project’s set up, enable the Maps JavaScript API from the API Library. Then go to the Credentials tab and generate a new API key. Copy it immediately. Before you paste it into your code, apply restrictions. Under “Application restrictions,” pick “HTTP referrers” and add your domain (like yoursite.com/*). This stops someone from stealing your key and running up charges on their site.
How to get and lock down your key:
-
Create or select a Google Cloud project. Go to the Cloud Console, click the project dropdown at the top, create a new project if needed.
-
Enable the Maps JavaScript API. Search for “Maps JavaScript API” in the API Library and click Enable.
-
Generate an API key. Go to Credentials, Create Credentials, API Key. Copy what appears.
-
Restrict the key. Click “Restrict Key,” choose HTTP referrers, add your domain patterns (like
*.yoursite.com/*andlocalhost/*for testing).
Keep restrictions tight. An unrestricted key can be used by anyone who finds it in your page source, and you’ll get billed for every map load on their site.
Add the Required HTML Structure
The Maps JavaScript API needs a container element to draw into. This is always a <div> with a unique id, placed wherever you want the map. The API searches the DOM for that id, grabs the element, injects the map inside.
You can name the container anything, but id="map" is what you’ll see in every tutorial and Google’s docs. Stick it in your main content area, below a heading, or in a dedicated section. The div can be empty. No fallback text or images needed. The API fills it once the script loads.
What the container needs:
-
A unique
idattribute (likeid="map") so JavaScript can find it. -
Placement in the document where you want the map to render. Inside a section, article, full width container.
-
No inline width or height attributes. Let CSS handle sizing so you can control responsiveness in one place.
That’s the entire HTML requirement. One div. The real work happens in CSS and JavaScript.
Apply CSS to Make the Map Visible
Google Maps won’t render unless the container has a height greater than zero pixels. Skip this and you’ll see blank space where the map should be. The API reads the container’s computed height and width, then draws map tiles to match. No height means no tiles.
Set an explicit height using pixels, viewport units, or a percentage of a parent element. For quick prototypes, height: 400px; works. For responsive layouts, height: 50vh; makes the map half the viewport height, which scales naturally on mobile and desktop. Pair it with width: 100%; so the map fills its container horizontally.
Minimal example: #map { height: 400px; width: 100%; background-color: grey; }. The gray background’s optional, but it shows you the container’s size while the map loads. If you see gray but no map tiles, the API hasn’t initialized yet or there’s an error in your JavaScript.
Implement the Google Maps JavaScript Initialization

The Maps JavaScript API loads asynchronously, then calls a global function you define. Usually named initMap. This callback is where you create the map object and pass in your settings. The API waits for the DOM to be ready, so you can safely access elements by id inside the callback.
The core function is new google.maps.Map(), which takes two arguments: the DOM element and an options object. The options must include center (a {lat, lng} object) and zoom (a number from 0 to 21, where 0 shows the whole Earth and 15 shows street level detail). Typical example centering on Boston Common at zoom 15:
function initMap() {
  var location = {lat: 42.3601, lng: -71.0589};
  var map = new google.maps.Map(document.getElementById('map'), {
    zoom: 15,
    center: location
  });
}
Place this script in your HTML <body> or link it from an external file. The script tag loading the API includes callback=initMap, so when the library finishes loading, it immediately runs your initMap function. If the function isn’t defined or has a different name, the map won’t appear and you’ll see a console error like “initMap is not a function.”
Check your browser’s developer console after the page loads. If the map draws, you’ll see no errors. If it fails, the console tells you whether the API key’s invalid, billing isn’t enabled, or the callback didn’t run.
Make the Map Fully Responsive
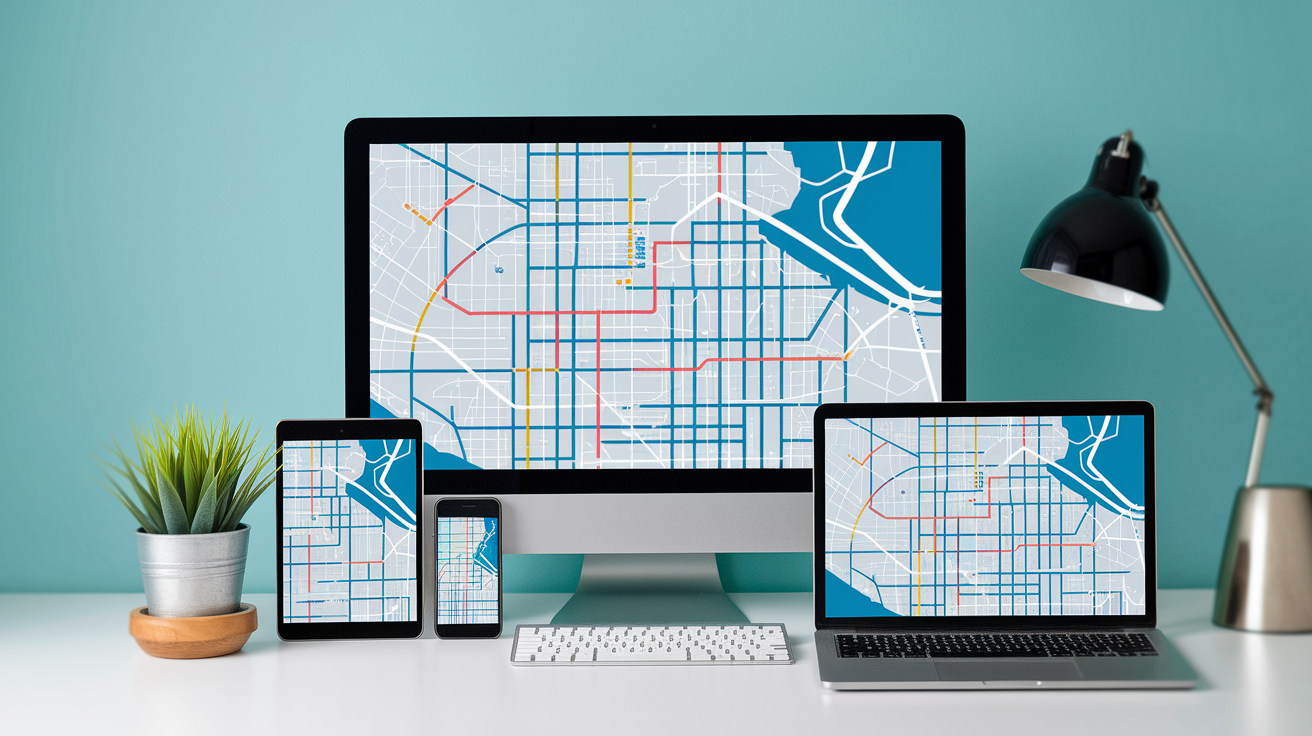
A responsive map adjusts its width and height to fit the screen. Whether that’s a 320px phone or a 1920px monitor. Simplest approach is to set the container to width: 100%; and use viewport relative height like height: 50vh;, or let the container’s parent define the height using flexbox or grid.
You can also use a CSS aspect ratio box to maintain consistent shape. Wrap the map div in a container with position: relative; and padding-bottom: 56.25%; (for 16:9), then position the map absolutely inside it with width: 100%; height: 100%;. This locks the map to the aspect ratio regardless of screen size. For 4:3, use padding-bottom: 75%;. For a square, use 100%;.
Responsive techniques that work:
-
Use
height: 50vh;orheight: 60vh;to make the map scale with the viewport. -
Use CSS
min-height: 300px;to prevent the map from collapsing too small on narrow screens. -
Use flexbox or grid to give the map proportional height inside a layout, like
flex: 1;in a column. -
Use the aspect ratio box pattern (padding bottom trick) if you need a fixed shape that scales up and down.
Test by resizing the browser window. Map tiles should redraw smoothly as the container changes size. If tiles disappear or the map jumps, check that the container’s dimensions are set in CSS, not inline HTML attributes. The API reads CSS values and recalculates tile positions on every resize event.
Add a Marker to the Map
Markers show specific locations on your map. Your office, a store, a trailhead. Most common use case is a single marker pinpointing your business address on a contact page. To add a marker, create a new google.maps.Marker() object and pass it a position and the map it should appear on.
The position is a {lat, lng} object, same format as the map’s center. The map is the variable you created in initMap. Here’s how to add a marker at the same location you centered the map on:
Steps to add a marker:
-
Define the coordinates. Reuse the same
locationvariable or create a new one:var location = {lat: 42.3601, lng: -71.0589};. -
Create the marker instance. After initializing the map, add:
var marker = new google.maps.Marker({ position: location, map: map });. -
Verify it appears. Reload the page. You should see a red pin at the coordinates you specified.
If the marker doesn’t show, check that the position’s latitude and longitude match real coordinates (latitude is negative 90 to 90, longitude is negative 180 to 180). Also confirm the map variable is in scope. If you define the map inside one function and try to create the marker in another, you’ll get a reference error.
Customize Map Options and Controls
Google Maps gives you control over every UI element. Zoom buttons, street view icons, all of it. You can hide the default controls entirely, change the map type (roadmap, satellite, terrain), or apply custom color schemes. All these settings go into the options object you pass to new google.maps.Map().
To hide all default UI controls, add disableDefaultUI: true to the options. To show only the zoom control, set disableDefaultUI: true and then zoomControl: true. For satellite view, set mapTypeId: 'satellite'. For hybrid, use 'hybrid'. You can also disable user interaction by setting gestureHandling: 'none', which turns the map into a static image (useful for preview maps that link to full directions).
Custom styles let you change road colors, hide labels, or make the map grayscale. Google’s Styling Wizard (in the Maps Platform docs) generates JSON style arrays you can paste into your options. Snippet that hides all labels and makes water gray:
var map = new google.maps.Map(document.getElementById('map'), {
  zoom: 12,
  center: {lat: 40.7128, lng: -74.0060},
  disableDefaultUI: true,
  zoomControl: true,
  styles: [
    { elementType: 'labels', stylers: [{ visibility: 'off' }] },
    { featureType: 'water', stylers: [{ color: '#9e9e9e' }] }
  ]
});
Common customization options:
-
disableDefaultUI: truehides all controls, gives you a clean slate. -
zoomControl: trueshows only the zoom buttons (use withdisableDefaultUI). -
mapTypeControl: trueadds a dropdown to switch between map, satellite, and terrain views. -
styles: [ ... ]applies custom colors and visibility rules using Google’s style JSON format.
Play with these settings in your initMap function and reload to see changes. Customization doesn’t affect API usage. Styled maps cost the same as default maps.
Test and Debug on Different Devices
A map that works perfectly on your desktop can break on mobile if the container’s height collapses or touch gestures don’t register. Always test on real devices or use browser dev tools to simulate mobile viewports. Chrome’s device toolbar (F12, Toggle device toolbar) lets you test common screen sizes like iPhone SE (375px wide) and iPad (768px wide).
Check three things: does the map render, does it fill the container, can you pan and zoom with touch. If the map’s blank, open the console and look for errors. “API key invalid” means you need to enable billing or fix restrictions. “Callback not defined” means the script loaded before your initMap function was declared. “Container height is zero” means you forgot CSS.
Common issues and fixes:
-
Map doesn’t load. Check the console for API key errors, billing warnings, or missing callback function. Verify the API key’s correct and billing’s enabled in Google Cloud Console.
-
Map is blank or gray. The container has no height. Add
height: 400px;orheight: 50vh;to your CSS. -
Map works on desktop, breaks on mobile. The viewport meta tag’s missing. Add
<meta name="viewport" content="width=device-width, initial-scale=1">in your<head>.
Test on iOS Safari, Android Chrome, and desktop Firefox. Different browsers handle touch events and rendering a bit differently. If everything works in dev tools but breaks on a real phone, the issue’s usually viewport sizing or a missing meta tag.
Final Words
You just embedded a live map: loaded the Maps script, added the container, set CSS so it appears, initialized the Map object, and placed a marker. That’s the shortest path to a working map.
If the map doesn’t show, check your API key, container height, and the browser console. Small fixes usually get it back fast.
This guide showed how to integrate Google Maps API into a responsive web page step by step. Follow the examples and device checks, and you’ll have an interactive map that works across screens. Nice work.
FAQ
Q: How do I embed a Google Map in 60 seconds?
A: The quickest way to embed a Google Map in 60 seconds is to load the Maps JavaScript API, add a map container div, then call new google.maps.Map() with center coordinates and a zoom level.
Q: How do I get a Google Maps API key and secure it?
A: Getting a Google Maps API key requires a Google Cloud project, enabling the Maps JavaScript API, enabling billing, creating the key, and applying restrictions like HTTP referrers or IPs for security.
Q: What HTML structure is required for a Google Map?
A: The required HTML structure is a container div with an id (for example “map”), placed where you want the map, so the script can target that element when initializing the map.
Q: Why is my Google Map not visible and how do I fix it with CSS?
A: The map is not visible because the container needs an explicit height; set CSS like height: 400px or height: 50vh, or use flex/viewport units so the map can render correctly.
Q: How do I initialize the Google Maps JavaScript to show the map?
A: Initializing Maps JavaScript means loading the API script, writing an init function that calls new google.maps.Map(element, {center:{lat,lng}, zoom}), and running it after the DOM loads.
Q: How do I make the Google Map responsive?
A: Making the map responsive uses percentage-based containers, viewport units, aspect-ratio boxes, or parent flex layouts so the map resizes smoothly across different screen sizes.
Q: How do I add a marker to my Google Map?
A: Adding a marker means defining coordinates, creating new google.maps.Marker({position:{lat,lng}, map}), and optionally adding a title or click event to attach it to your map.
Q: How can I customize map controls and visual styles?
A: Customizing map controls and styles uses Map constructor options like disableDefaultUI, zoomControl, mapTypeControl, and a styles array to change controls, zoom behavior, and appearance.
Q: What should I test and check if the map doesn’t work on some devices?
A: Testing and debugging means checking viewport resizing, touch interactions, console errors for missing API key or blocked scripts, and verifying API key restrictions and billing are correct.
Q: Where should I place the Maps API script and init callback in my page?
A: Placing the API script at the end of the body or using async defer with a callback parameter ensures the init function runs after the API loads and the map container exists in the DOM.

