
Think you have to learn Swift and Kotlin to build a mobile app?
You don’t. With React Native and JavaScript you build one codebase that runs on Android and iOS, and this guide walks you step-by-step from installing tools to running your app on a real device.
You’ll get clear commands, tiny wins, and quick fixes when things break.
No prior mobile experience required, just basic JavaScript and a willingness to try.
Getting Started With Your First React Native App
You’re about to build a working mobile app that runs on both Android and iOS, using the same codebase for both platforms. This tutorial walks you through every step, from installing tools to seeing your app launch on a real device. No prior mobile development experience required, just a basic understanding of JavaScript and a willingness to experiment.
React Native lets you write mobile apps using JavaScript and React, the same library used for web apps. Instead of learning Swift for iOS and Kotlin for Android separately, you build once and deploy everywhere. That’s the appeal for beginners: you use familiar web technologies, yet the output is a real native app with native performance and access to device features like the camera, GPS, and notifications. React Native translates your JavaScript components into actual native UI elements, so your app doesn’t run in a browser wrapper. It runs as a true mobile application.
Before you write any code, you need to set up your development environment. The good news is that most of the heavy lifting is handled by package managers and CLI tools. You’ll install Node.js first, then choose between Expo (the easier, faster option for beginners) or the React Native CLI (more control, more setup). After that, you’ll configure either Android Studio or Xcode depending on which platform you want to test on first.
Once your environment is ready, creating a new project takes a single command.
- Install Node.js. Download the LTS version from the official Node.js website and run the installer. Verify by opening your terminal and typing
node -vandnpm -v. Both commands should print version numbers. - Install Expo CLI. Run
npm install -g expo-cliin your terminal. Expo simplifies the entire workflow and handles most configuration automatically. If you prefer more control, install React Native CLI instead withnpm install -g react-native-cli. - Install Android Studio or Xcode. For Android, download Android Studio and install at least one Android Virtual Device (AVD) through the AVD Manager. For iOS, install Xcode from the Mac App Store (macOS only) and set up the iOS Simulator. You can skip the platform you don’t plan to test on initially.
- Verify your setup. Run
expo --versionorreact-native --versionto confirm the CLI is installed. Open Android Studio or Xcode and launch an emulator or simulator to make sure it runs without errors.
Initializing the React Native Project

With your environment configured, you’re ready to create your first project. If you’re using Expo, run npx create-expo-app MyFirstApp in your terminal, then navigate into the new directory with cd MyFirstApp. If you’re using the React Native CLI, run npx react-native init MyFirstApp instead. Both commands generate a complete starter project with all the necessary files and folders, but Expo projects include additional tools for testing and deployment that make life easier for beginners.
Once the command finishes, open the project folder in your code editor. You’ll see several directories and files, and at first glance it might look overwhelming. Don’t worry. Most of these files are configuration and you won’t touch them often.
App.js is the entry point for your app’s UI. All your components and screens start here. package.json lists all the JavaScript dependencies your project uses, similar to any Node.js project. android/ and ios/ folders contain native code and build configurations for each platform. Expo projects hide these by default, which reduces complexity. node_modules/ stores all installed dependencies. You never edit files here directly. assets/ holds images, fonts, and other static resources your app will use.
Understanding Key React Native Concepts
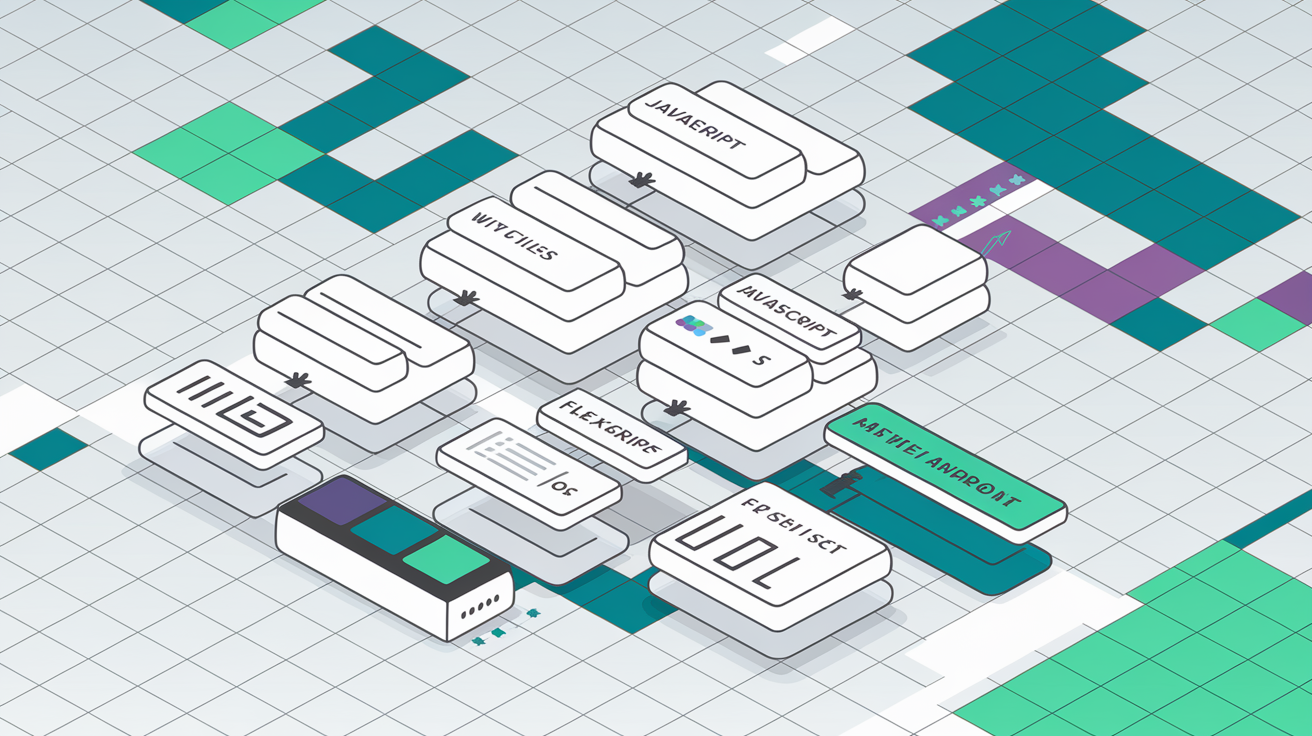
React Native is built on top of React, so if you’ve used React for web development, most of the concepts will feel familiar. The main difference is that instead of rendering HTML elements like <div> and <span>, you use React Native components like <View> and <Text>. These components map directly to native UI elements on iOS and Android, which is how React Native achieves true native performance.
You write your UI in JSX, the same syntax React uses. JSX looks like HTML but it’s actually JavaScript with a special transform that lets you write markup inline with your logic. For example, <Text>Hello</Text> is JSX that renders a text label on the screen. You can embed JavaScript expressions inside JSX using curly braces, like <Text>{userName}</Text>, and those expressions are evaluated at render time. JSX makes it easy to see the structure of your UI at a glance.
It works the same way in React Native as it does in React for the web.
Styling in React Native uses a JavaScript object instead of CSS files. You create styles using the StyleSheet.create() method, which returns an object where each key is a style name and each value is a style definition. Style properties use camelCase instead of kebab-case, so background-color becomes backgroundColor. Layouts are built with Flexbox by default, which means <View> components behave like flex containers and you use properties like flexDirection, justifyContent, and alignItems to position child elements. If you’ve used Flexbox in CSS, you already know how React Native layouts work. A <View> with flexDirection: 'row' places children side by side, just like display: flex; flex-direction: row; in CSS.
Building the App Interface
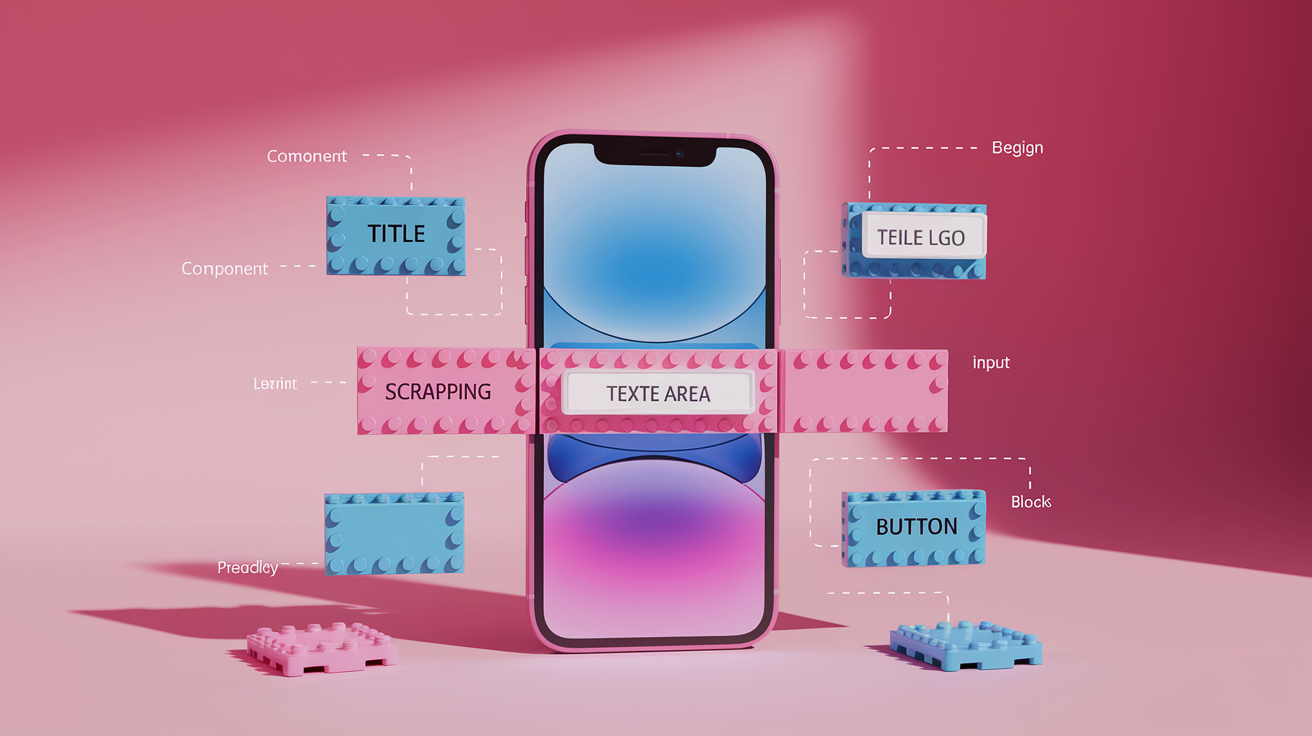
Open App.js and you’ll see some starter code that renders a basic screen. Delete everything inside the return statement and replace it with your own components. Start by importing the components you’ll need at the top of the file: View, Text, TextInput, and Button from react-native. These are the building blocks for almost every mobile UI.
Your first screen can be simple: a title, a text input where the user types their name, and a button that does something when pressed. Wrap everything in a <View> component, which acts like a container. Inside that, add a <Text> component for the title, a <TextInput> for user input, and a <Button /> for the action.
Every visible element must be wrapped in a React Native component. You can’t render plain strings or HTML tags. Style each component by passing a style prop that references a style object you define with StyleSheet.create() at the bottom of the file. Use properties like padding, margin, fontSize, and color to control spacing, size, and appearance.
View is a container that groups other components and handles layout. Use it like a <div> in HTML. Text displays any text content. All text must be wrapped in a <Text> component. You can’t render text directly. TextInput is a text field where users can type. You control its value and respond to changes using props. Button is a pressable button with a title and an onPress handler.
Adding Interactivity and Functionality

A static screen is just the starting point. To make your app interactive, you need to manage state and respond to user actions. Import useState from React at the top of your file, then call it inside your component to create a state variable. For example, const [name, setName] = useState('') creates a variable called name that starts as an empty string, and a function called setName that updates it.
When the user types in your <TextInput>, you update name by calling setName with the new value.
Connect your <TextInput> to state by setting its value prop to name and its onChangeText prop to setName. Now the input is “controlled.” React Native always knows what the current value is, and every keystroke triggers a state update that re-renders the component. This pattern is identical to controlled inputs in React for the web. When the user presses your button, you can read the current value of name and do something with it, like displaying a greeting message or logging it to the console.
To handle the button press, pass a function to the onPress prop. Inside that function, you can update other state variables, call APIs, or navigate to a different screen. For a simple first app, try creating a second state variable called greeting and updating it when the button is pressed. If the user types ‘Alex’ and presses the button, set greeting to ‘Hello, Alex!’ and display it in a <Text> component below the button.
This simple pattern of state plus events is the foundation of every interactive React Native app, from simple forms to complex multi-screen workflows.
Running and Testing the App

You’ve written your UI and added some interactivity. Now it’s time to see it run on a real device or emulator. If you’re using Expo, run npx expo start in your terminal. A QR code will appear, along with options to press a for Android or i for iOS. Pressing i launches the iOS Simulator if you’re on macOS, and pressing a launches the Android emulator if Android Studio is running. Your app will build and open automatically.
If you’re using the React Native CLI, run npx react-native run-android or npx react-native run-ios depending on your target platform. The CLI will build the native app and install it on your emulator or connected device. The first build takes a few minutes because it compiles all the native code, but subsequent builds are faster thanks to caching.
Once the app launches, you’ll see your interface exactly as you coded it. Try typing in the text input and pressing the button. Your state updates should work and the UI should respond instantly.
Android Emulator: Launch an AVD from Android Studio, then run your app with npx expo start and press a, or use npx react-native run-android if you’re not using Expo.
iOS Simulator: Available only on macOS. Run your app with npx expo start and press i, or use npx react-native run-ios. The simulator will open automatically.
Physical Device: Install the Expo Go app from the App Store or Google Play, then scan the QR code from npx expo start. Your device must be on the same Wi-Fi network as your development machine.
Common Beginner Issues and How to Solve Them

Even with a clean setup, you’ll run into errors as you build. Most issues fall into a few predictable categories, and knowing how to fix them saves hours of frustration. When something breaks, read the error message carefully. React Native errors are usually specific and point directly to the problem. If the app won’t build, check that all your dependencies are installed by running npm install or yarn install again. If the emulator won’t connect, restart it and try running the app a second time.
One of the most common issues is the Metro bundler failing to start or crashing mid-session. Metro is the JavaScript bundler that compiles your code and sends it to the app. If it stops working, close the terminal, run npx react-native start --reset-cache to clear the cache, then run your app again.
Another frequent problem is version mismatches between React Native, Node.js, and the CLI tools. Check the official React Native documentation for the recommended versions and make sure your setup matches. If you’re using Expo, most of these issues are handled automatically, which is why Expo is recommended for beginners.
Sometimes your app builds successfully but crashes on launch. This usually means there’s a runtime error in your code. A typo, an undefined variable, or a missing import. Open the terminal running Metro and look for the red error screen, which will show the exact line number and file where the problem occurred. Fix the error, save the file, and React Native will automatically reload the app thanks to Fast Refresh.
“Command not found” errors: The CLI isn’t installed globally. Run npm install -g expo-cli or npm install -g react-native-cli again and restart your terminal.
Emulator won’t launch: Make sure Android Studio or Xcode is installed and that at least one virtual device is configured. Open Android Studio, go to AVD Manager, and verify an emulator exists.
Metro bundler crashes or freezes: Run npx react-native start --reset-cache to clear cached files, then restart the app.
White screen on launch: Usually a syntax error or missing component import. Check the terminal for error messages and fix the issue in your code.
App won’t install on physical device: Confirm your device and computer are on the same Wi-Fi network if using Expo. For USB connections with React Native CLI, enable Developer Mode and USB Debugging on Android, or trust the developer certificate on iOS.
Final Words
You just installed the tools, initialized a React Native project, and opened the app in a simulator or device. You built the UI, wired up state and events, and ran tests.
Along the way you learned core ideas: components and JSX, StyleSheet styling, common UI pieces, and simple troubleshooting for emulators and the bundler.
If you followed each section, you now know how to build a basic mobile app with React Native step by step. Keep tweaking the code and enjoy shipping your next small app.
FAQ
Q: What is React Native and why is it good for a beginner’s first mobile app?
A: React Native is a framework that uses JavaScript and React to build cross-platform mobile apps, making it beginner-friendly because you write shared code that runs on both iOS and Android.
Q: What tools do I need and in what order should I install them?
A: You need Node.js first, then install Expo CLI or React Native CLI, set up Android Studio (or Xcode on macOS), and finally verify installations with basic commands or Expo Go.
Q: Should I use Expo CLI or React Native CLI for my first app?
A: Expo CLI is easier and faster for beginners with no native setup required; React Native CLI offers deeper native control and is better when you need custom native modules or advanced configuration.
Q: How do I initialize a new React Native project and what does the folder structure look like?
A: You initialize with npx react-native init or npx create-expo-app; projects include android/, ios/, App.js, index.js, and package.json as main entry points and dependency lists.
Q: What are components, JSX, and how does styling work in React Native?
A: Components are reusable UI pieces, JSX is JavaScript that looks like HTML for describing UI, and styling uses StyleSheet with flexbox rules written as JavaScript objects, similar to CSS concepts.
Q: Which UI elements should I use to build the first interface?
A: Use View for layout, Text for text, TextInput for input fields, and Button or Touchable components for taps; import these from react-native and arrange them with flexbox.
Q: How do I add interactivity using state and events?
A: Use useState to store dynamic values and update UI, and handle user actions with props like onPress and onChangeText to modify state and run simple app logic.
Q: How do I run and test the app on emulators and physical devices?
A: Run on an Android emulator, Xcode simulator, or a physical device via USB; Expo Go lets you scan a QR code to preview the app quickly without building native binaries.
Q: What common beginner issues will I encounter and how do I fix them?
A: Common issues include dependency conflicts, emulator connection problems, and Metro bundler failures; fix them by reinstalling node modules, restarting Metro, checking PATH, and following error messages.

