
What if lecturing alone is why students tune out?
Collaborative learning hands students the wheel and turns passive listening into active doing.
In this post you’ll get simple, classroom-tested techniques—Jigsaw, Think-Pair-Share, role-based tasks—that boost engagement and deepen learning.
Research shows structured peer interaction often beats solo work for understanding.
I’ll show step-by-step setup, classroom management fixes, and fair ways to assess both teamwork and content so you can try one strategy tomorrow and actually see the difference.
Practical Classroom Techniques for Collaborative Learning
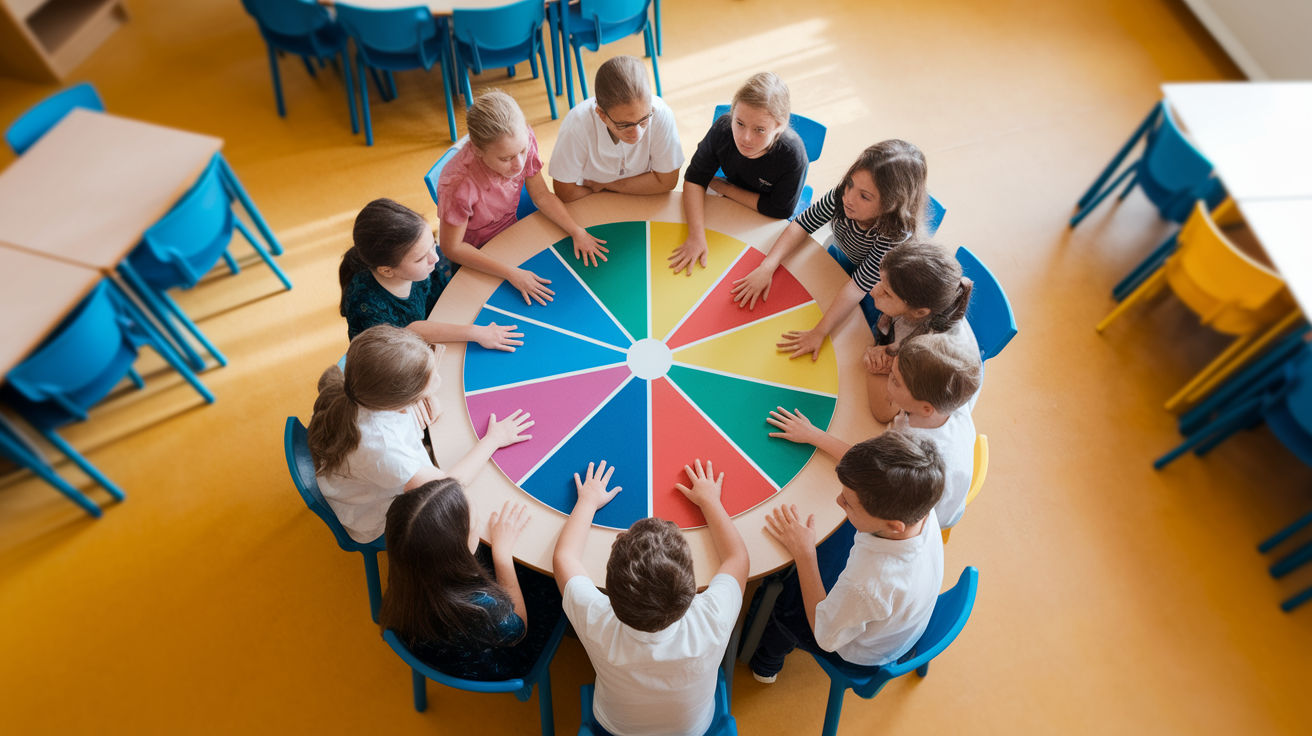
Collaborative learning hands students the wheel. It structures tasks so they’ve got to think, talk, and work through problems together. When learners sit side by side and wrestle with ideas, they pick up communication skills, ask sharper questions, and get better at explaining what they believe and why. Research backs it up: structured peer interaction beats solo work when it comes to understanding and staying engaged.
These methods flex across grade levels and subjects. You can pick one based on what you’re teaching, how much time you’ve got, and who’s sitting in front of you.
Jigsaw splits a big topic into chunks. Each person becomes the expert on one piece, then teaches their group. It’s solid for content-heavy stuff like history or science.
Think-Pair-Share gives students a moment to think alone, then they pair up to talk, and finally share with everyone. Lowers the pressure and gives quieter kids a safe first step.
Peer Instruction asks students to answer a question by themselves, discuss it with a partner, then vote or explain again. It strengthens critical thinking and surfaces what they don’t get yet.
Structured Group Projects assign teams a task with clear roles, deadlines, and checkpoints. Works well for hands-on builds, research reports, or creative assignments.
Role-Based Collaboration gives every student a specific job. Facilitator, recorder, timekeeper, presenter. No one disappears into the background.
Round-Robin Discussion has students take turns responding in a circle. Fast way to make sure every voice gets heard.
Problem-Based Learning throws groups a real-world challenge with no single right answer. They build reasoning and communication while they debate solutions.
Reciprocal Teaching puts students in charge of leading small reading discussions. They summarize, question, clarify, and predict. Builds comprehension and leadership at the same time.
Start small. Test one or two techniques during a unit, watch what happens, and adjust your scaffolding. Once routines are set, you can layer methods together or let students choose the structure that fits the task.
Steps for Implementing Collaborative Learning Activities
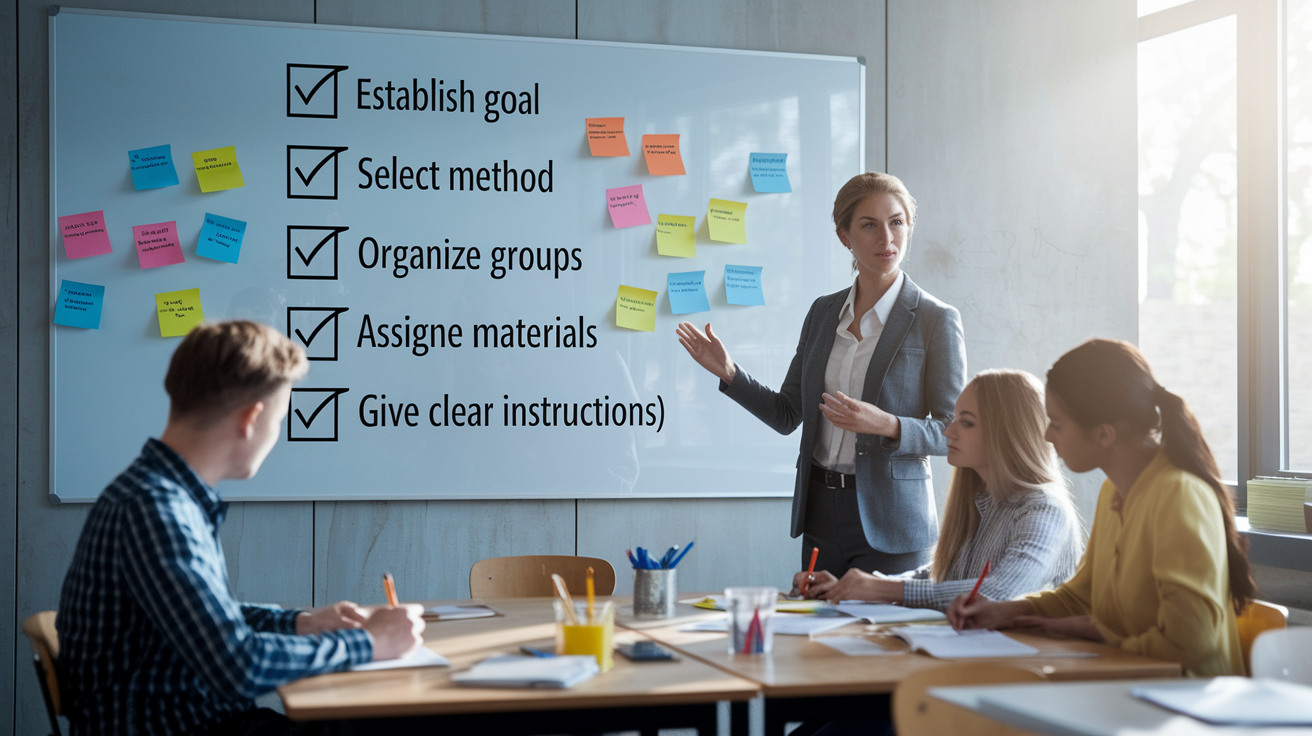
Getting collaborative learning off the ground doesn’t mean overhauling your whole lesson plan. You just need a few intentional steps so students know what to do, why they’re doing it, and how you’ll measure success. Clear setup prevents confusion, wasted time, and the “wait, what are we supposed to be doing?” stall.
Establish your learning goal. Decide what students should know or be able to do by the end. Write it down. Share it with the class so they understand the target.
Select the collaborative method. Match the technique to your objective. Want quick peer feedback? Use Think-Pair-Share. Covering a dense chapter? Try Jigsaw.
Organize student groups. Group size matters. Pairs work well for tight tasks. Teams of three or four allow deeper discussion without overwhelming quieter students. Mix skill levels intentionally so learners can support each other.
Assign roles with clear responsibilities. Give every student a job. Recorder, timekeeper, spokesperson, researcher. Rotate roles across activities so everyone practices different skills.
Prepare materials and workspace. Hand out worksheets, rubrics, or anchor charts before groups start. Arrange desks or tables so students can see each other’s faces and share materials easily.
Give clear instructions and set time limits. Say what the task is, how long they have, and what the final product should look like. Walk through one example if it’s a new structure. Then step back and let them work.
After the first few rounds, students will internalize the routine and move faster. You’ll spend less time explaining and more time circulating, listening, and asking questions that push thinking forward.
Classroom Management Techniques for Group Learning
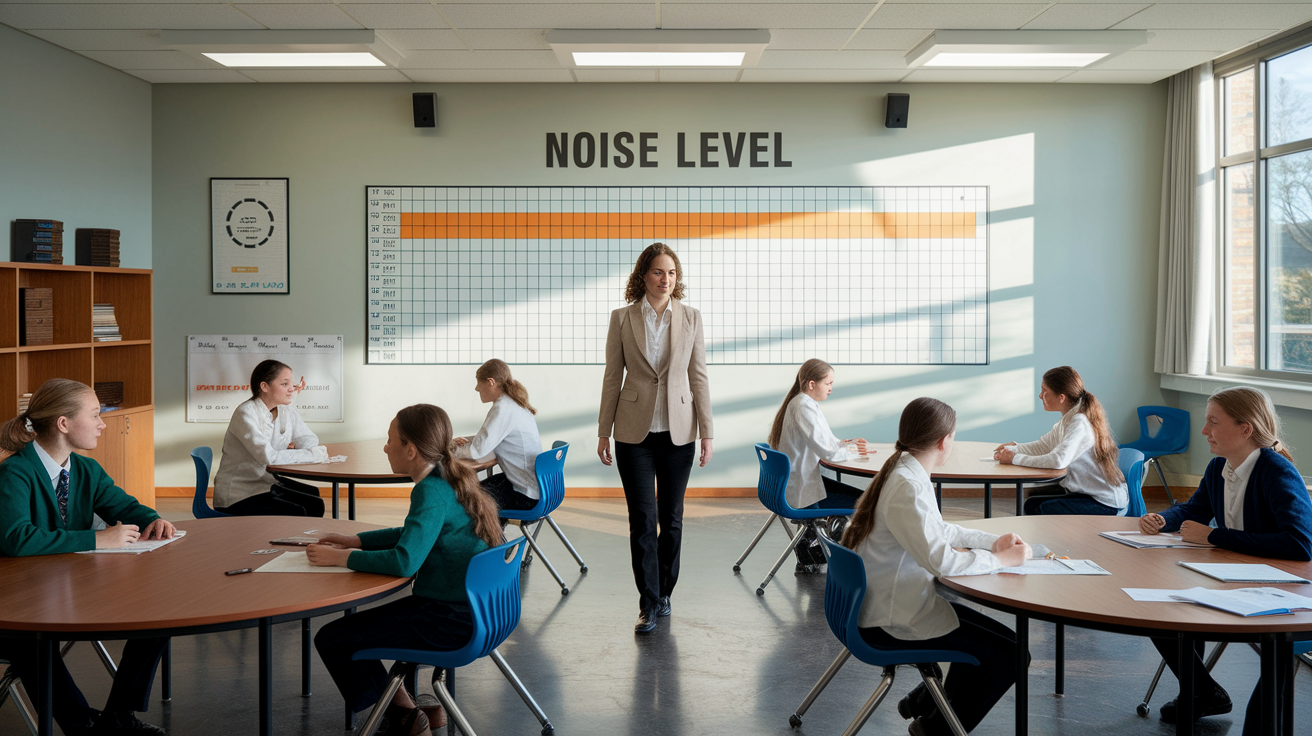
Productive collaboration doesn’t mean silent rows. It means controlled, purposeful noise where every group is on task and working through the problem. Your job shifts from delivering content to monitoring the room, spotting stuck groups, and stepping in only when needed. Walk the room with intention. Pause near a struggling group, listen for a beat, and ask a question that gets them unstuck without giving away the answer.
Equitable participation takes active watching. Some students will dominate. Others will fade into the background. Call it out gently but directly when you see it happening. Rotate roles every activity so the same person isn’t always the speaker or the silent note taker. If one student keeps taking over, pull them aside and coach them to invite quieter teammates into the conversation. If someone checks out, give them a small individual responsibility tied to the group’s success.
Build routines that let students manage themselves. Set a timer and display it. Use a noise level chart so students know when “partner voice” is allowed versus “table voice” versus silent independent work. Teach conflict resolution language early and often, like “I see it differently because…” or “Can you explain why you think that?” When groups solve their own friction, they build skills they’ll use long after they leave your room.
Assessing Collaborative Learning Outcomes

Grading collaboration fairly means measuring two things at once: what students learned and how well they worked together. If you only score the final product, quiet contributors and free riders get the same mark. If you only score participation, a student who tried hard but didn’t master the content slips through. Balance both by layering individual accountability into every group task.
Use peer evaluations to reveal who did what. Give students a simple form where they rate each teammate’s contributions, effort, and collaboration skills. Self-assessments let learners reflect on their own performance and set goals for next time. Performance rubrics make expectations visible before the work starts. Observation checklists help you track participation and quality during the activity, not just at the end. When students know you’re watching and taking notes, they stay engaged.
| Assessment Method | Purpose |
|---|---|
| Peer Evaluation | Identifies individual contribution and teammate support; reveals participation gaps. |
| Self-Assessment | Encourages reflection on personal effort, collaboration habits, and areas for growth. |
| Performance Rubric | Clarifies expectations for both content mastery and collaborative behaviors before work begins. |
| Observation Checklist | Tracks real-time group dynamics, on-task behavior, and quality of discussion during the activity. |
| Individual Quiz or Reflection | Holds each student accountable for understanding the material, not just completing the group task. |
Tie individual scores to group outcomes by requiring each student to submit a personal artifact. A reflection paragraph, a section of the group report, or answers to content questions pulled from the collaborative work. That way, every learner has skin in the game, and you get a clearer picture of who understood what.
Adapting Collaborative Learning to Different Age Groups

Younger students need more structure, shorter tasks, and immediate feedback to stay on track. Older students crave independence, complexity, and the chance to design their own approach.
Elementary learners work best in pairs or groups of three. Keep tasks concrete and time-boxed. Five to ten minutes is plenty. Use visuals like anchor charts, color coded role cards, and sentence starters to scaffold language and process. Model every step. Show what “good listening” looks like, what to do when you disagree, and how to take turns. Expect to circulate constantly and offer lots of redirection with calm, specific language.
Elementary adaptations: Use pairs or small groups of three. Tasks should be 5 to 10 minutes. Provide sentence starters, role cards, and step-by-step visuals. Model all collaboration skills explicitly. Circulate often and redirect gently.
Middle school adaptations: Groups of four work well. Extend tasks to 15 to 25 minutes. Introduce open ended prompts that require reasoning. Assign rotating roles. Scaffold conflict resolution language and let students try to solve small disagreements first.
High school adaptations: Groups can range from three to five. Tasks can span multiple class periods or be project-based. Give students choice in group formation or role assignment. Design complex, multi-step problems. Step back more and intervene less, letting groups manage their own process and troubleshoot independently.
As students mature, gradually release control. High schoolers can handle ambiguity, debate, and self-assessment. Elementary students thrive when you break every task into bite sized, visible steps. Meet learners where they are, then stretch them just past their comfort zone.
Technology Tools That Support Collaboration

Digital tools open up collaboration beyond the four walls of your classroom. Students can co-edit documents in real time, share ideas asynchronously, and give peer feedback without passing paper. These platforms work especially well in blended or remote settings, but they’re just as useful in a traditional classroom when you want to make thinking visible or archive group work for later review.
Google Workspace (Docs, Slides, Sheets) lets multiple students write, revise, and comment on the same file at once. Padlet creates digital bulletin boards where every group can post their ideas and see what others are thinking. Digital whiteboards like Jamboard or Miro give teams a shared canvas to brainstorm, map concepts, or sketch solutions together. Learning management systems (Canvas, Schoology, Google Classroom) house group assignments, peer review workflows, and discussion threads in one organized place. Flipgrid captures short video reflections or presentations so students can respond to each other on their own time.
Google Workspace: Real-time co-editing and commenting on documents, slides, and spreadsheets.
Padlet: Digital boards for idea sharing, gallery walks, and whole-class brainstorming.
Jamboard or Miro: Collaborative whiteboards for visual mapping, sticky note sorting, and sketching.
Learning Management Systems: Centralized hubs for group assignments, peer review, and threaded discussions.
Flipgrid: Video-based responses that let students present, reflect, and reply asynchronously.
Pick one or two tools and teach students how to use them well. Too many platforms create confusion. Once the tech becomes routine, students focus on the collaboration, not the clicks.
Real-World Examples of Collaborative Learning in Action

In a third grade science classroom, students worked in groups of three to design and test paper airplanes. Each team assigned roles. Designer, builder, tester. They rotated them across three rounds. After each test flight, groups discussed what happened, adjusted their design, and tried again. By the end of the week, students could explain lift, drag, and trial-and-error problem solving in their own words. The collaboration made abstract concepts concrete, and the role rotation kept every student engaged.
A high school English teacher used Jigsaw to tackle a dense novel. She divided the class into home groups of four, then sent one member from each group to an expert group focused on a single theme. Symbolism, character development, conflict, or setting. Expert groups read closely, discussed their theme, and prepared teaching points. When students returned to their home groups, each expert taught the others. By the end of the period, every student had a layered understanding of the text and had practiced both learning and teaching.
In a middle school math class, teams of four solved real-world budgeting problems using role-based collaboration. One student managed the calculator and checked arithmetic. Another recorded all decisions. A third kept time and made sure the group stayed on task. The fourth presented the final solution. Each problem required the whole group to agree on a strategy before moving forward. Students learned to justify their reasoning, listen to alternate approaches, and arrive at solutions together. The structure prevented one student from doing all the work and made every voice necessary.
Final Words
We jumped into hands-on classroom techniques like jigsaw, think-pair-share, and peer instruction, and why they boost engagement and communication.
Then we walked through planning steps, group management, assessment methods, age-based adaptations, tech tools, and real classroom examples. Each part shows clear roles, timelines, and fair accountability.
Use these collaborative learning strategies to plan one lesson this week, try a method, and watch participation climb. Small experiments add up. You’ll get faster at tweaking what works.
FAQ
Q: What are some collaborative learning strategies? / What are the 7 strategies that promote learning? / What are 5 strategies for effective collaboration?
A: The main collaborative learning strategies are jigsaw, think-pair-share, peer instruction, structured group projects, role-based collaboration, round-robin discussion, problem-based learning, and reciprocal teaching, each boosting engagement and shared understanding.
Q: What are the 4 C’s of collaboration?
A: The 4 C’s of collaboration are critical thinking, clear communication, cooperative teamwork (collaboration), and creativity, which together help groups solve problems, share ideas, and produce better work.

