

Is your project folder a messy pile that only you can navigate?
A bad structure costs hours every week when you add features or fix bugs.
In this post we’ll show a simple, predictable layout for small web apps, one that groups source code, assets, configs, tests, and build output so you always know where to look.
Follow these rules and you’ll spend less time hunting files and more time building the feature you actually care about.
Recommended File Structure for Small Web Applications (The Short Answer)
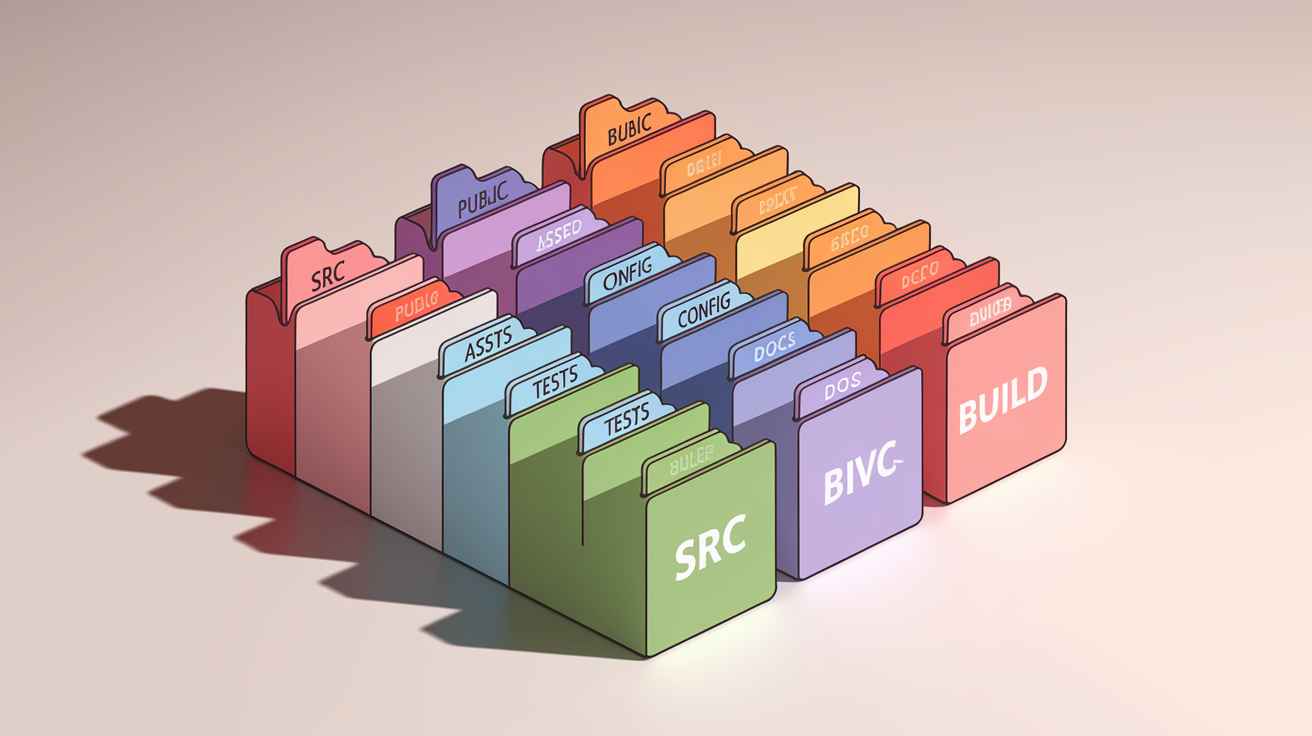
A maintainable file structure for a small web app starts with a few top-level folders that separate concerns and group related files. The goal? Make it easy to find what you need without digging through endless nested directories. Whether you’re building a simple landing page or a small interactive tool, consistency in where files live saves time every single time you come back to the project.
Most small web apps follow a similar pattern. One folder for application code, one for static assets, one for configuration, and a few others that handle testing, documentation, and build output. The key is keeping each folder focused on a single job.
src/ holds all your app’s working code. Components, pages, services, utilities, and any JavaScript or TypeScript that actually runs the application. When you’re adding new features, this is where you’ll spend most of your time.
public/ contains static files served as they are by the server. Your favicon, index.html, and any assets that never change during the build belong here. Browsers access these files directly, so don’t put anything sensitive inside.
assets/ stores images, fonts, icons, CSS files, and other media used across your app. These often get processed by your build tool, unlike files in public.
config/ keeps environment variables, build tool settings, webpack configs, and any other project-wide settings. Keeping configuration in one place prevents scattered .env files and forgotten settings.
tests/ houses unit tests, integration tests, and end-to-end test scripts. Some developers put test files next to the code they test, others prefer a dedicated folder. Both work. Just pick one approach and stick with it.
docs/ includes requirements, API documentation, architecture notes, and anything else that explains how the app works or what it’s supposed to do. Even small projects benefit from a README and a few explanatory notes.
build/ or dist/ contains the compiled, production-ready version of your app. This folder gets generated by your build tool and usually isn’t committed to version control. It’s what you deploy to a server.
Breakdown of Each Core Folder and Its Responsibilities

Each folder in your project should have a clear job. When a file doesn’t fit anywhere obvious, that’s a sign your structure needs adjusting. The folders listed below form the baseline for most small web apps. If you’re working solo, this setup keeps things simple. If you’re onboarding teammates, it makes the project immediately readable.
| Folder Name | What It Stores |
|---|---|
| src/ | Application logic, UI components, pages, services, utilities, and any code that runs the app. This is your working directory. |
| assets/ | Images, fonts, icons, CSS files, and media. These files get processed or bundled during build. Store originals here, not final exports. |
| public/ | Static files served at the server root without processing. Favicon, index.html, and any files that browsers request directly by path. |
| config/ | Environment variables, build settings, webpack or Vite configs, linter rules, and project-wide settings. Centralized configuration reduces surprises. |
| tests/ | Test files for unit, integration, and end-to-end tests. Some teams co-locate tests with source code; others prefer a dedicated folder. |
| build/ or dist/ | Compiled output ready for deployment. Generated by your build tool and typically excluded from version control. |
Example File Structures for Popular Frameworks
React Example
React projects typically separate components, hooks, and utilities into dedicated folders under src. Each component gets its own folder if it includes tests, styles, or child components. Custom hooks follow the naming convention of starting with “use” and live in a hooks folder.
project-name/
├── public/
│   ├── index.html
│   └── favicon.ico
├── src/
│   ├── components/
│   │   ├── Button/
│   │   └── Navbar/
│   ├── pages/
│   │   ├── Home.jsx
│   │   └── About.jsx
│   ├── hooks/
│   │   └── useAuth.js
│   ├── utils/
│   │   └── formatDate.js
│   └── App.jsx
├── tests/
└── package.json
Vue Example
Vue apps often use single-file components where template, script, and style live together. The composables folder holds reusable reactive logic using the Composition API. Views represent full pages, while components are reusable UI pieces.
project-name/
├── public/
│   └── index.html
├── src/
│   ├── components/
│   │   ├── Button.vue
│   │   └── Card.vue
│   ├── views/
│   │   ├── Home.vue
│   │   └── Dashboard.vue
│   ├── composables/
│   │   └── useUser.js
│   ├── router/
│   │   └── index.js
│   └── App.vue
├── tests/
└── package.json
Svelte Example
Svelte projects collocate markup, logic, and styles inside .svelte files. The structure stays minimal, with routes mapped directly to pages in SvelteKit or a custom router in standalone Svelte apps. Stores handle shared state across components.
project-name/
├── public/
│   └── favicon.png
├── src/
│   ├── components/
│   │   ├── Button.svelte
│   │   └── Modal.svelte
│   ├── routes/
│   │   ├── index.svelte
│   │   └── about.svelte
│   ├── stores/
│   │   └── user.js
│   └── App.svelte
├── tests/
└── package.json
Organizing by Feature vs. Organizing by File Type
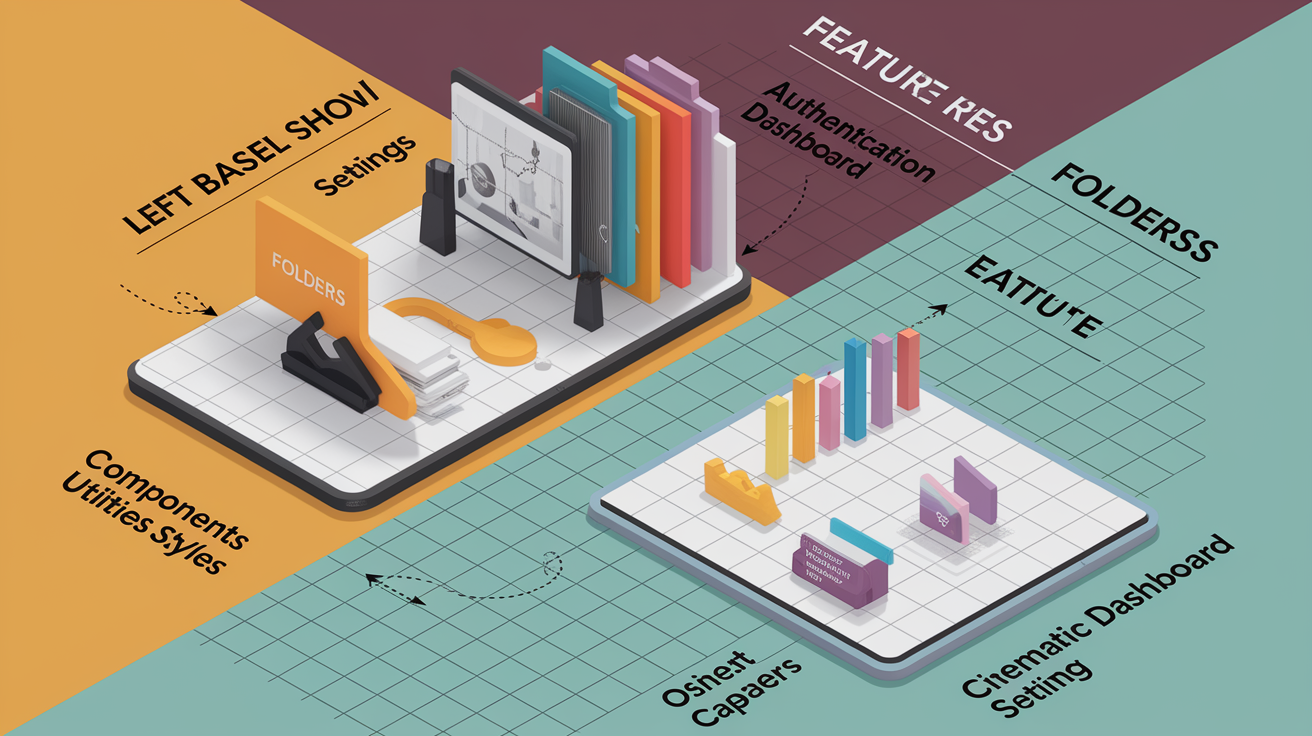
Most small web apps start with type-based organization. All components live in one folder, all utilities in another, and all styles in a third. It’s simple, easy to understand, and works well when the app has a dozen files. As complexity grows, though, feature-based organization starts to make more sense.
In a feature-based structure, you group everything related to a single feature or page together. Its components, tests, and styles all in one place.
The tradeoff comes down to project size and team habits. Type-based structures feel intuitive at first glance and require minimal explanation. Feature-based structures scale better, reduce coupling, and make it easier to delete a feature without hunting through multiple folders. If you’re building a small tool that will stay small, type-based is fine. If there’s any chance the app will grow or add new contributors, feature-based saves headaches later.
Type-based is simple to learn and has low setup friction. But it grows messy as file counts rise, forces long import paths, and hides relationships between related files.
Feature-based scales cleanly, collocates related code, and makes features self-contained and easier to delete or refactor. But it has a steeper initial learning curve and requires discipline to avoid cross-feature imports. It might feel over-engineered for tiny projects.
Naming Conventions That Keep Projects Maintainable

Consistent naming rules reduce the cognitive load of navigating a project. When you name files and folders predictably, you spend less time searching and more time building. The convention you pick matters less than sticking to it across the entire project. Most small web apps use kebab-case for file names and folder names because it’s readable, works across all operating systems, and avoids case-sensitivity issues.
For components, many frameworks prefer PascalCase to match the way components are imported and used in code. A file named Button.jsx gets imported as Button, which feels natural. Utility functions and services use camelCase file names like formatDate.js or apiService.js.
Avoid vague names like data.js or helpers.js because they don’t tell you what’s inside. Instead, name files after what they do. Like getUserProfile.js or validateEmail.js.
Use kebab-case for folder names and non-component files (like utils, services, and configuration). Example: user-profile.js, api-helpers/.
Use PascalCase for component file names. Example: Button.jsx, NavBar.vue, Modal.svelte.
Use camelCase for utility functions and services. Example: formatDate.js, fetchUserData.js.
Prefix custom hooks with “use” in React. Example: useAuth.js, useFetch.js.
Name files after their primary export. If a file exports a function called validateEmail, name the file validateEmail.js.
Avoid generic names like utils.js, helpers.js, or misc.js. Be specific, like dateUtils.js or stringHelpers.js.
Visualization: Directory Tree Diagrams for Small Web Apps

A visual tree makes it easier to understand folder relationships at a glance. The simplest structure includes just the essentials: source code, static files, and configuration. A slightly more detailed structure adds subfolders for components, pages, and utilities, which is typical for apps with a few interactive features.
Simple structure (landing page or static site):
project-name/
├── public/
│   ├── index.html
│   └── favicon.ico
├── src/
│   ├── styles.css
│   └── main.js
├── assets/
│   ├── logo.png
│   └── fonts/
└── package.json
Slightly more complex structure (small interactive app):
project-name/
├── public/
│   ├── index.html
│   └── favicon.ico
├── src/
│   ├── components/
│   │   ├── Button.jsx
│   │   └── Card.jsx
│   ├── pages/
│   │   ├── Home.jsx
│   │   └── About.jsx
│   ├── utils/
│   │   └── formatDate.js
│   ├── styles/
│   │   └── main.css
│   └── App.jsx
├── config/
│   └── webpack.config.js
├── tests/
│   └── Button.test.js
└── package.json
How to Adapt the Structure as the App Grows
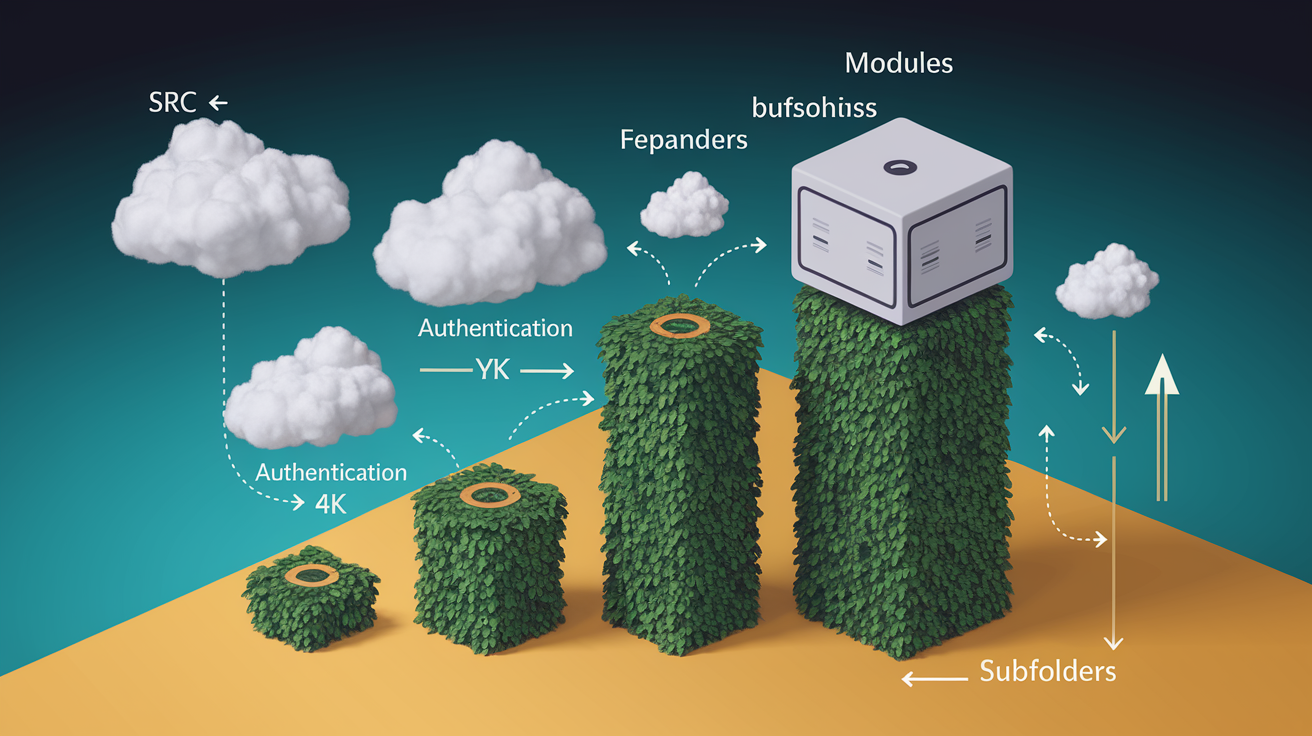
Small apps don’t stay small forever. At some point, you’ll add enough features that the flat structure starts feeling cluttered. When you find yourself scrolling past ten component files to find the one you need, or when import paths get confusing, it’s time to add subfolders. The transition from a simple structure to a more modular one usually happens around 15 to 20 components or when you add a second major feature.
Start by grouping components into subfolders by purpose or domain. If you have three button variants, a dropdown, and a modal, create a components/buttons/ folder and a components/overlays/ folder. If your app has distinct features like authentication, dashboard, and settings, create feature folders under src/ and move related components, services, and tests into each one. This keeps everything for a single feature in one place. Which makes it easier to refactor or delete later.
As the app scales, consider adding a modules/ or features/ folder that encapsulates business logic separate from UI components. You might also create a services/ folder for API calls, a hooks/ or composables/ folder for reusable logic, and a constants/ folder for shared values. The key is to add structure gradually, only when the lack of it starts slowing you down.
Your components folder has more than 10 files and you’re scrolling to find things. You’ve added a second major feature and related files are scattered across multiple folders. Import paths require counting parent directories (like ../../../utils/) to reach a shared utility. New contributors ask where to put files because there’s no obvious place.
Frequent File-Organization Mistakes to Avoid

One of the most common mistakes is over-nesting folders. When you create a folder for every tiny piece of logic, you end up with deep paths like src/components/ui/buttons/primary/PrimaryButton.jsx. At that point, finding anything requires navigating through four or five levels. Stick to two or three levels of depth unless there’s a strong reason to go deeper.
Another pitfall is mixing unrelated files in the same folder. If your components/ folder includes API service files, utility functions, and random config files, it stops being a useful boundary. Each folder should have a single, clear purpose.
Similarly, avoid vague or duplicate naming like utils/ and helpers/, or data/ and services/. Pick one term for each concept and use it consistently.
Over-nesting folders. Keep depth to 2 or 3 levels. Deeper structures slow navigation without adding clarity. Fix: flatten folders and use naming to indicate relationships.
Mixing unrelated files. A components folder shouldn’t hold API logic or config files. Fix: create dedicated folders for each file type.
Vague or duplicate folder names. Having both utils/ and helpers/ or data/ and services/ creates confusion. Fix: standardize on one term per concept and document it.
Inconsistent naming conventions. Mixing kebab-case, camelCase, and PascalCase across files makes the project feel disorganized. Fix: set a naming rule and enforce it with a linter.
Skipping documentation. No README or inline comments explaining folder structure slows onboarding. Fix: add a short README that describes what each top-level folder contains and why.
Final Words
You now have a hands-on roadmap: a short recommended layout, a clear folder-by-folder breakdown, framework examples, a feature-vs-type comparison, naming rules, visual trees, growth tips, and common mistakes to dodge. That’s the essential toolkit for keeping small apps tidy.
Keep the seven core dirs predictable, name things consistently, and pick the organization style that matches your app’s size. Keep this checklist handy when organizing project files and folder structure for small web apps — it’ll make future changes painless. You’ve got this.
FAQ
Q: What is the recommended file structure for a small web application?
A: The recommended file structure for a small web application is a simple, predictable layout: src, public (or assets), components, config, utils, tests, and scripts—keeps code organized and eases maintenance and onboarding.
Q: Which core directories should every small web app include and why?
A: The core directories every small web app should include are src (app logic), assets/public (images/static), components (UI parts), config (env/build settings), utils (helpers), tests (tests), and scripts (build/dev tasks).
Q: What belongs inside the src, assets, and config folders?
A: The src folder stores entry files, pages, routes, and app logic; assets holds images, fonts, and static files; config centralizes environment variables, build settings, and deployment configuration for consistent builds.
Q: Should I organize by feature or by file type for a small project?
A: For a small project, organize by file type for simplicity and quick discovery; switch to feature-based grouping later when features grow and teams need domain-focused modularity and ownership.
Q: What naming conventions keep projects maintainable?
A: Use kebab-case for filenames, PascalCase for UI components, camelCase for variables/functions, clear descriptive names, index files for folder re-exports, and consistent file extensions across the project.
Q: Can you show example structures for React, Vue, and Svelte?
A: Example patterns: React: src/components, pages, hooks, assets; Vue: src/components (single-file), views, router, store; Svelte: src/routes, lib, components, assets—each groups UI, logic, and static files predictably.
Q: When should I reorganize my project as it grows?
A: Reorganize when files multiply or repeat, onboarding slows, features cross-cut current folders, or tests and builds become messy—then introduce feature folders, domain groups, and clearer module boundaries.
Q: What common file-organization mistakes should I avoid?
A: Avoid over-nesting (flatten where possible), mixing unrelated files, vague names, duplicated logic, and skipping tests—fix by grouping by purpose, renaming clearly, extracting shared utils, and adding basic tests.
Q: How can I visualize my project structure quickly?
A: Visualize your project structure with a simple ASCII tree in the README, the terminal tree command, or IDE project view—diagrams make relationships clear and speed up developer orientation.
Q: How does a clear folder structure help onboarding new team members?
A: A clear folder structure reduces time spent searching, shows where features and utilities live, clarifies responsibilities, and helps new developers contribute faster with less guesswork.

